Celebrate Mom’s Brilliance: DIY Electronic Gifts This Mother’s Day
Celebrate Mom’s Brilliance with DIY electronic gifts for Mother’s Day! In this fun and easy project, dads and kids can work together to create a custom flashing LED circuit that’s sure to impress. With simple components and easy-to-follow instructions, you’ll be able to design, build, and customize your gift, making it a truly special and personalized way to celebrate Mom’s special day. In addition, dads can use this project as a great opportunity to teach their kids the basics of soldering, passing on valuable skills, and creating memories that will last a lifetime. Let’s get started and make this Mother’s Day one to remember!
Table of Content
- Part List
- What is a Light Flashing Circuit?
- How to build the LED Panel?
- How to connect the On-Off Switch?
- Conclusion
Part List
- Flashing LED Circuit
- Bag of 100 LEDs 5mm
- On-Off Switch
- 9V Battery Connector
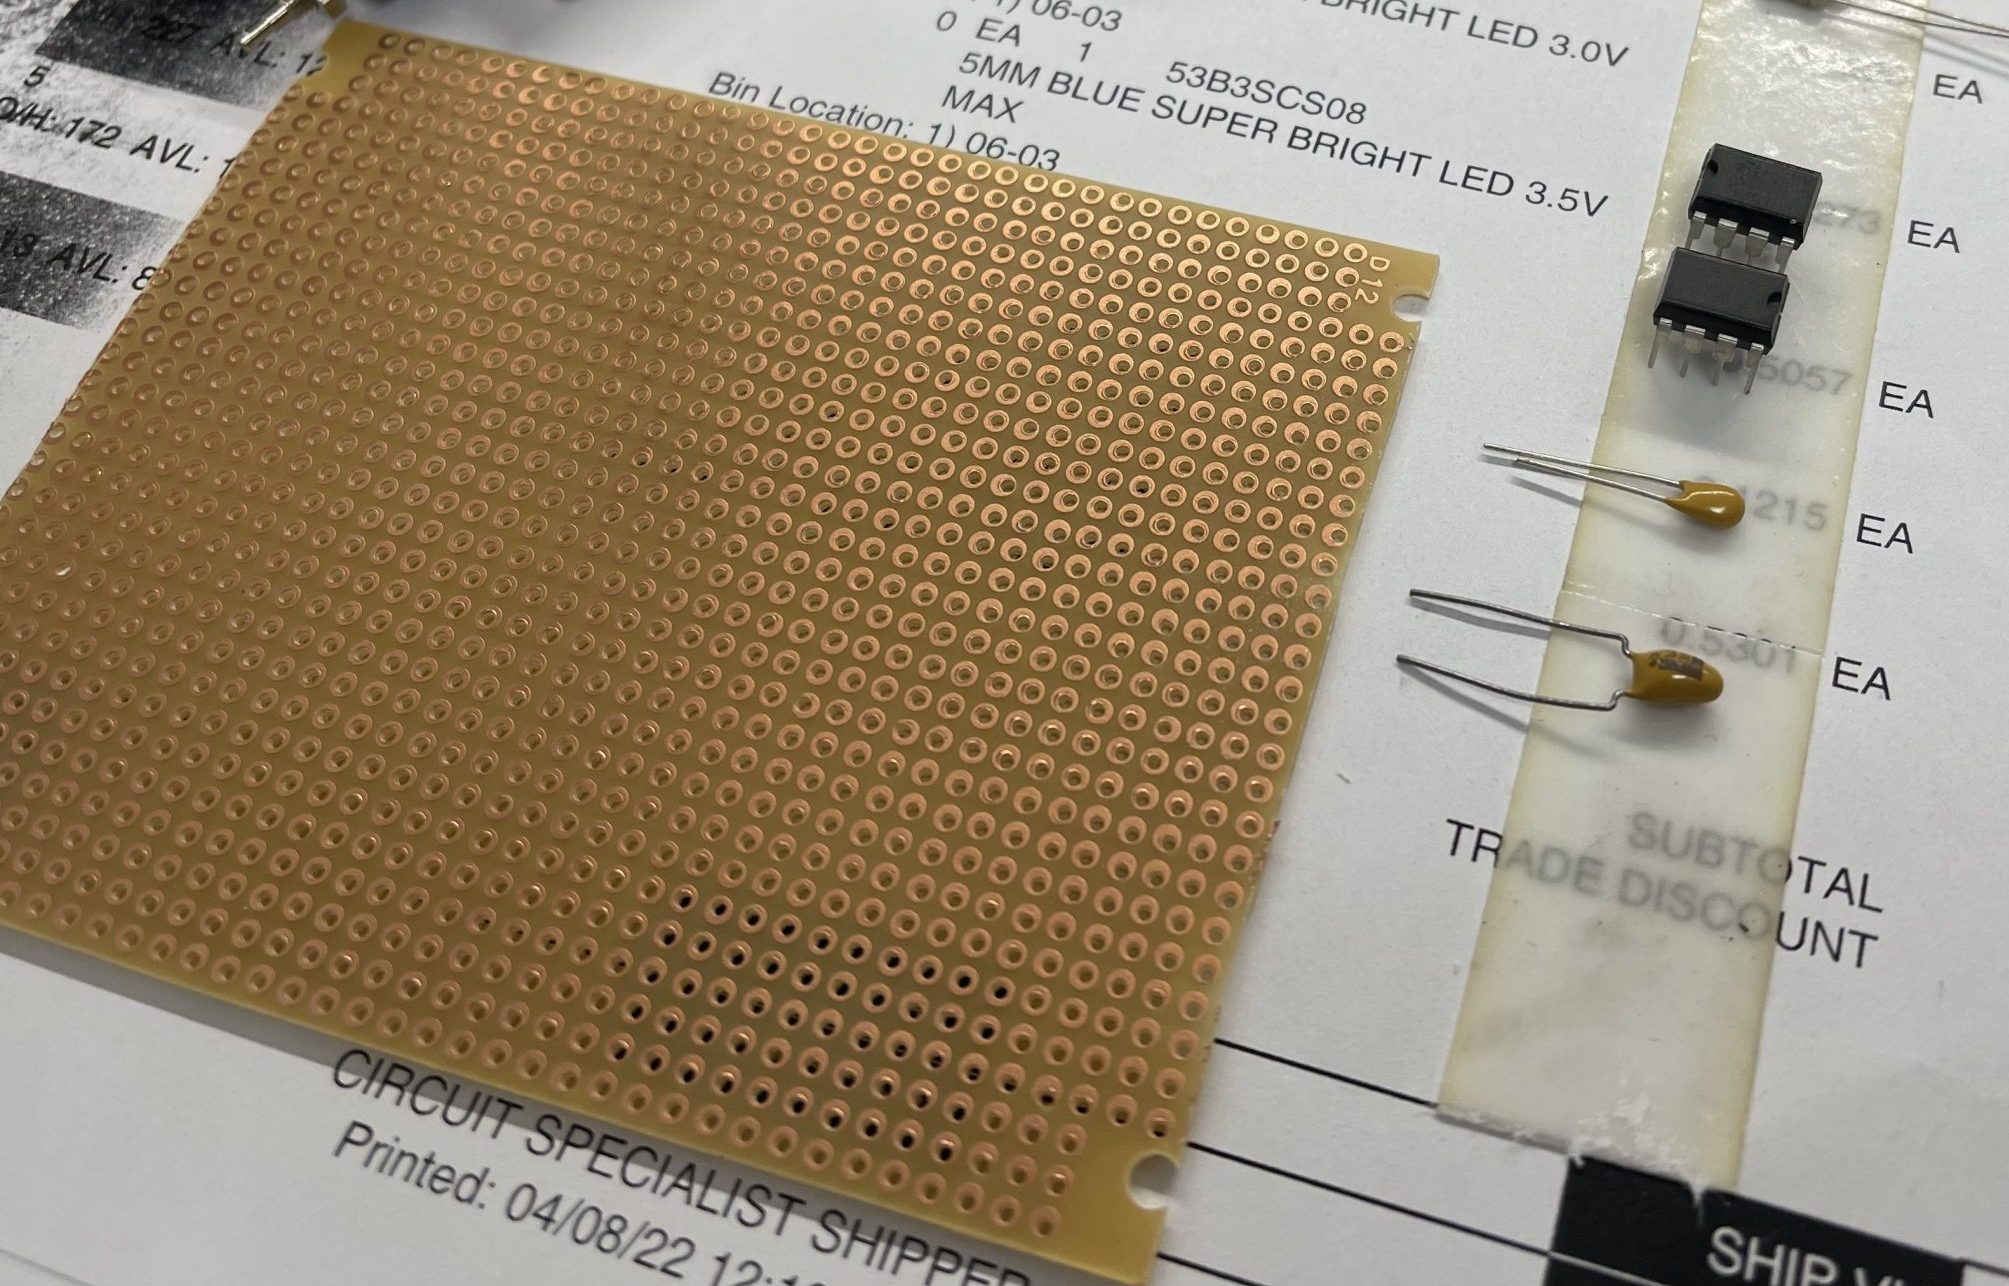
- 2 Solderable Perf Board
- Some hardware
What is a Light Flashing Circuit?
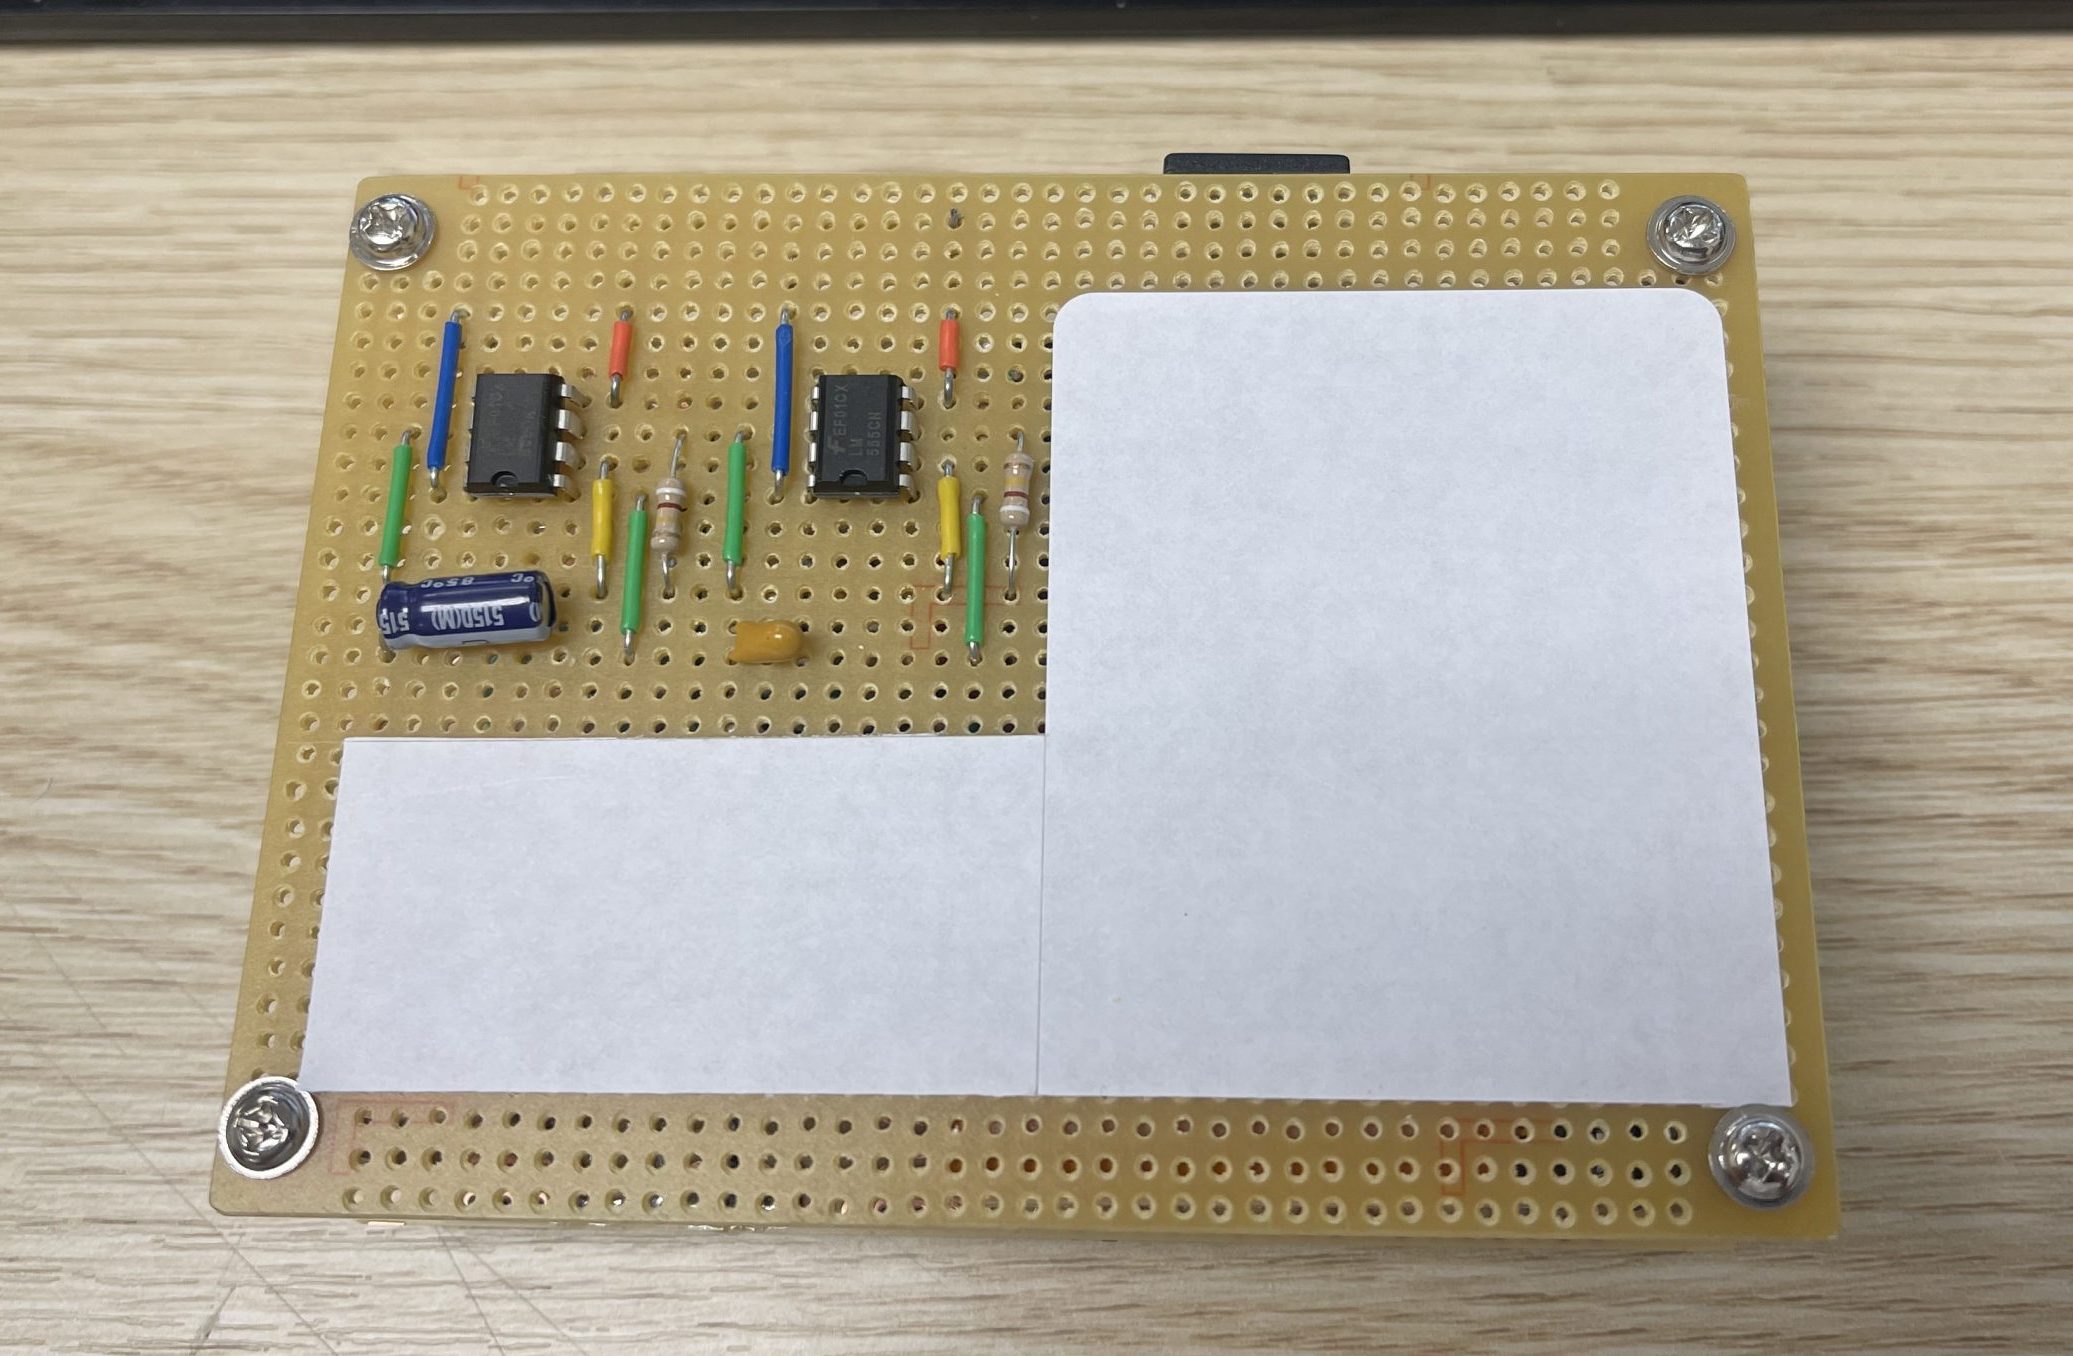
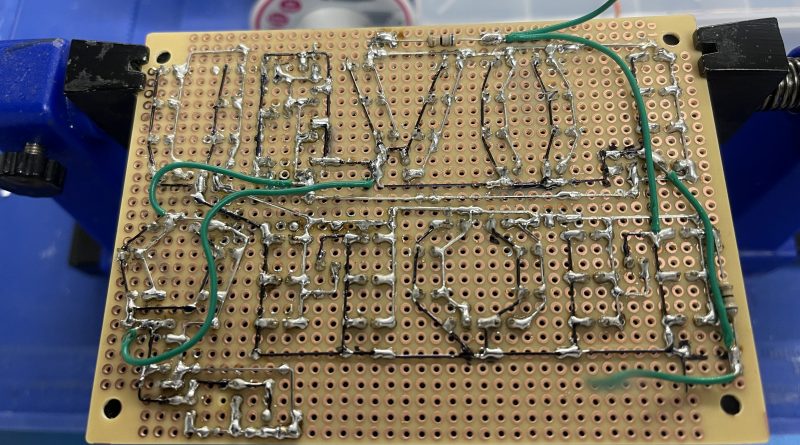
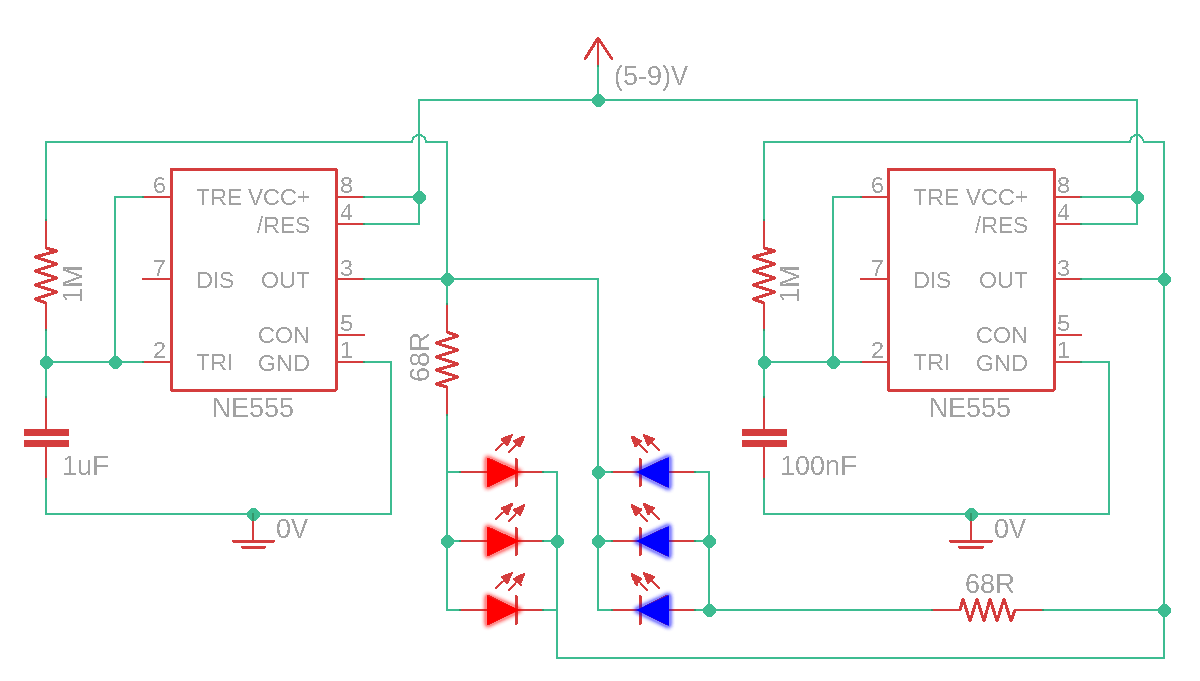
First, an LED flashing circuit that uses two 555 timers to alternately flash red and blue LEDs, creating a strobe light effect like emergency car lights (see From Prototype on PBB-272B into a Finished Product for more information). Second, this DIY electronic gifts for Mother’s Day uses an emergency LED flashing circuit that alternately flashes LEDs, creating a strobe light effect. I will attach the schematic for the LED flashing circuit below.
How to build the LED panel?
Create a unique and personalized LED panel with your children! This project is a fun and creative way to express your love and appreciation for Mom. Follow these steps to build a custom LED matrix with a special message or design.
Step 1: Sketch and Design
First, involve your children in choosing a special message or design for the LED matrix! Let them brainstorm ideas and sketch out a rough design. Second, keep it simple, as intricate designs may be difficult to transfer to the LED matrix. This way, children can feel more invested in the project and excited to see their design come to life!
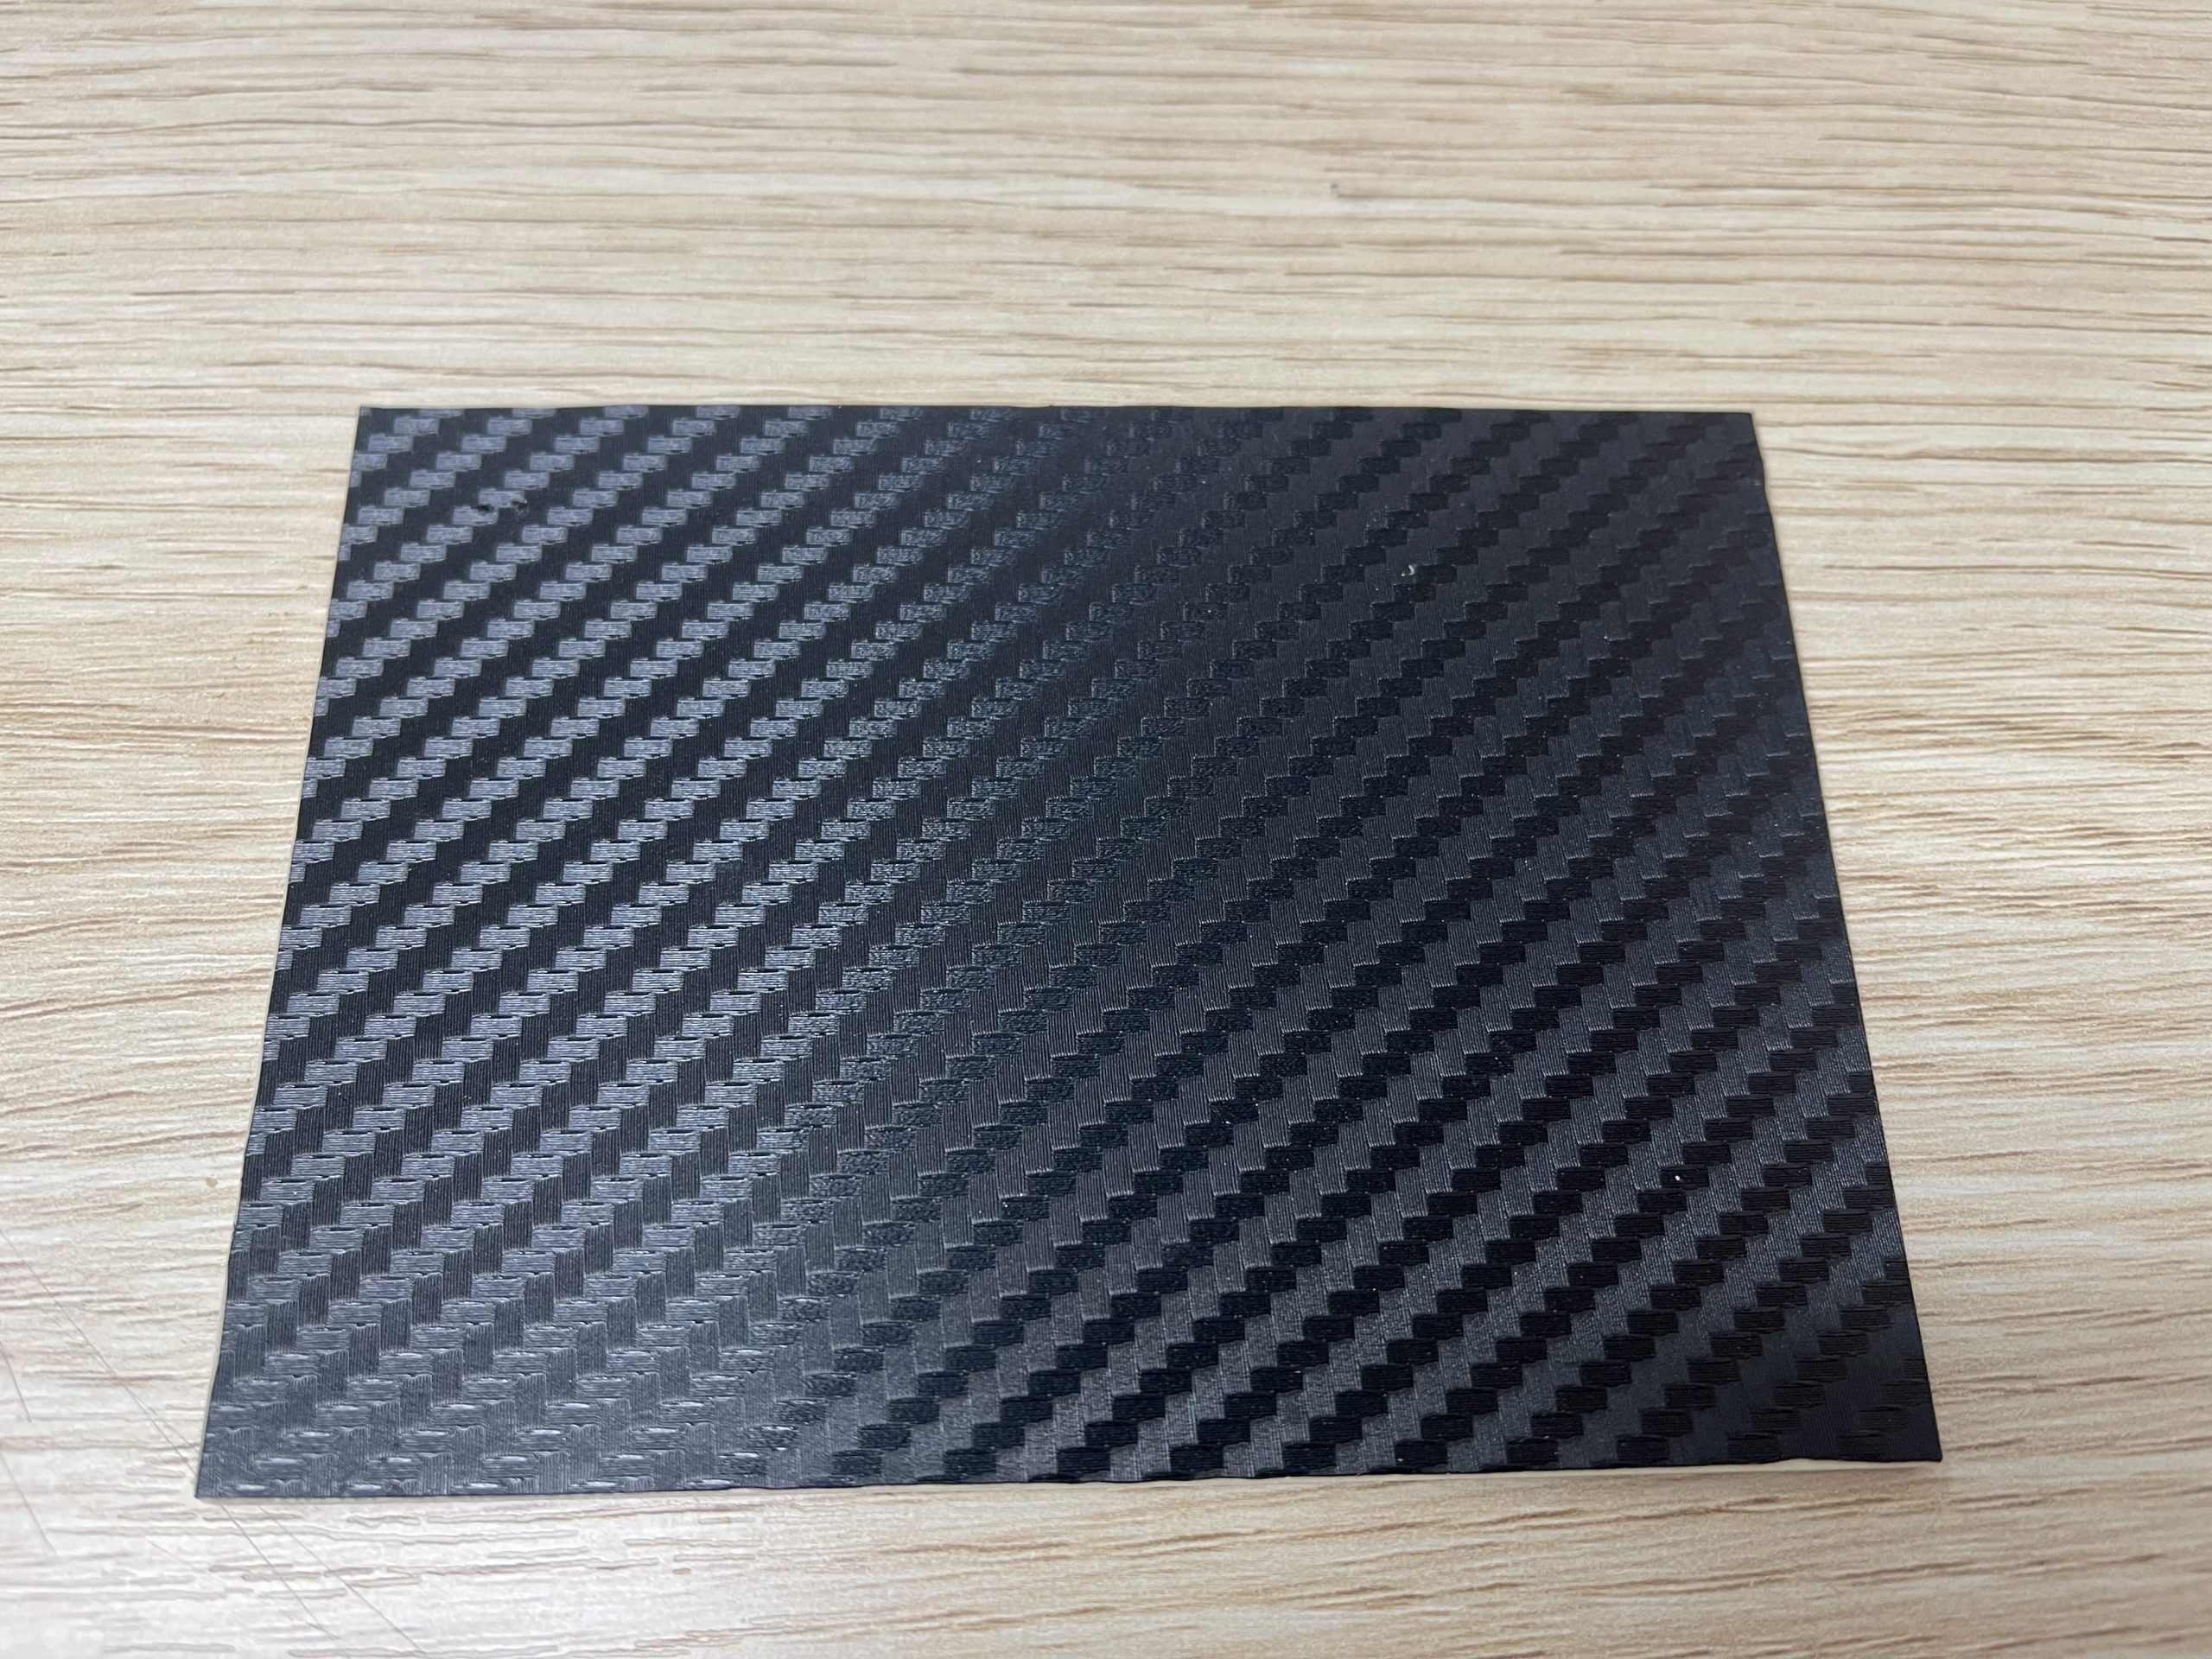
Step 2: Cover with Carbon Fiber Sticker
Next, cover the non-solderable side with a carbon fiber sticker.
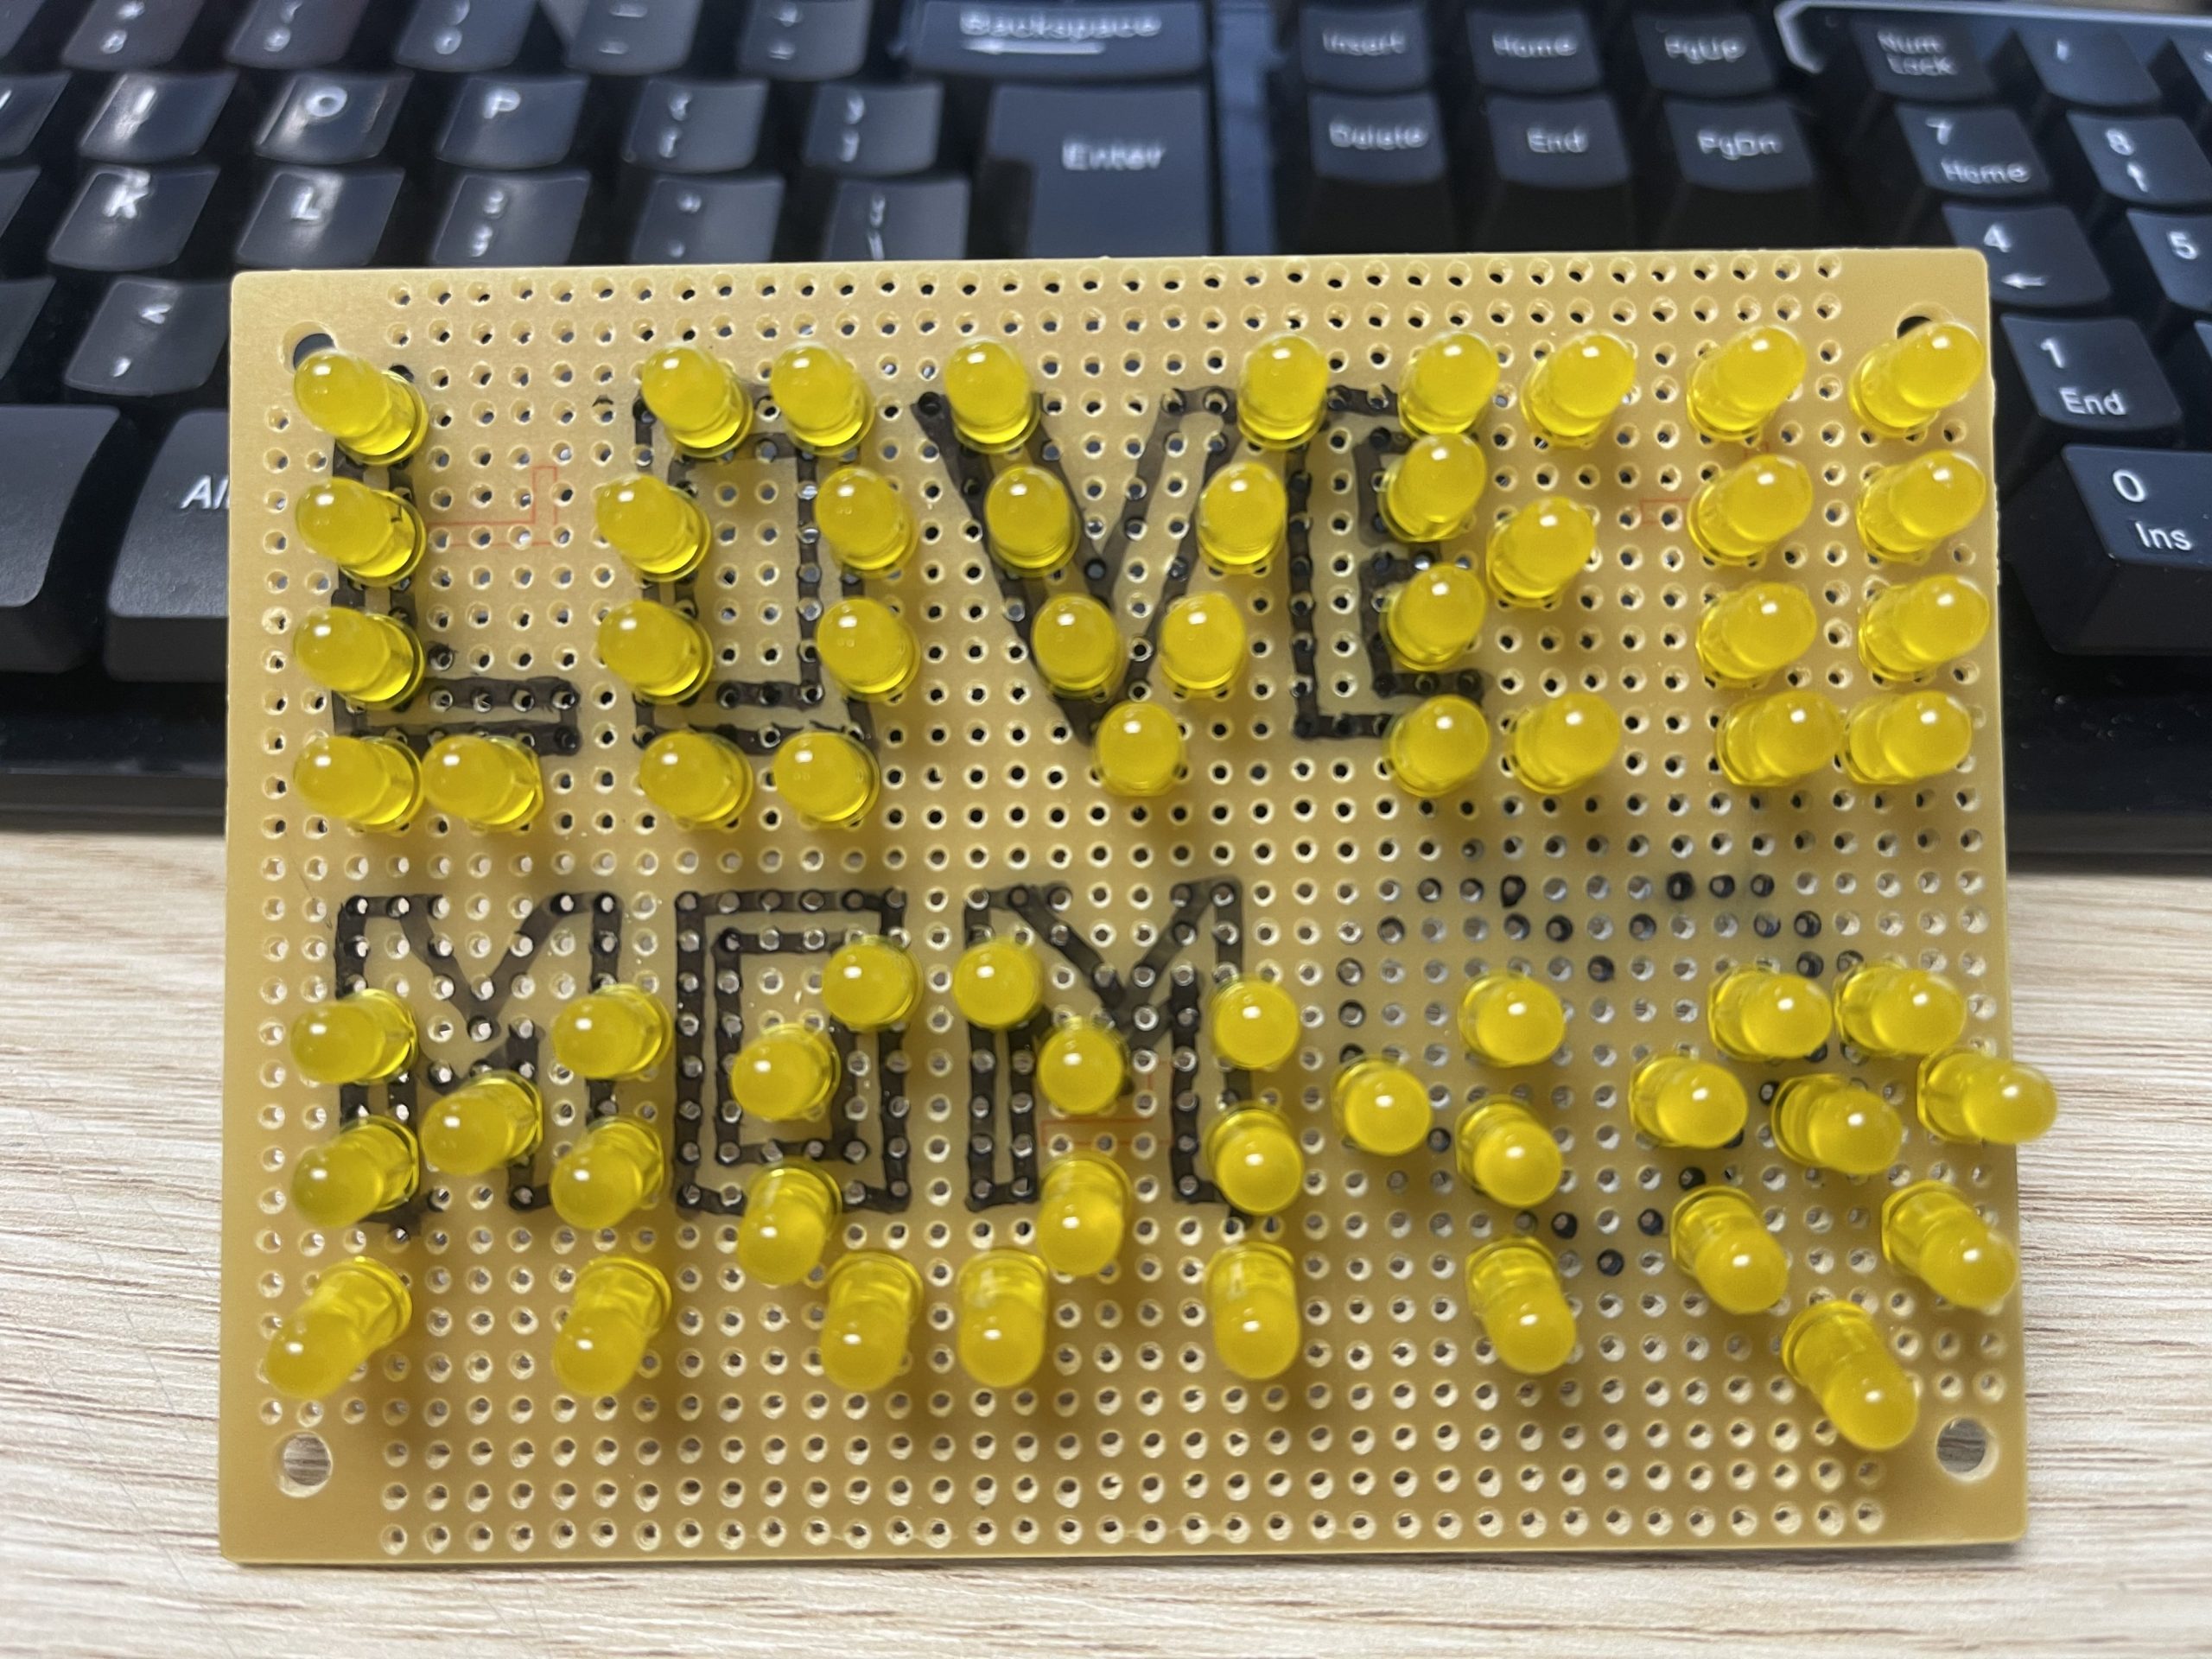
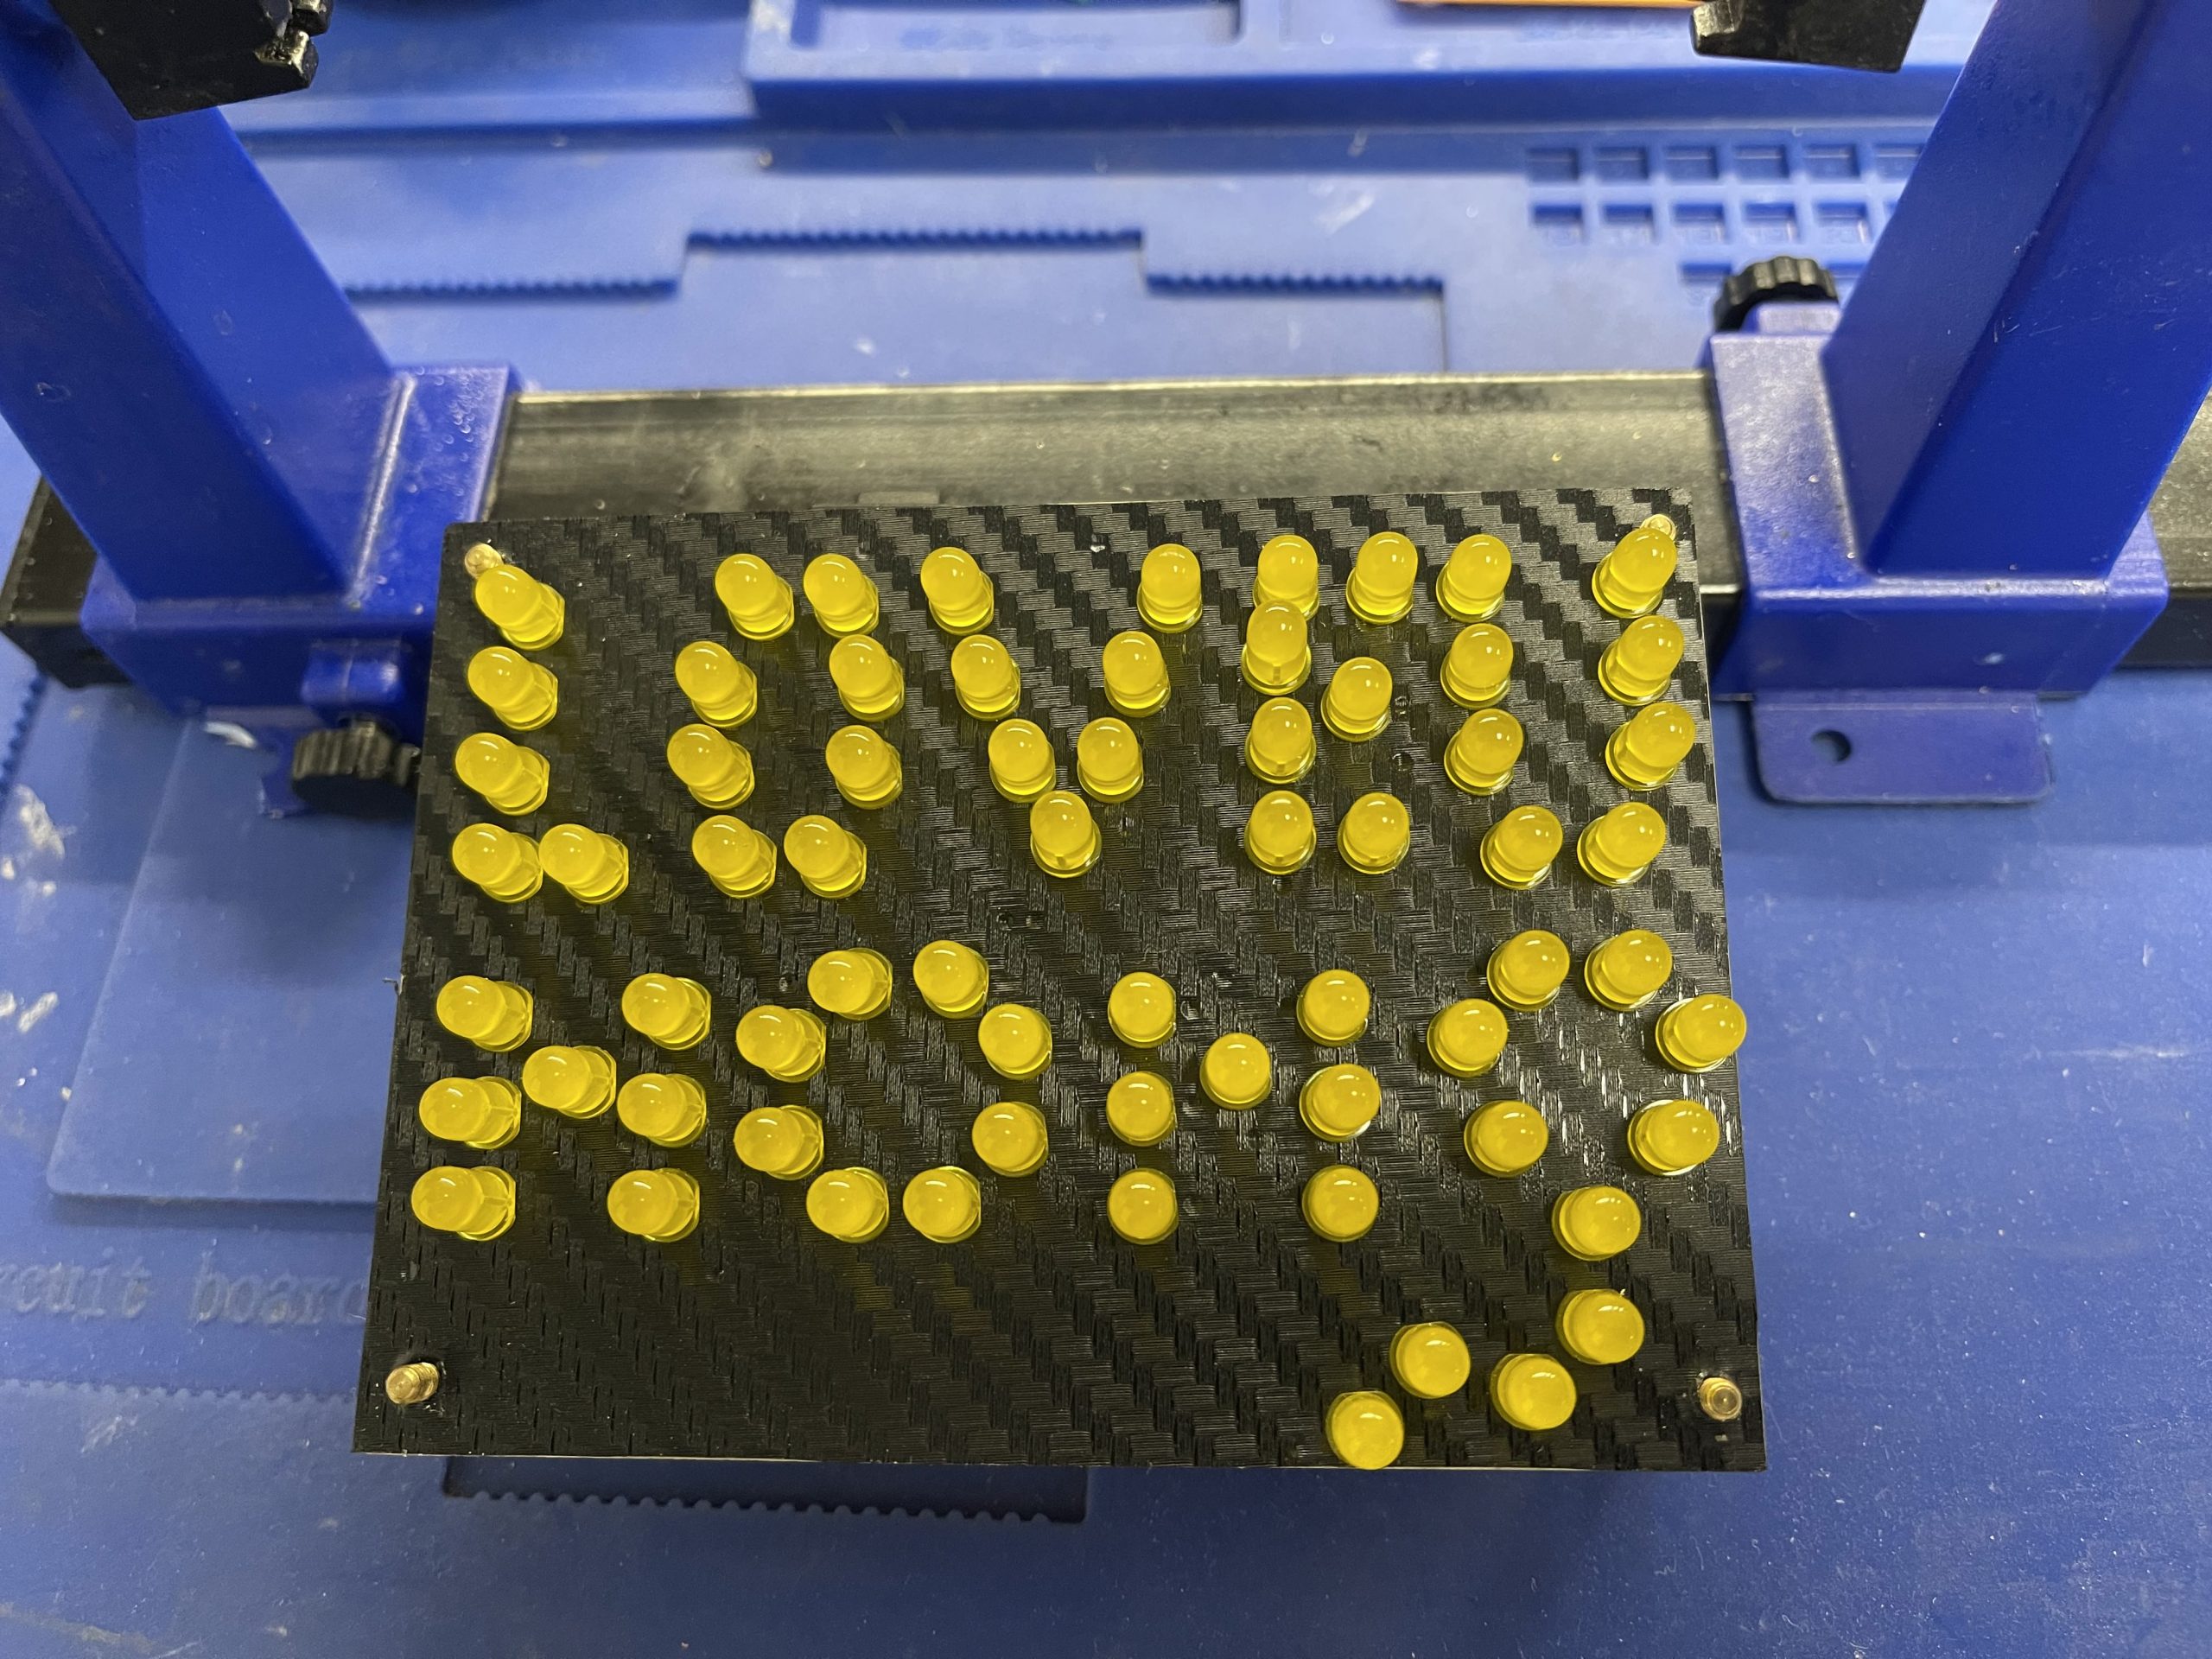
Step 3: Transfer LEDs
First, carefully transfer the LEDs, making sure to poke the right holes for a clean surface. Then, make sure to do one line at a time to avoid clutter, and double-check the LED placement before soldering.
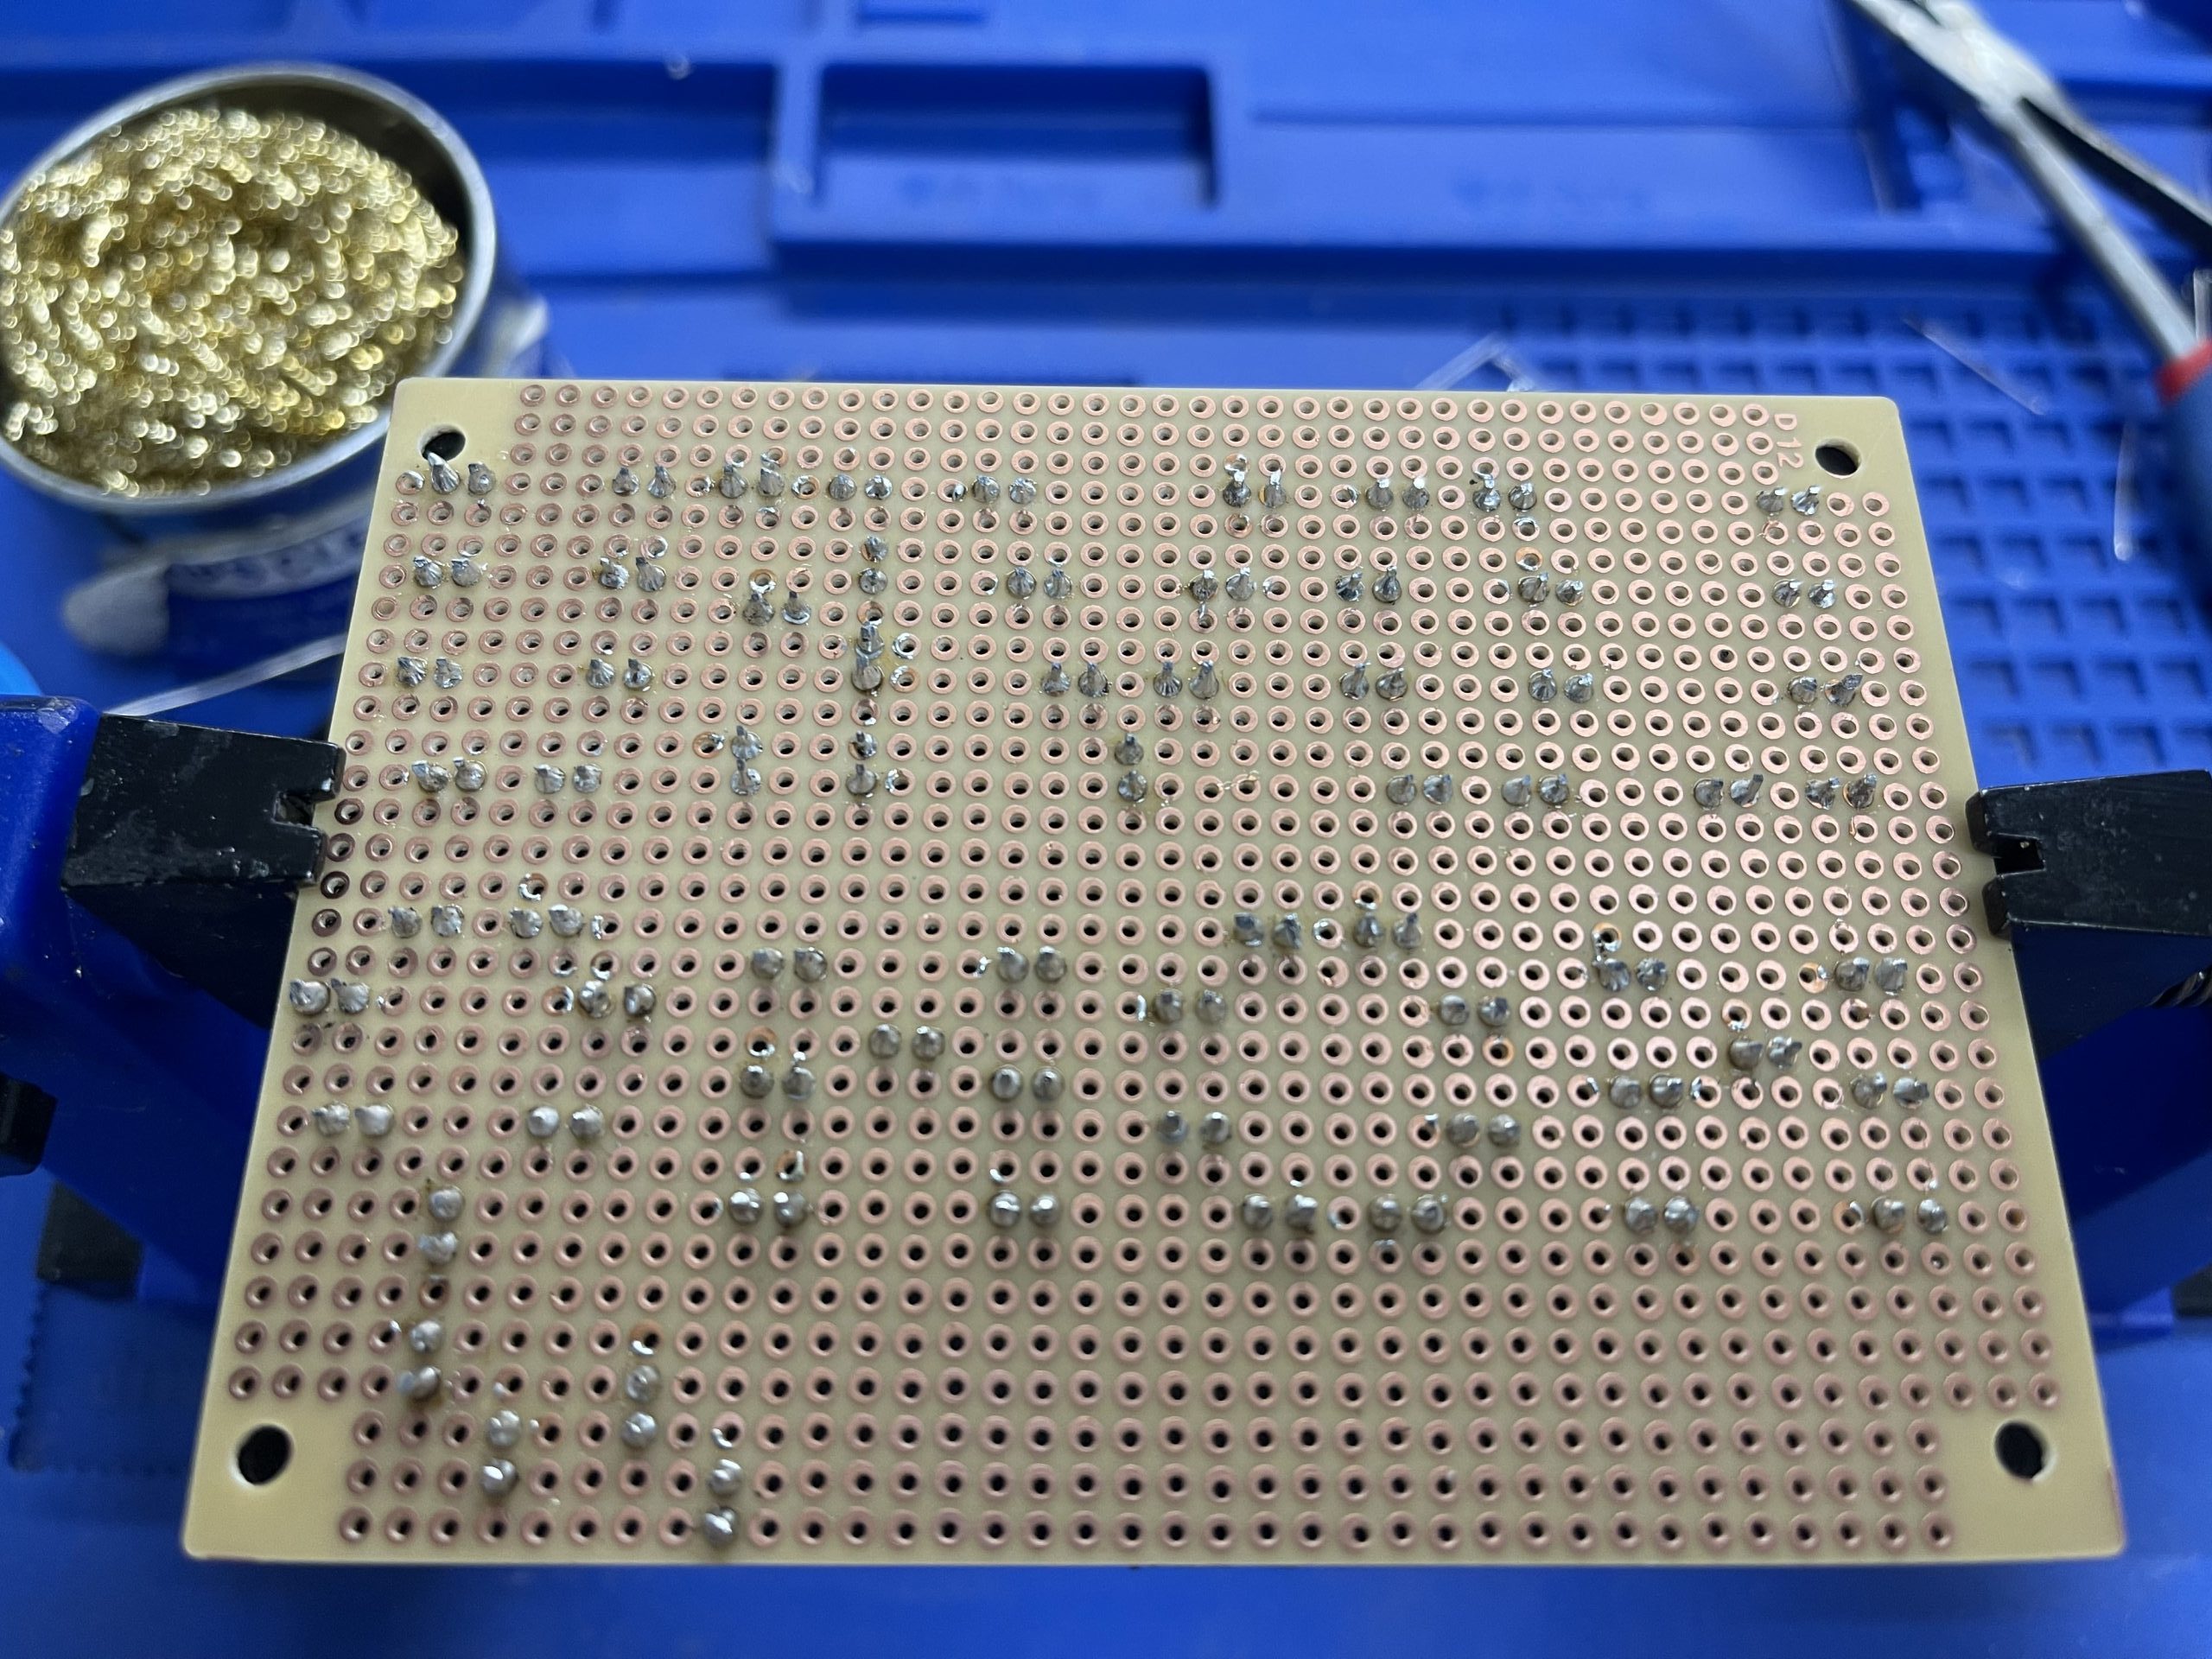
Step 4: Solder First Line
First, I suggest doing one line at a time so that it is not too clustered to solder. Then solder the positive and negative sides of the LEDs onto the board.
Step 5: Transfer LEDs (Second Line)
Next, repeat the process for the second line, carefully transferring the LEDs and making sure to poke the right holes.
Step 6: Solder Second Line
Finally, solder the positive and negative sides of the LEDs onto the board for the second line, just like you did for the first line.
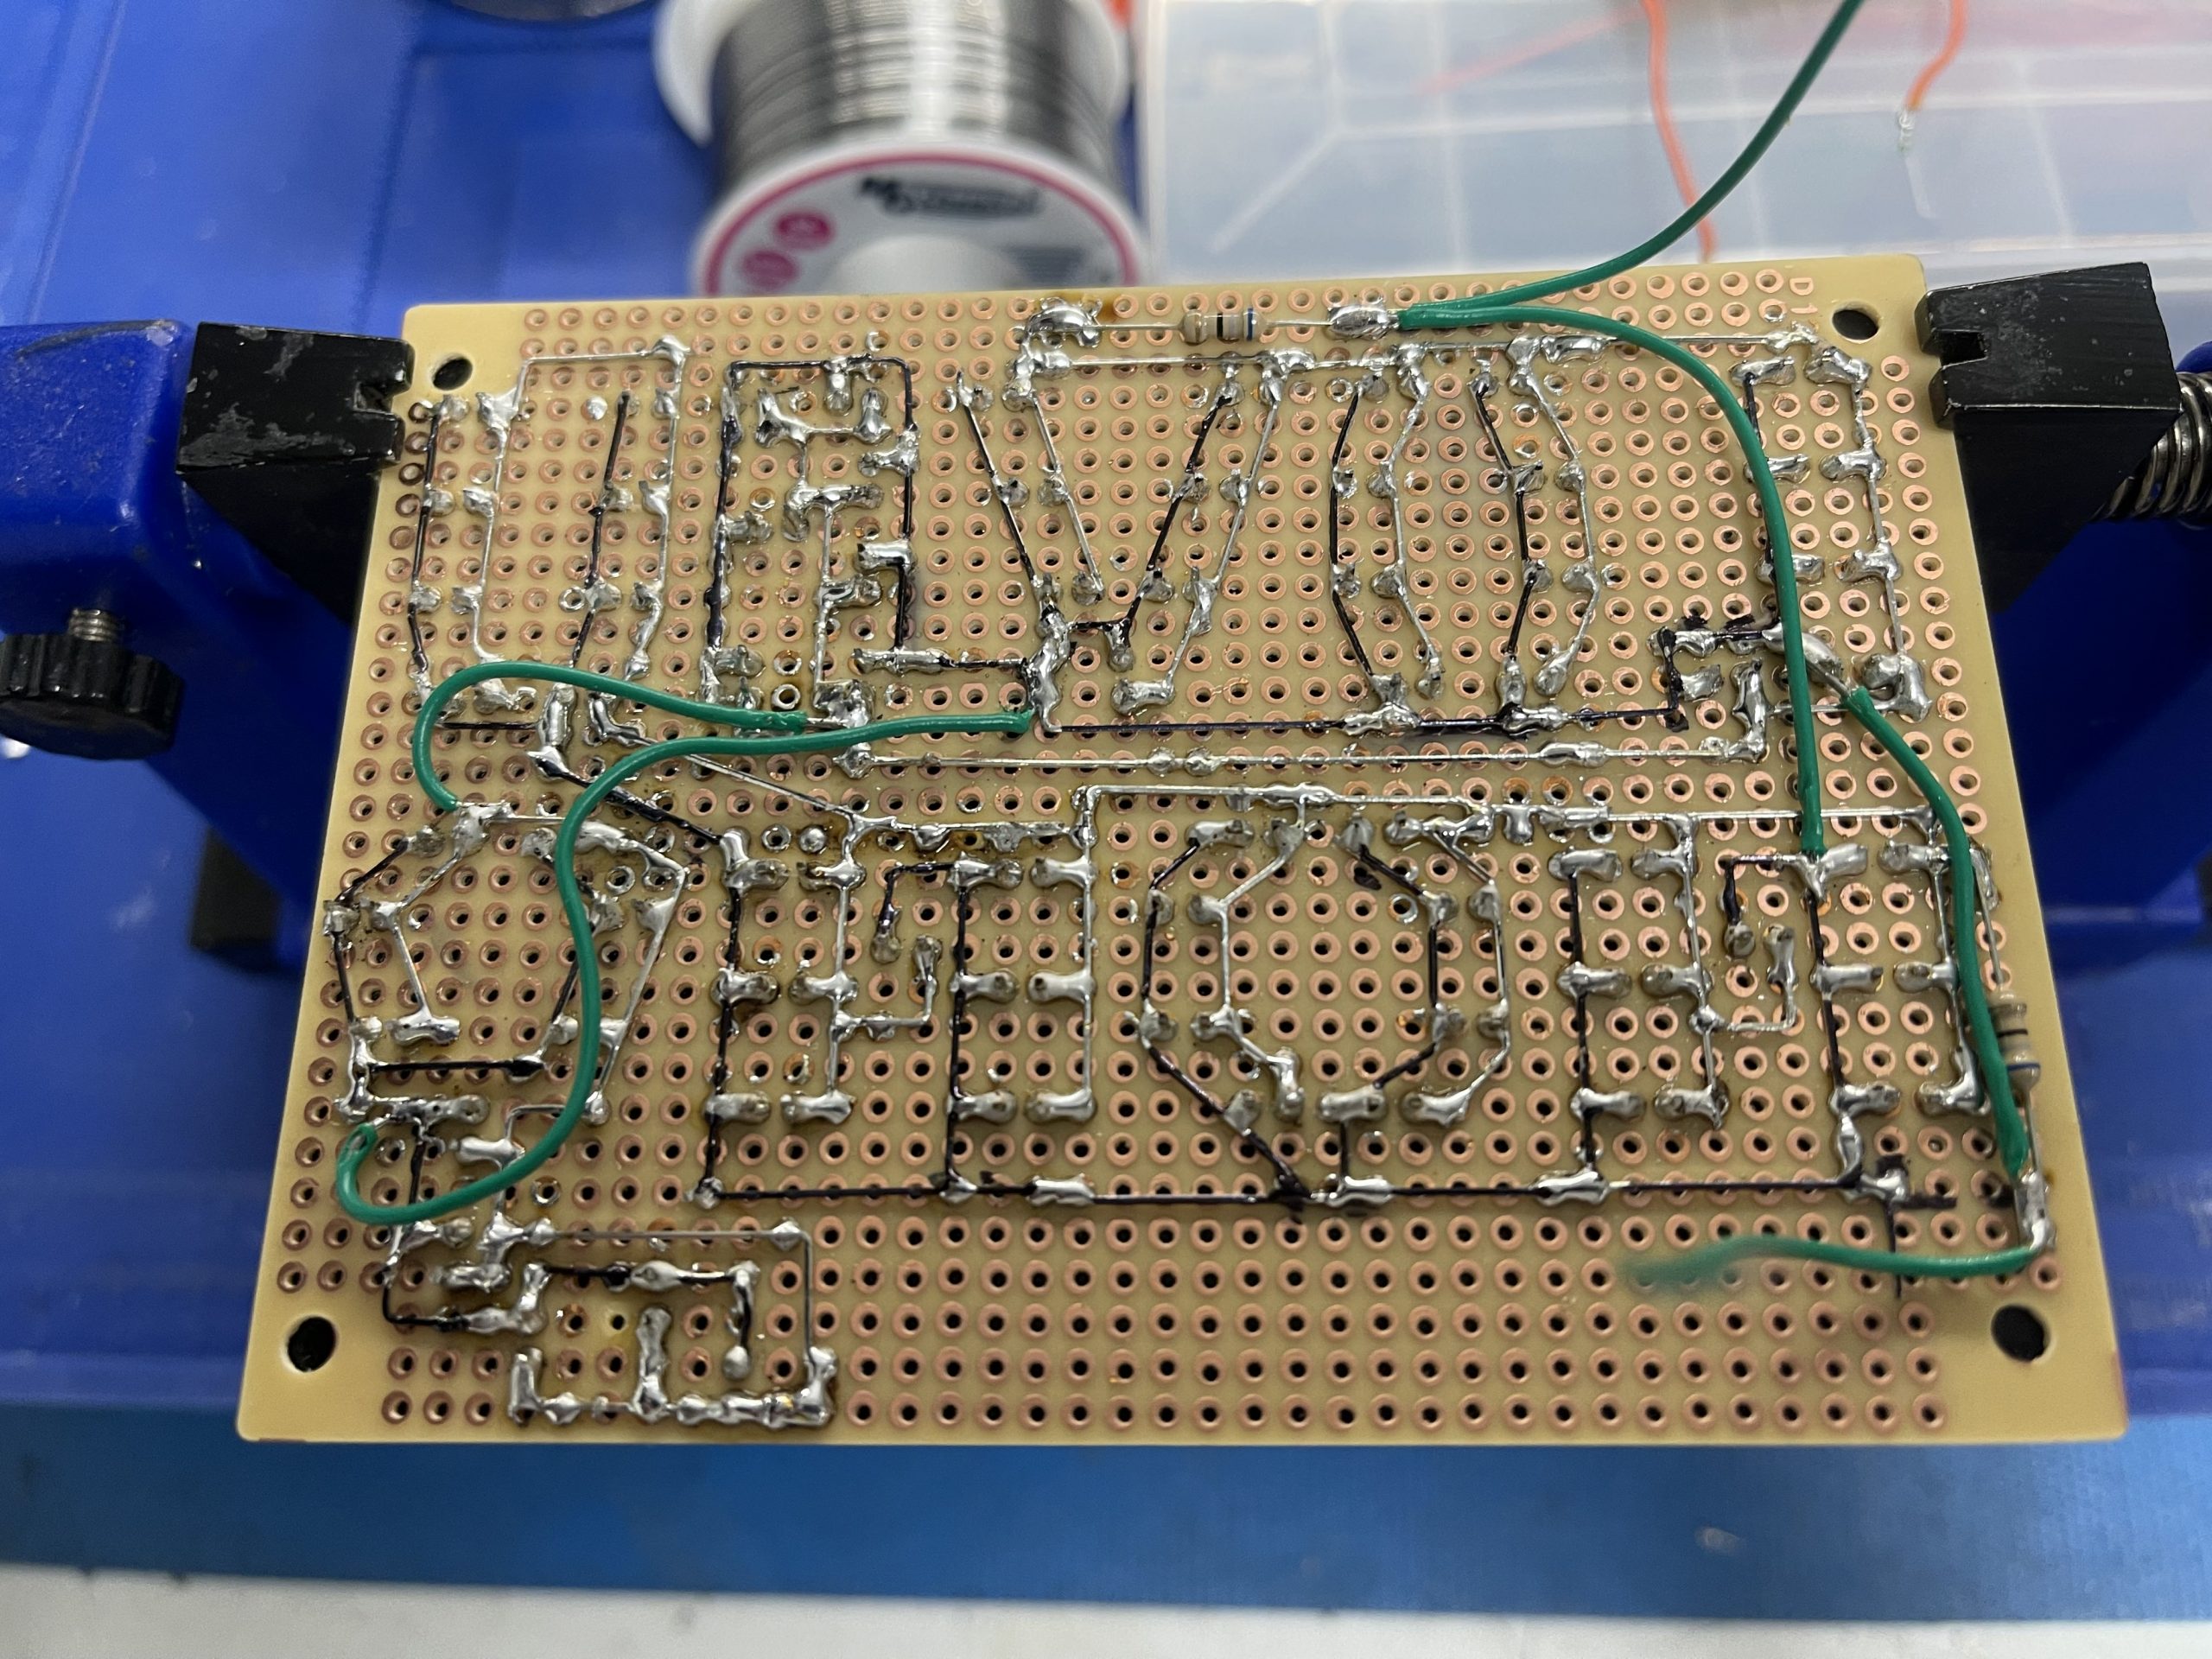
Step 7: Solder Positive and Negative Sides
First, solder the positive side of the top row LEDs together, followed by the negative side. Second, repeat this process for the bottom row, ensuring that all positives (the longer leg of the LED) are soldered together. Finally all negatives (the shorter leg of the LED).
Step 8: Connect Letters and Shapes (Optional)
Connect the first letter and shape (in my case, the balloon) and the letters U and MoM for a better flashing effect. On top of that, this creates a visually appealing pattern when the LEDs flash.
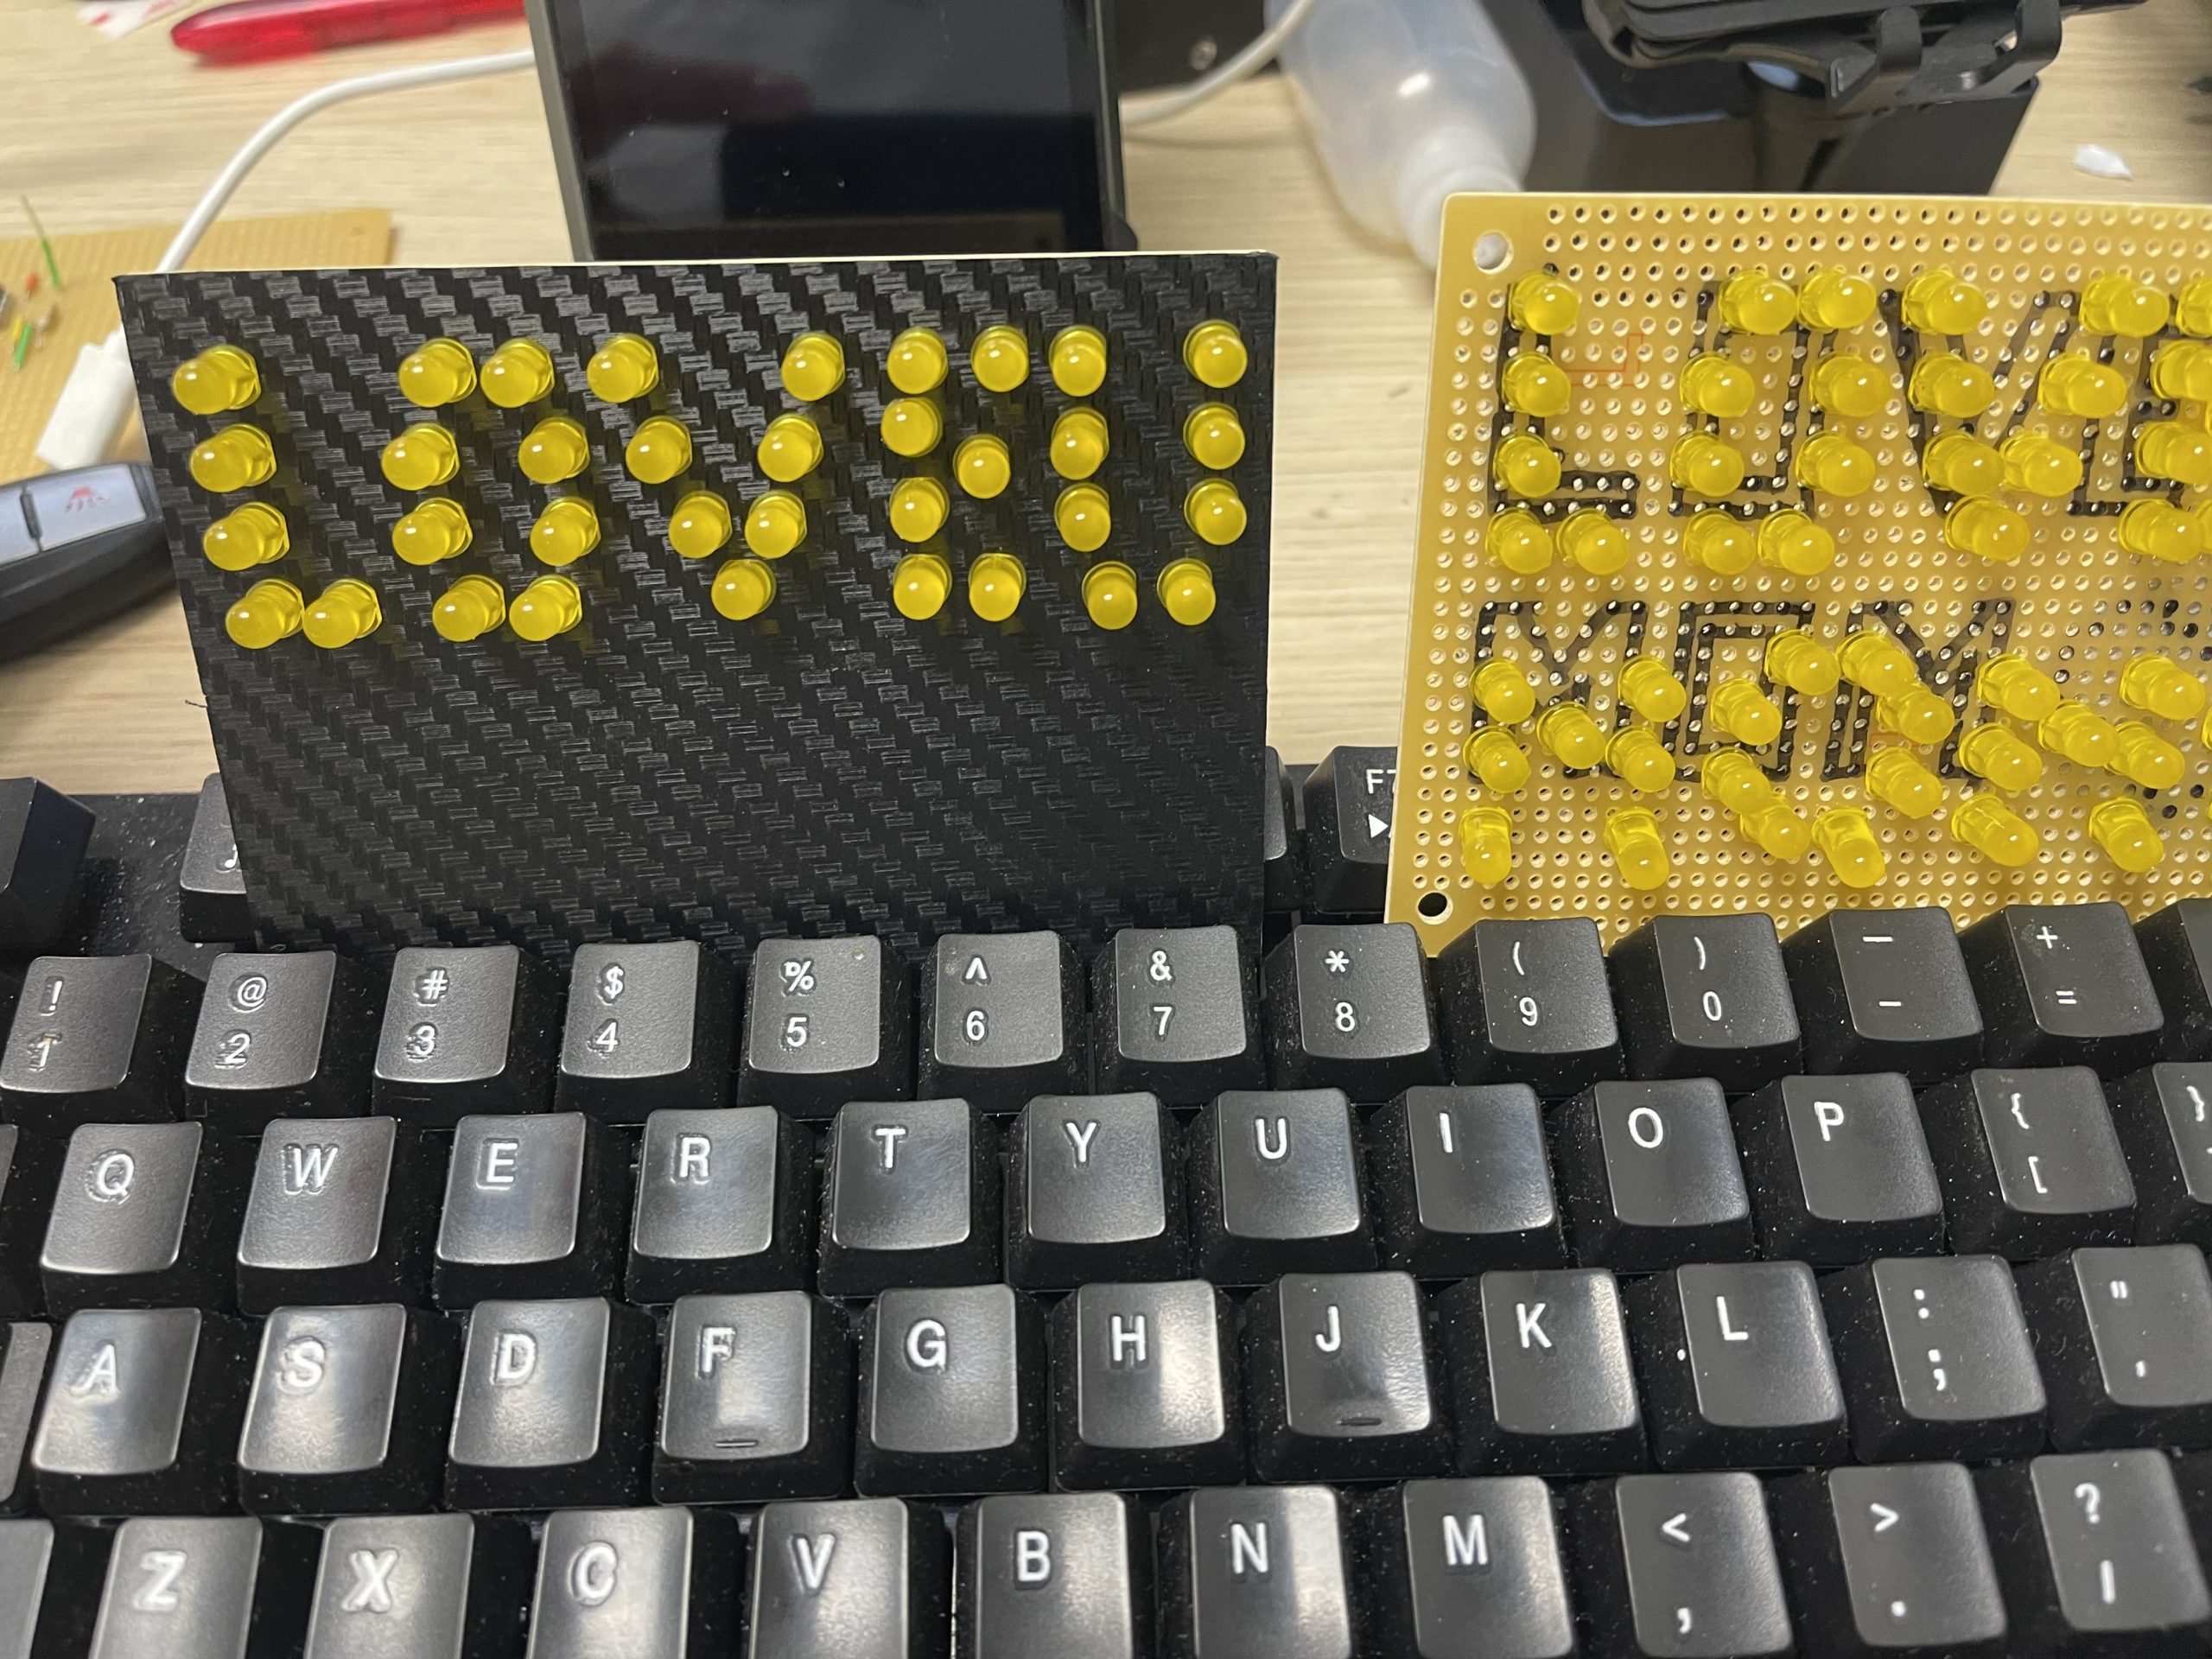
Finally, by following these steps, you and your children can create a beautiful and personalized LED panel to celebrate Mom’s special day! Be proud of your creativity and teamwork, and enjoy the joy of making something together. Share your finished projects with us and inspire others to create their own unique LED panels.
How to connect the On-Off Switch?
This step assumes you have already built the LED Flashing Circuit, connecting the On-Off switch and flashing circuit is the final step in completing the LED panel project. Here’s how to do it:
Step 1: Solder On-Off Switch
First, solder the On-Off switch to the ground path between the flashing circuit’s negative terminal and the battery’s negative terminal. This will allow you to turn the LED panel on and off.
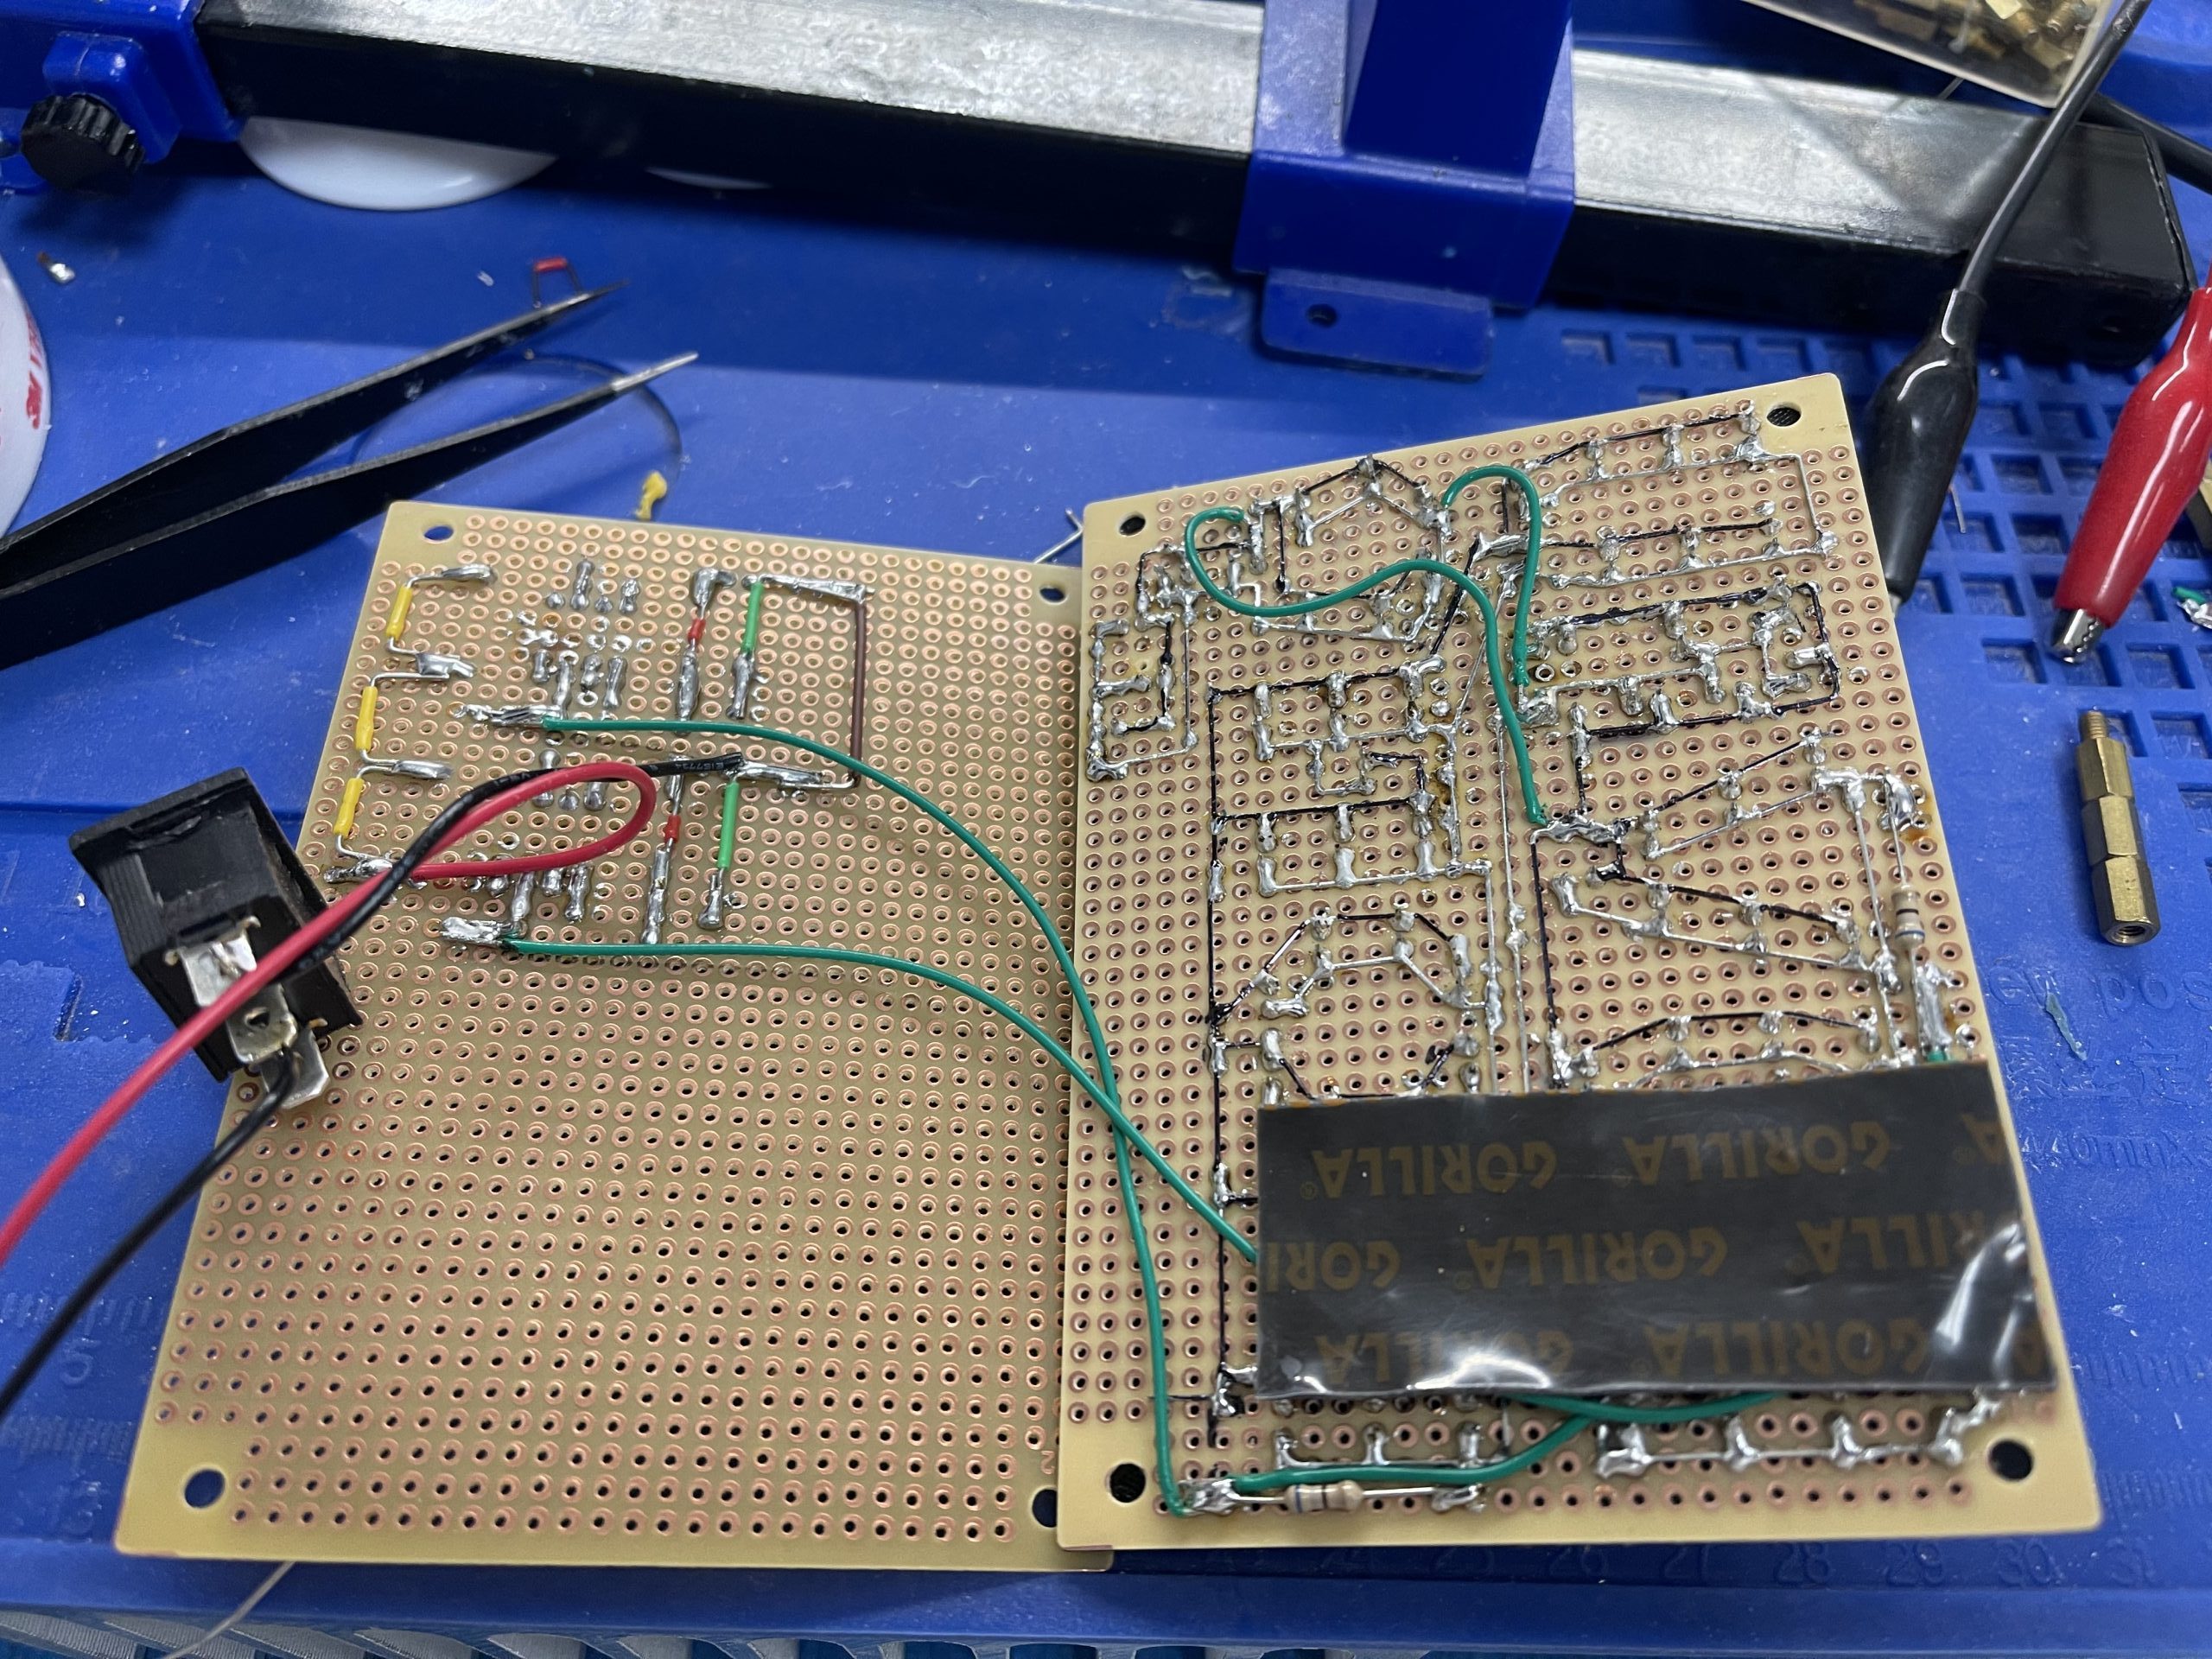
Step 2: Solder LED Panel Wires and Test the Unit
Next, thoroughly test the LED panel and flashing circuit before securing the hex standoff.in addition, ensure everything is working as expected, including the On-Off switch and LED flashing.
Step 4: Install Hex Standoff
Finally, once you’ve confirmed everything is working correctly, install the hex standoff to secure the components in place.
Conclusion
Happy Mother’s Day! We hope this project guide has inspired you to create a unique and thoughtful gift for your mother. Don’t forget to add a personal touch by writing a nice message on the back of the LED panel. Share your finished projects with us and inspire others to create their own unique LED panels. Remember, DIY electronic gifts for Mother’s Day are a great way to show your love and appreciation! Happy Mother’s Day 2024!