Let’s Build a Simple Metal Detector Soldering Project!
Welcome to this exciting DIY project, where we’ll build a simple yet functional metal detector using just a few components, including the versatile 9012 and 9018 transistors. Metal detectors have long fascinated electronics enthusiasts, hobbyists, and professionals alike, and for good reason – they showcase the power of electromagnetic induction and the thrill of finding hidden treasures.
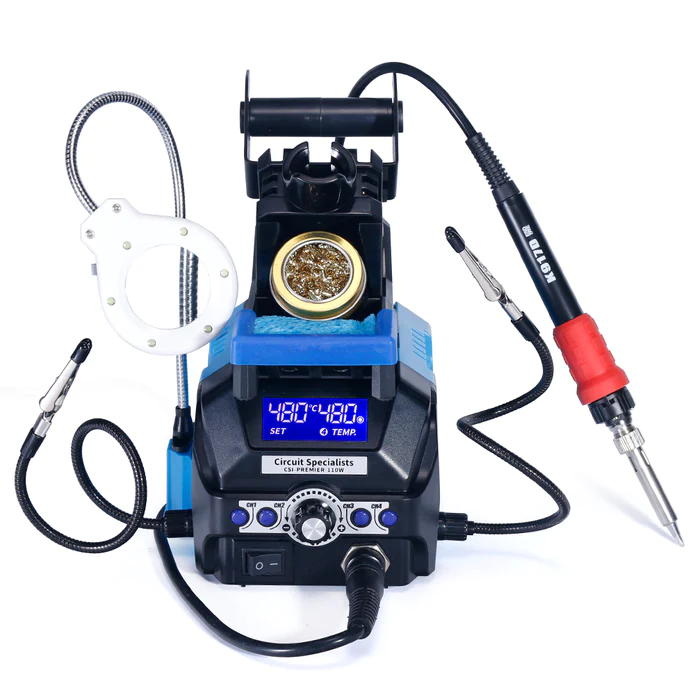
Important: A reliable soldering station is crucial for the success of this project. Invest in a good-quality soldering iron with temperature control, as it will help you achieve strong and clean solder joints. This will ensure all your soldering projects work reliably and efficiently.
In this project, we’ll explore the basics of metal detection and create a handheld device that can sniff out metallic objects with ease. Along the way, we’ll delve into the details of the 9012 and 9018 transistors, explaining their characteristics, roles, and how they contribute to the metal detector’s functionality. Whether you’re a student looking for a fun and educational project, a hobbyist seeking a new challenge, or a technician wanting to brush up on your soldering skills, this DIY metal detector project is perfect for you. So, let’s get started and uncover the secrets of metal detection!
Safety Precautions: When working with electronics,
It’s essential to take safety precautions to avoid injury or damage. Here are some guidelines to follow:
- Always wear protective eyewear and a soldering iron stand to prevent accidents.
- Ensure good ventilation when soldering to avoid inhaling fumes.
- Use a soldering iron with temperature control to prevent overheating.
- Avoid touching electrical components or wires with your bare hands or wearing a grounded wrist strap.
The Simple Metal Detector Schematic:
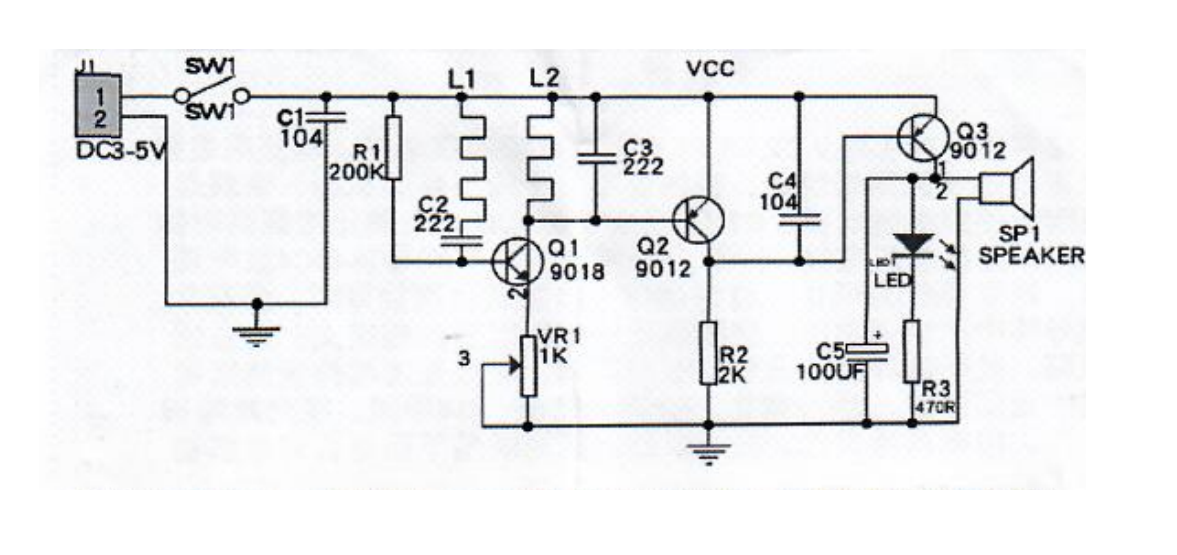
- The 9018 transistor (Q1) acts as an oscillator, generating a high-frequency signal that drives the coil (L1). This signal creates a magnetic field around the coil.
- The 9012 transistor (Q2) amplifies the signal from the coil, detecting changes in the magnetic field caused by nearby metals.
- The 9012 transistor (Q3) further amplifies the signal, driving the buzzer and indicating the presence of metal.
- The trimmer potentiometer (RV1) allows you to dial in the sensitivity of the metal detector. By adjusting RV1, you can fine-tune the detector’s response to metal objects.
The Science Behind Metal Detection:
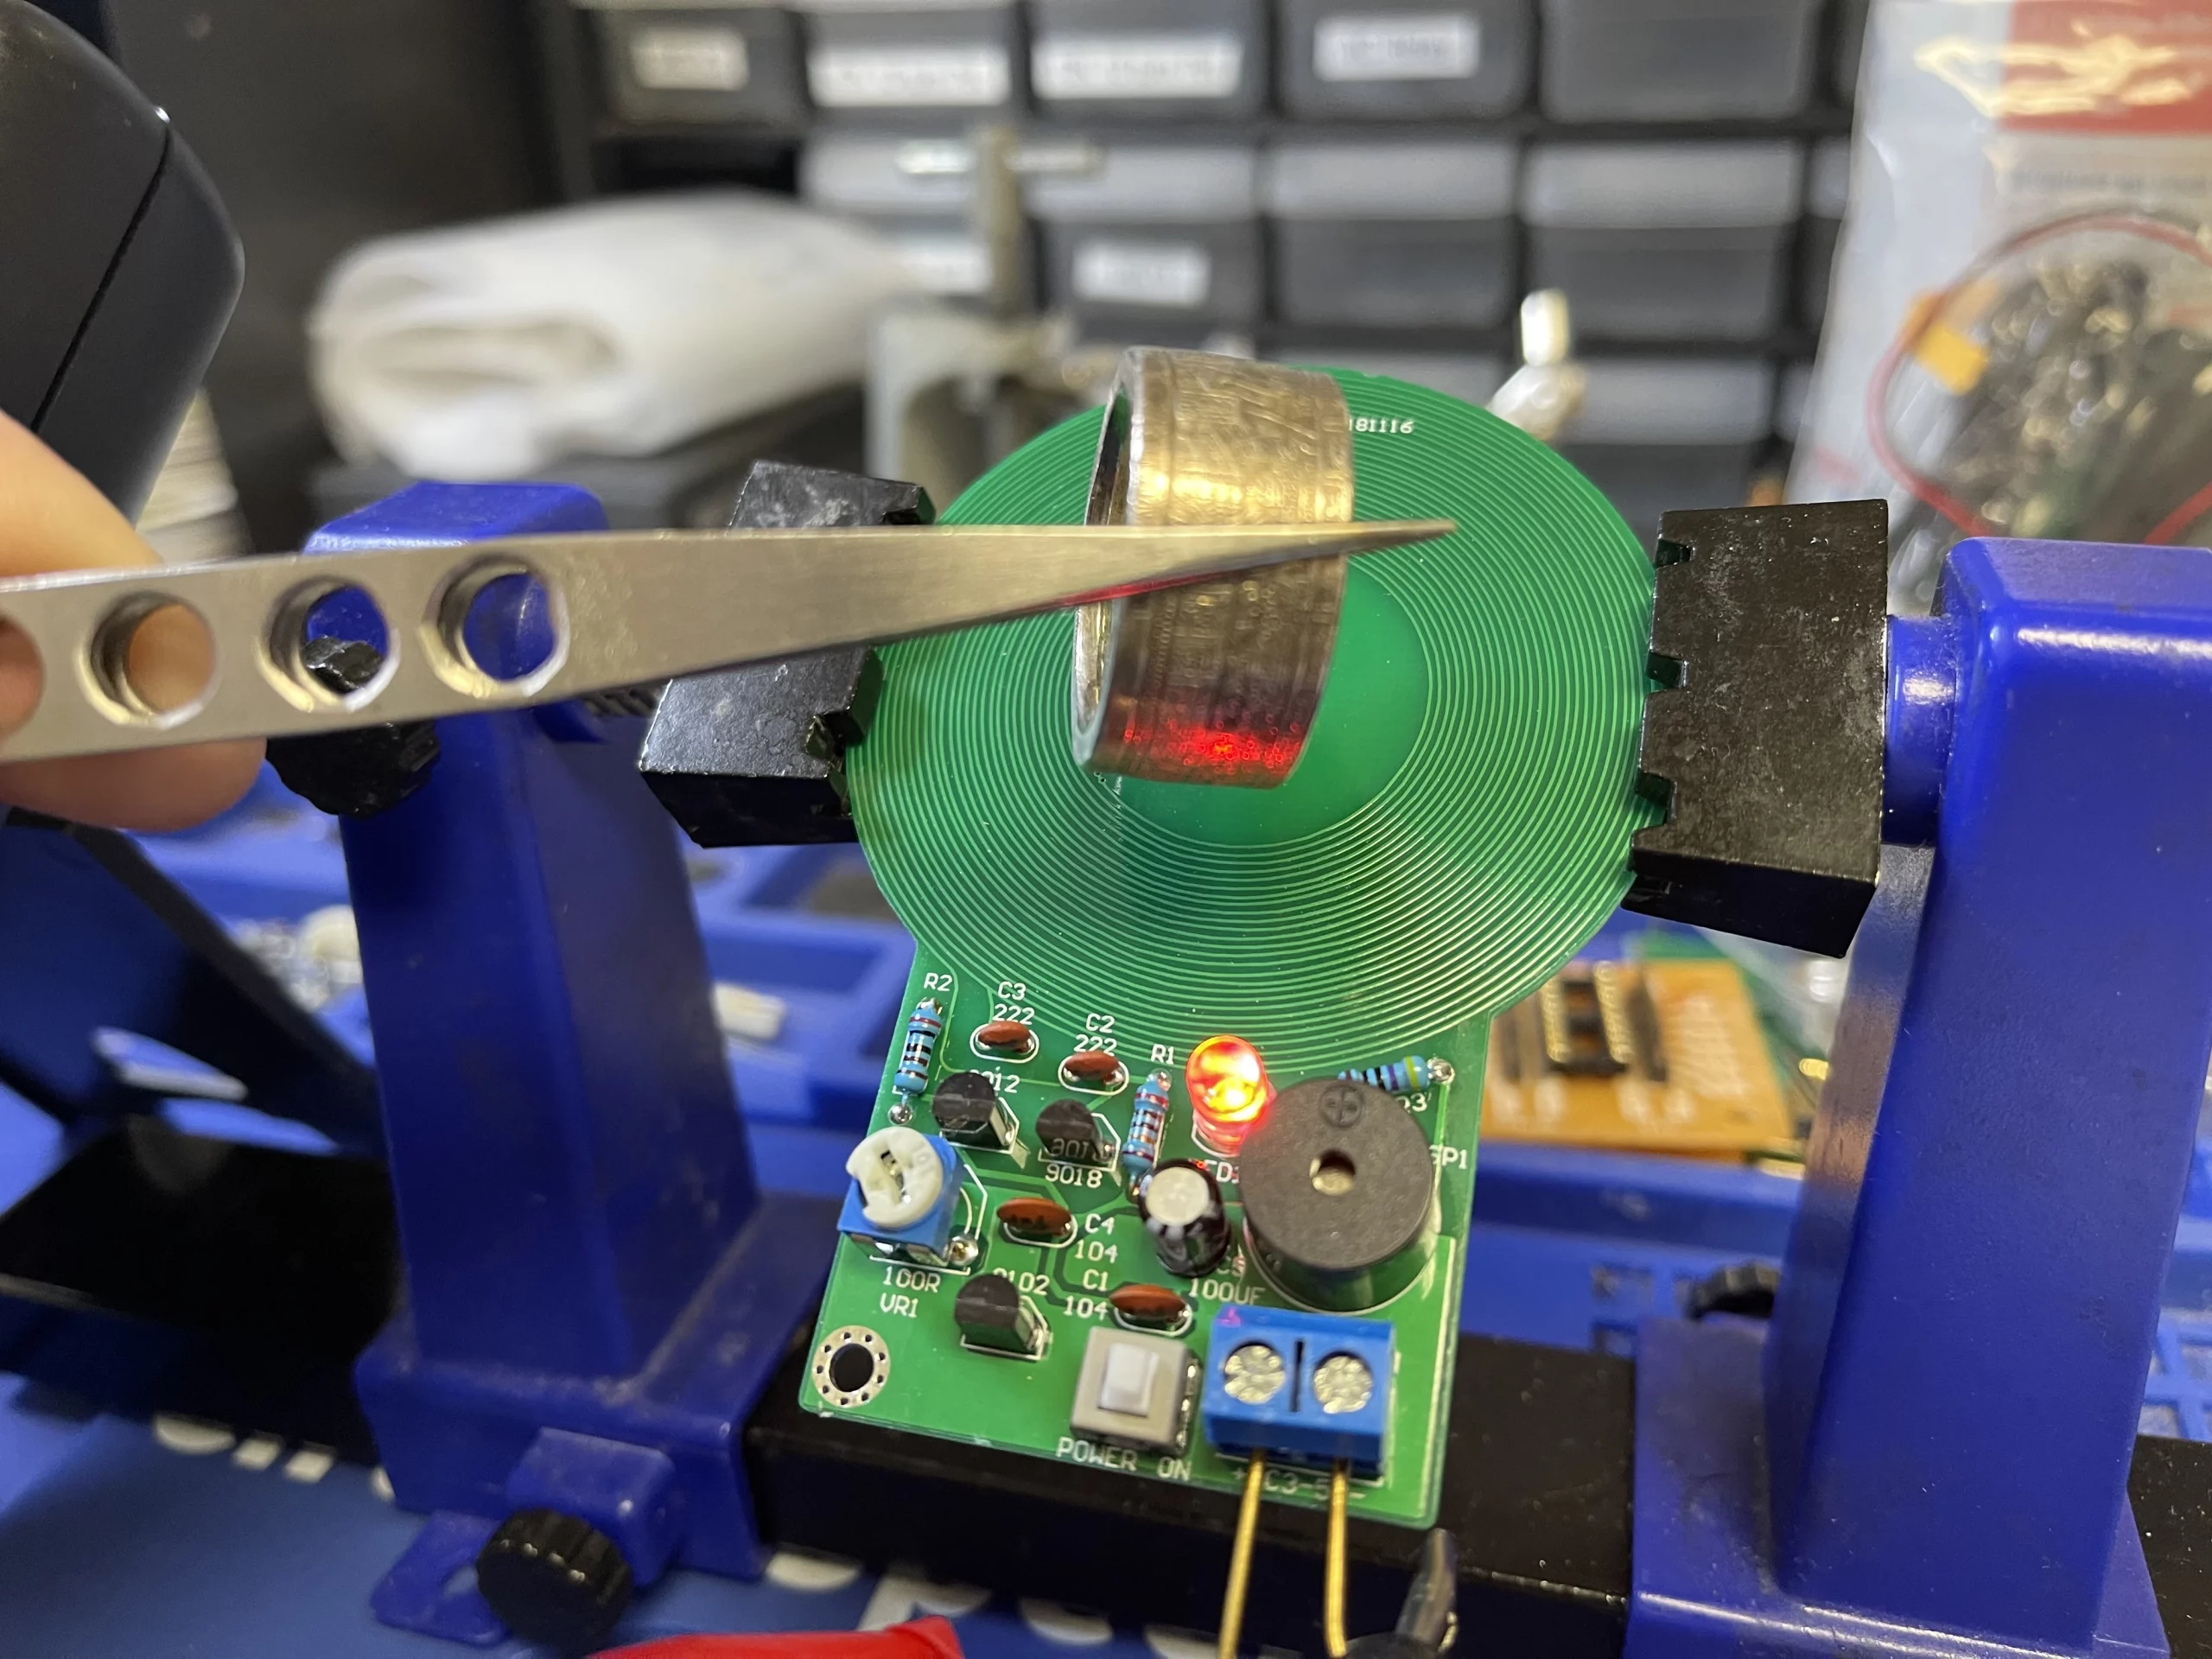
Metal detection works on the principle of electromagnetic induction. When a metal object comes close to the detector’s coil, it disturbs the magnetic field, inducing a voltage in the coil. This voltage is then amplified and processed to trigger the buzzer or indicator. The 9012 and 9018 transistors play a crucial role in this process, working together to detect changes in the magnetic field and indicate the presence of metal.
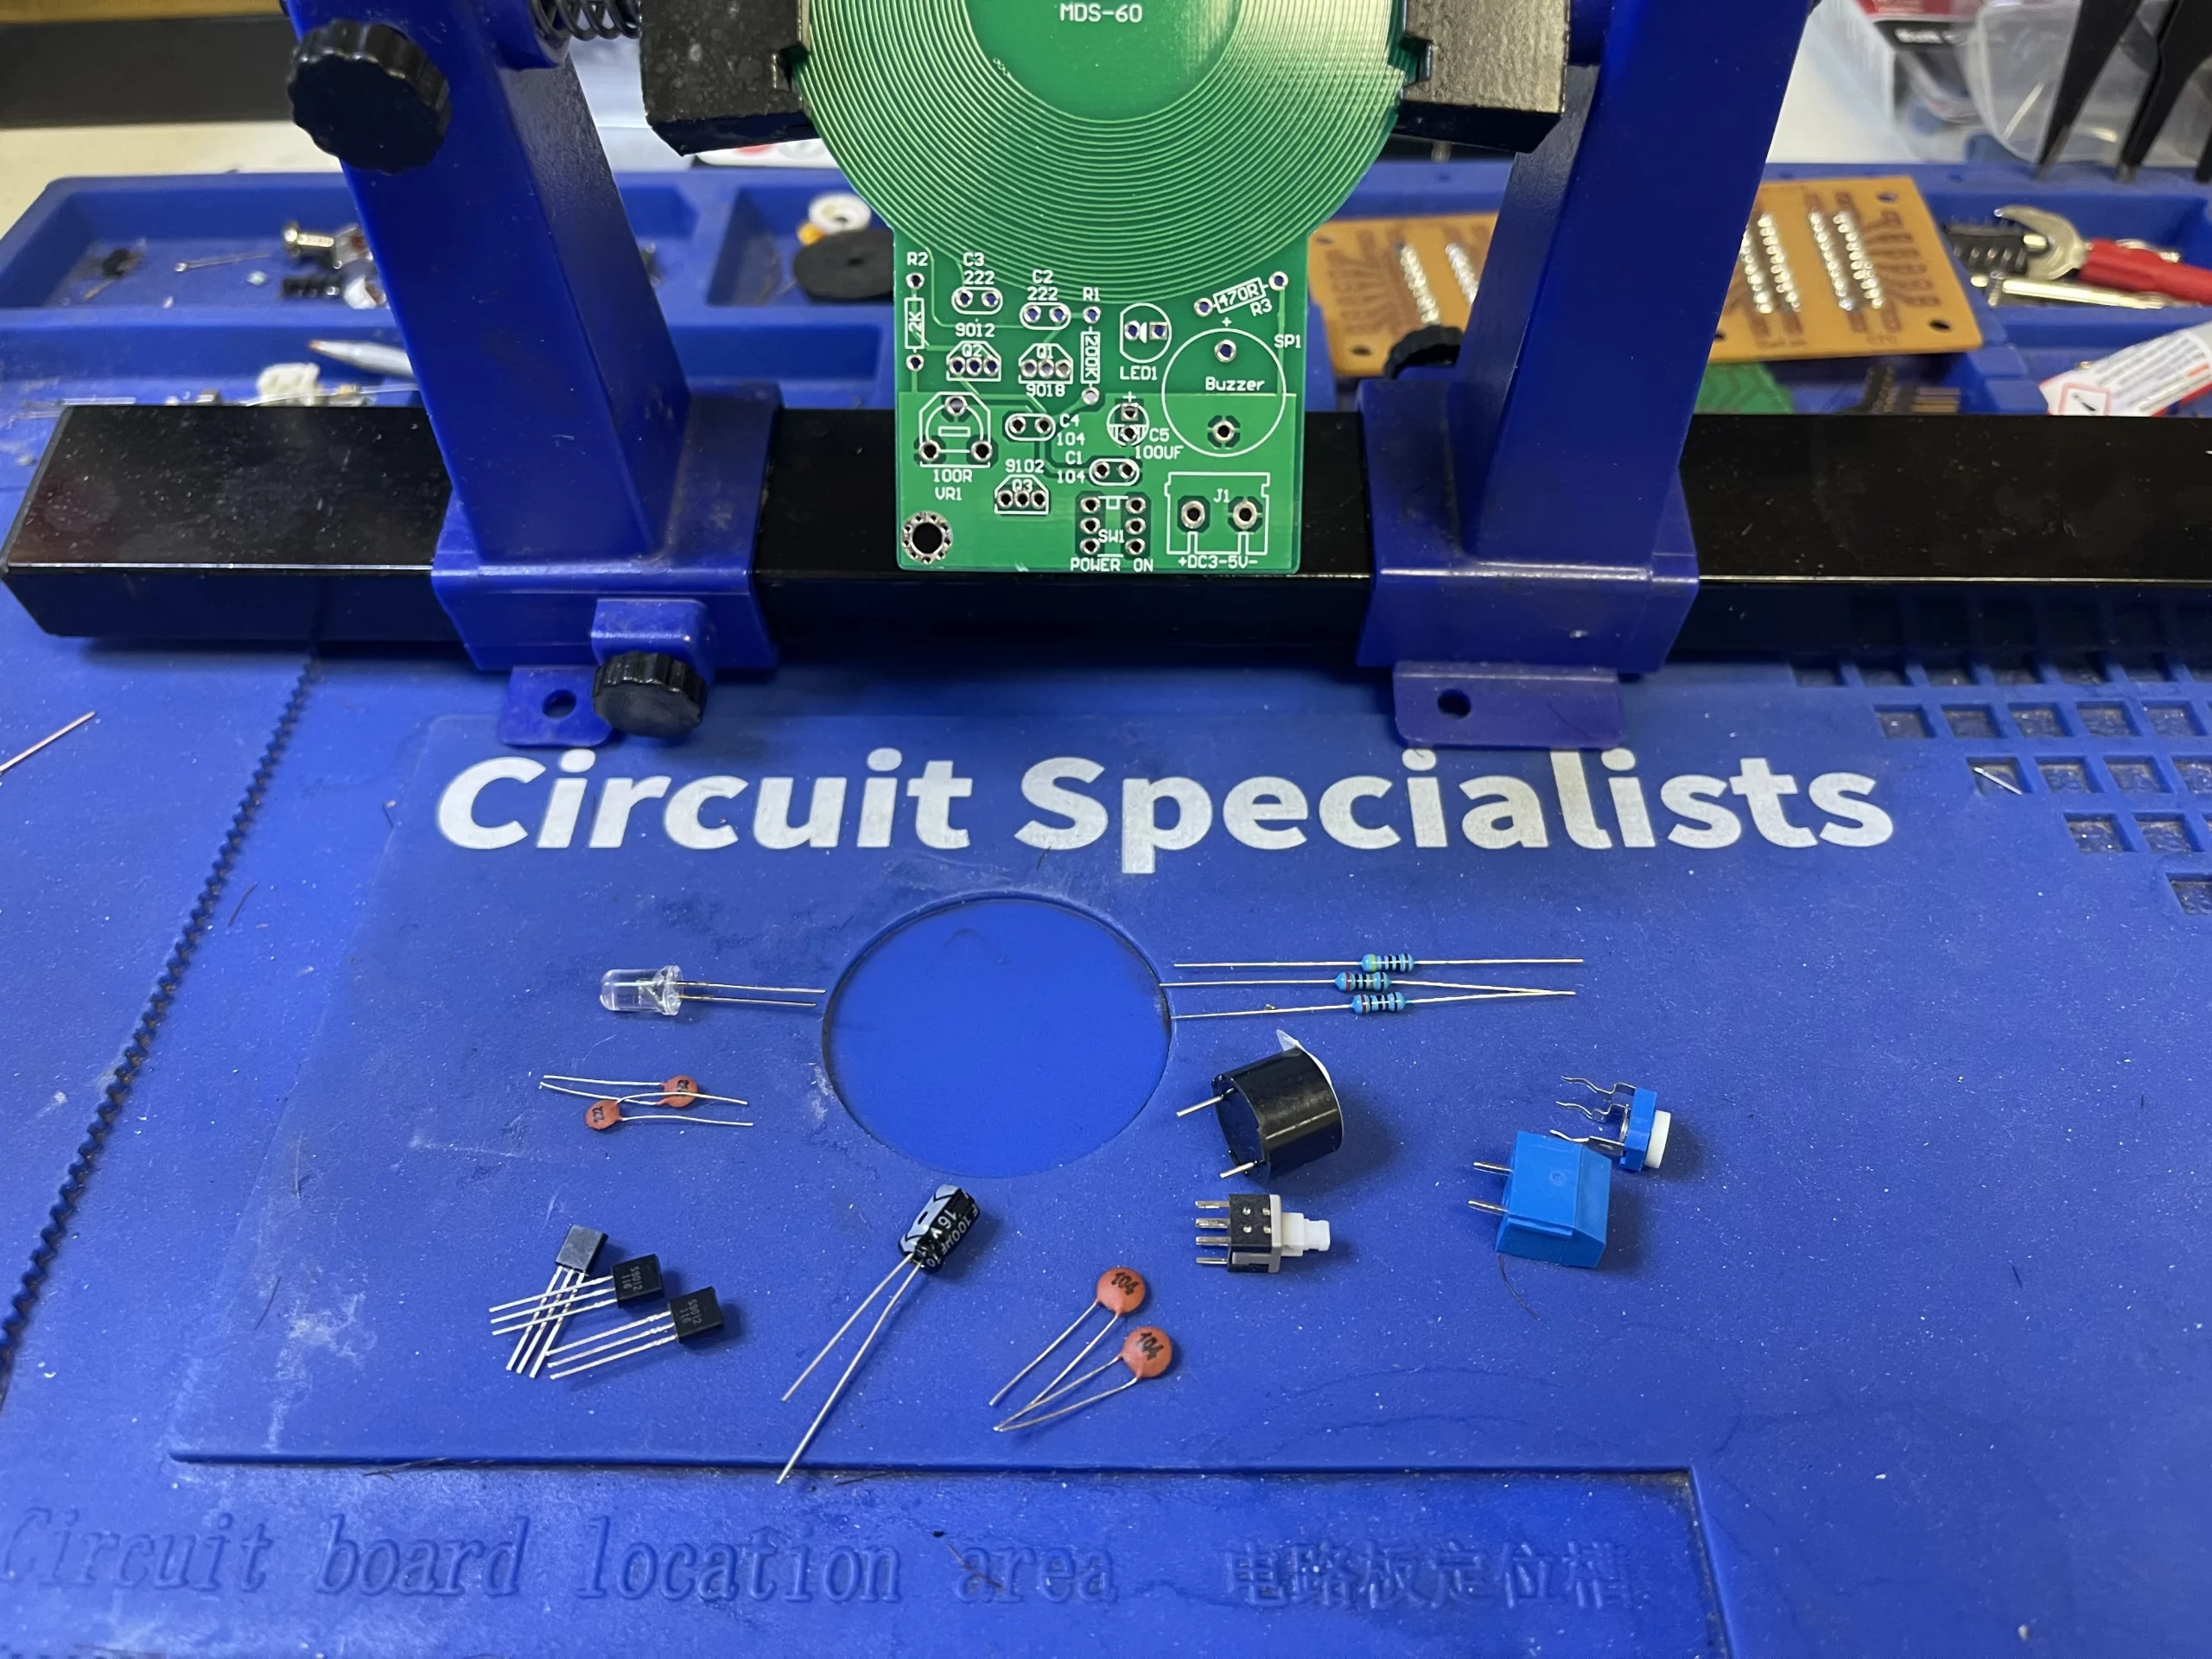
Step-by-Step Instructions:
Inventory is an important step in any project, making sure all the electronic components are there and contacting us for replacement if any are missing.
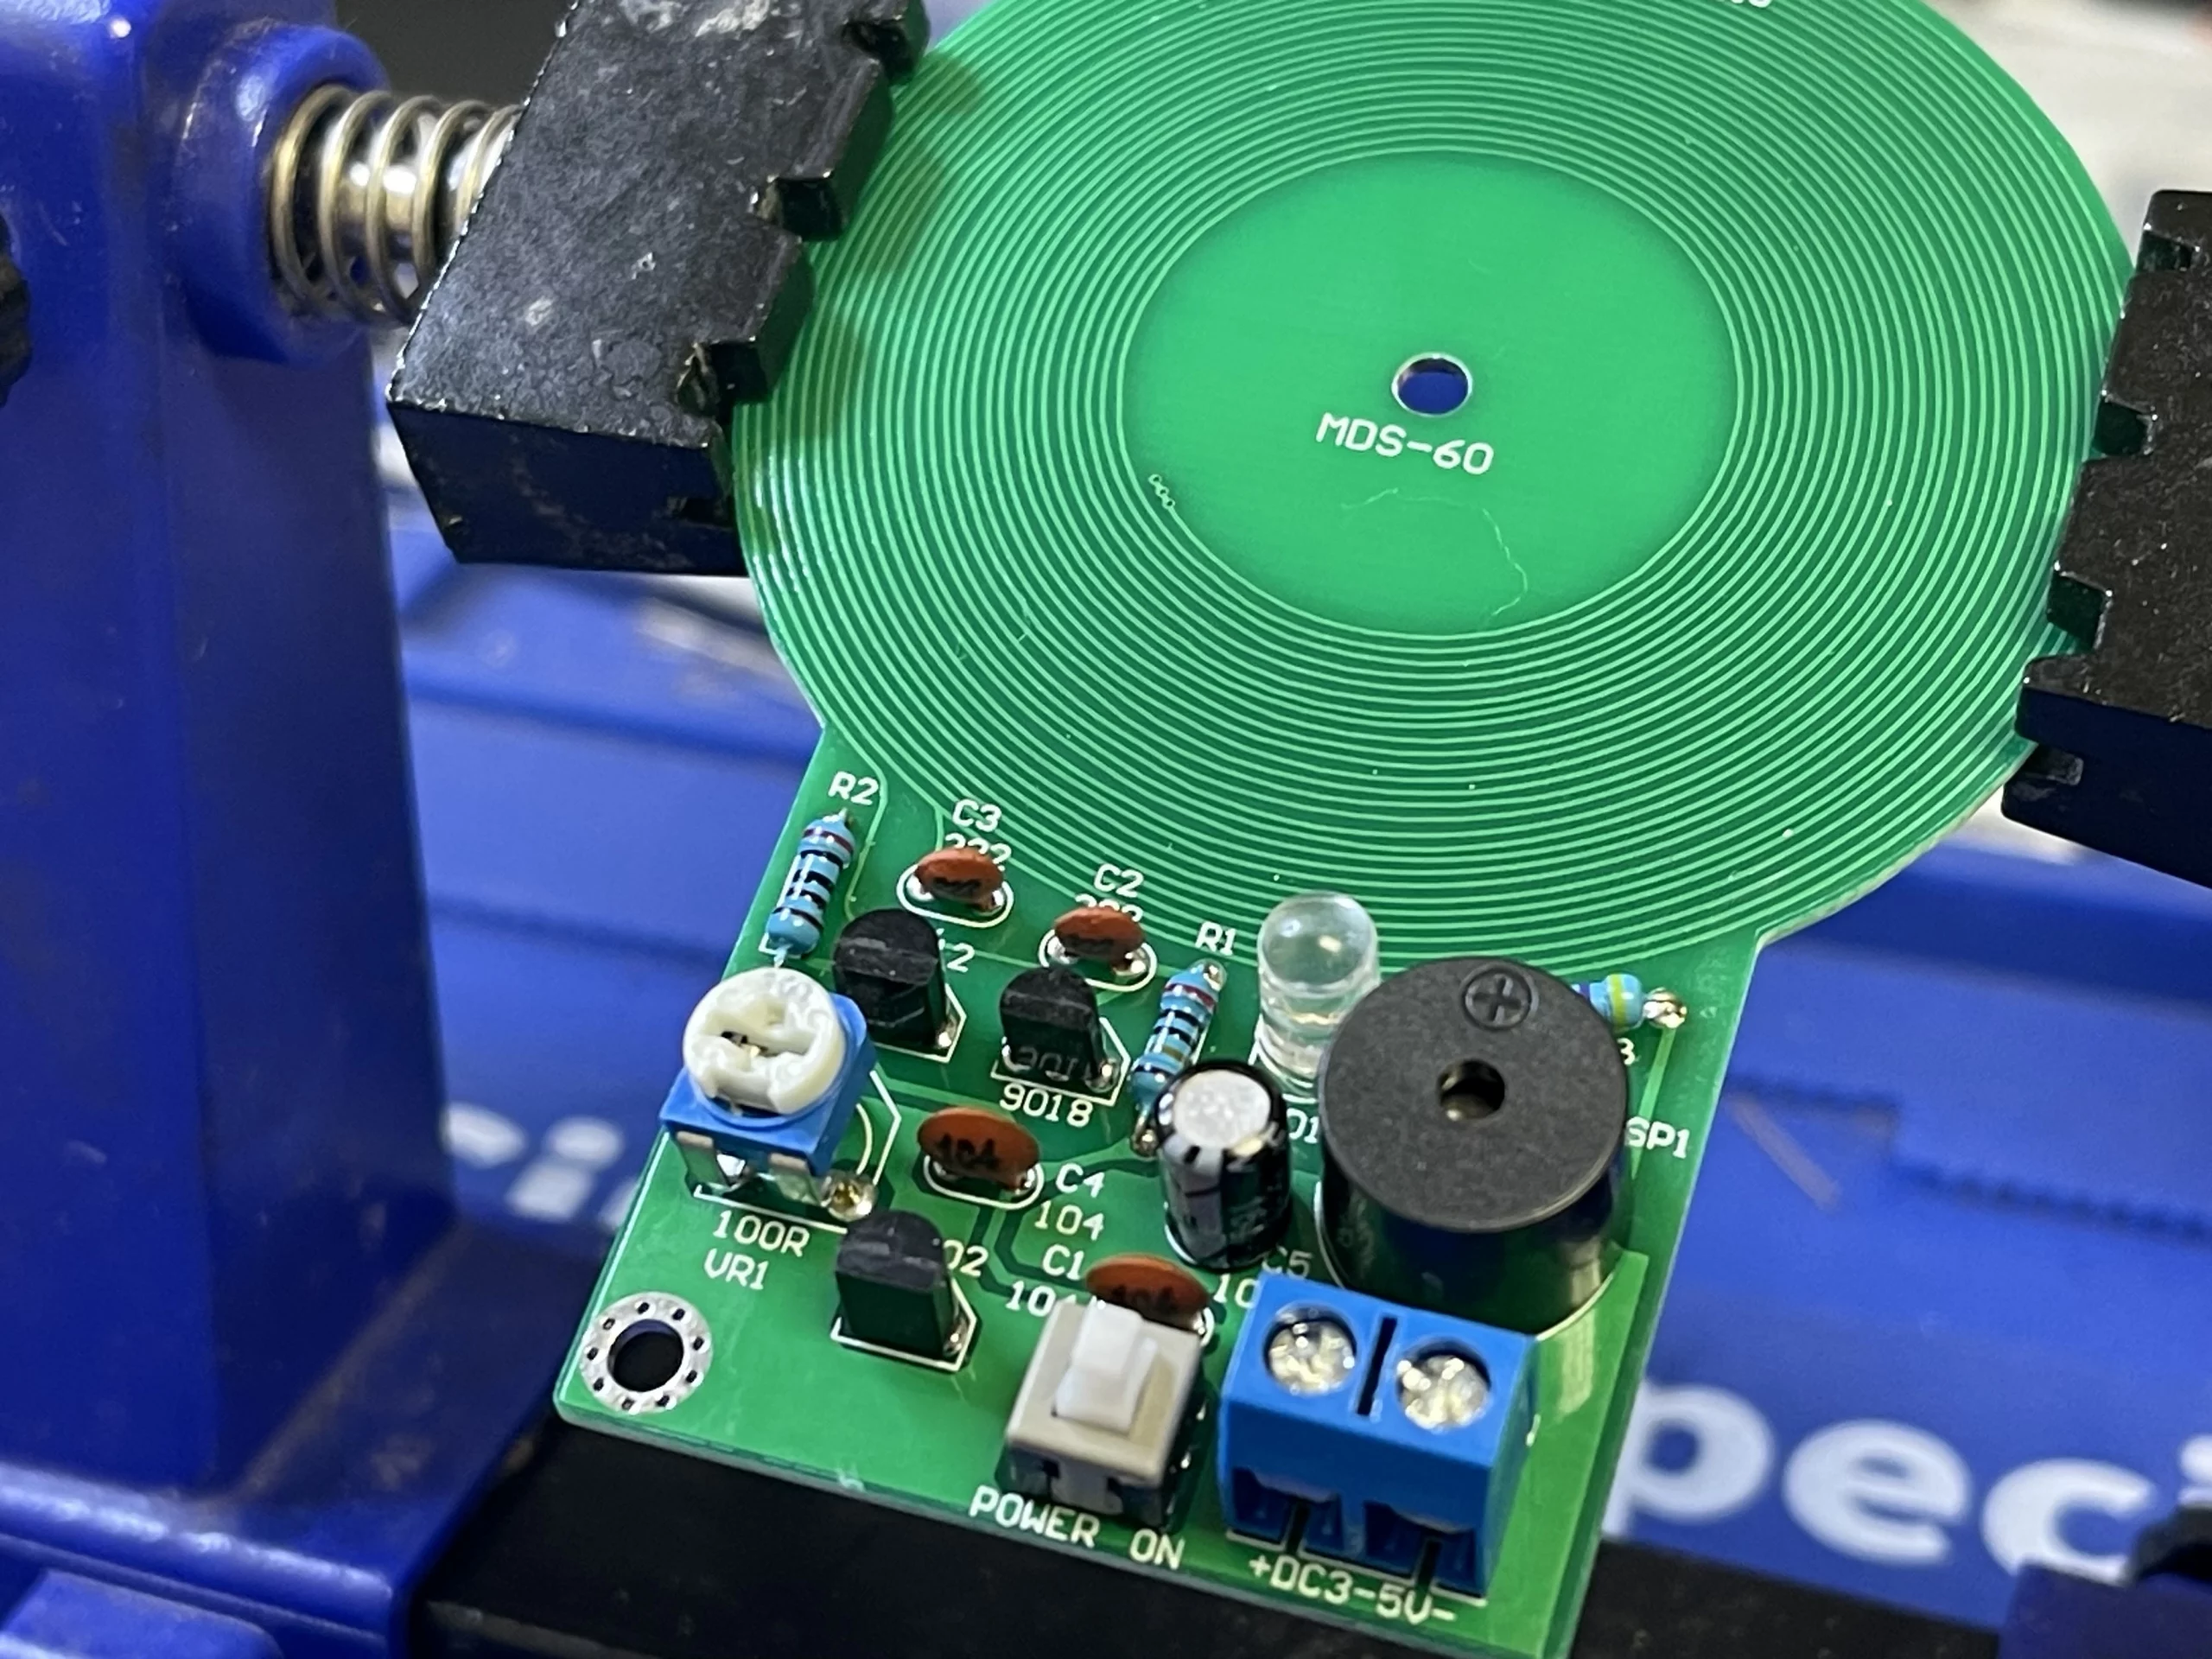
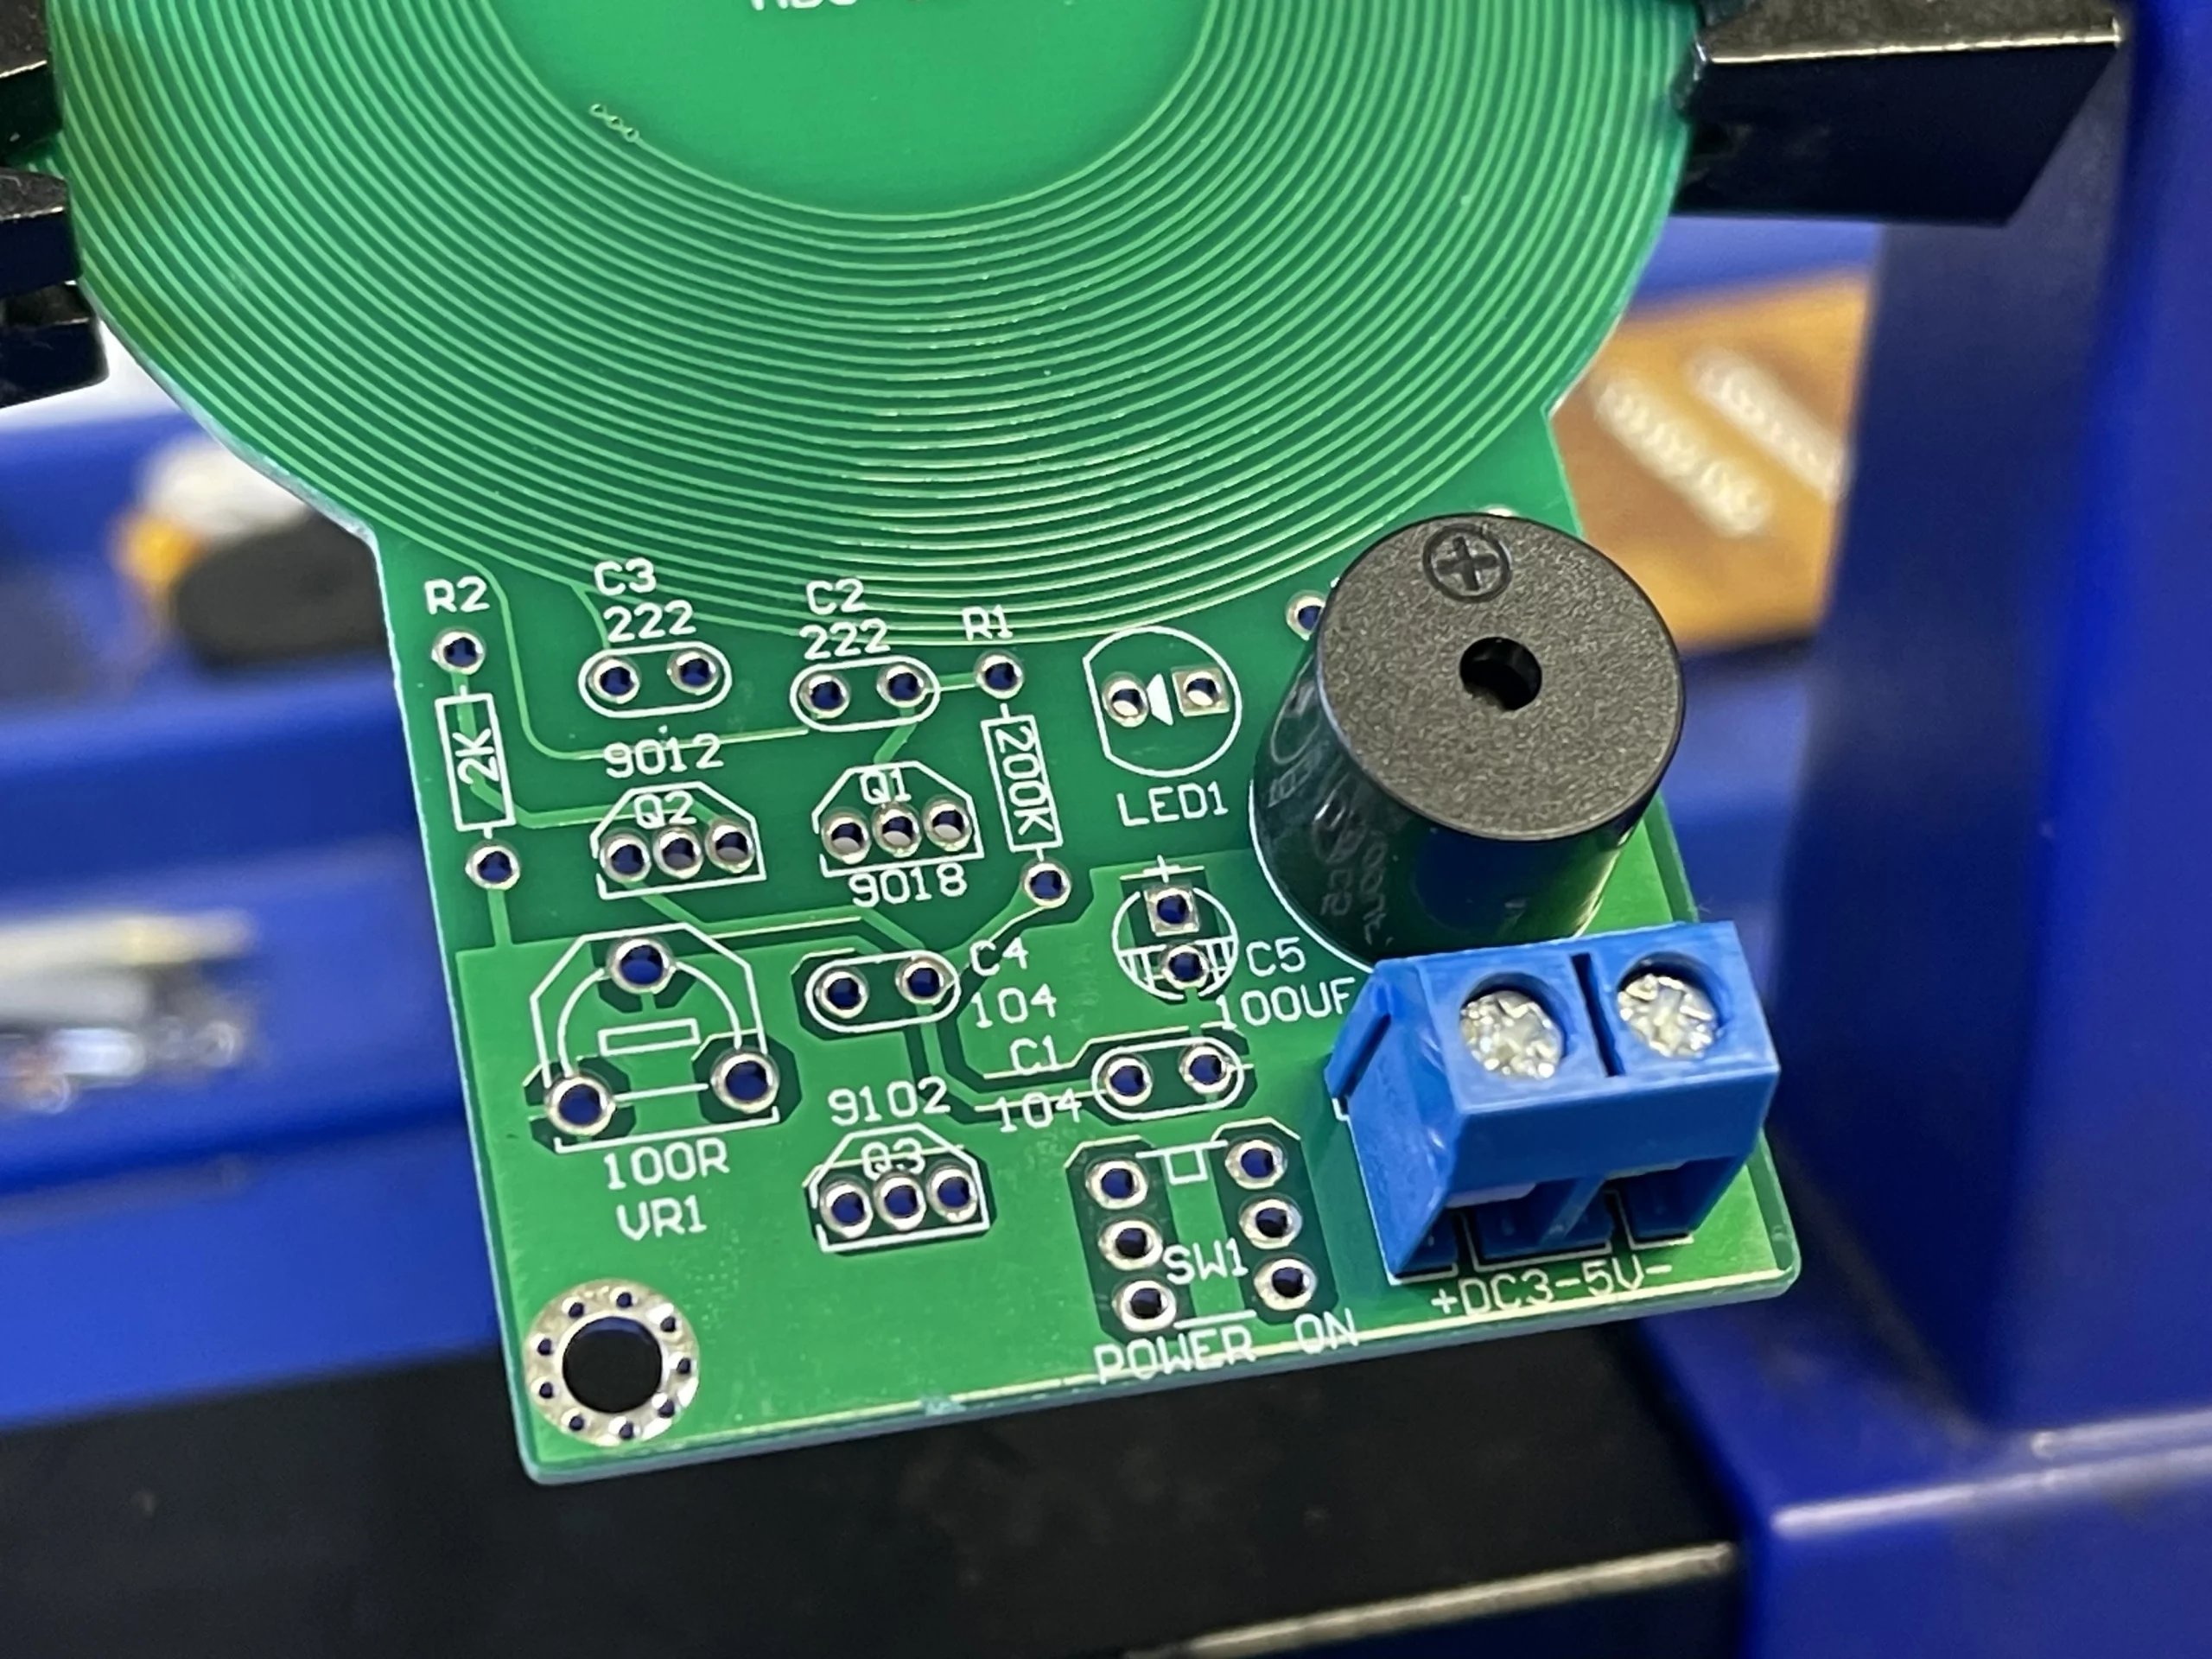
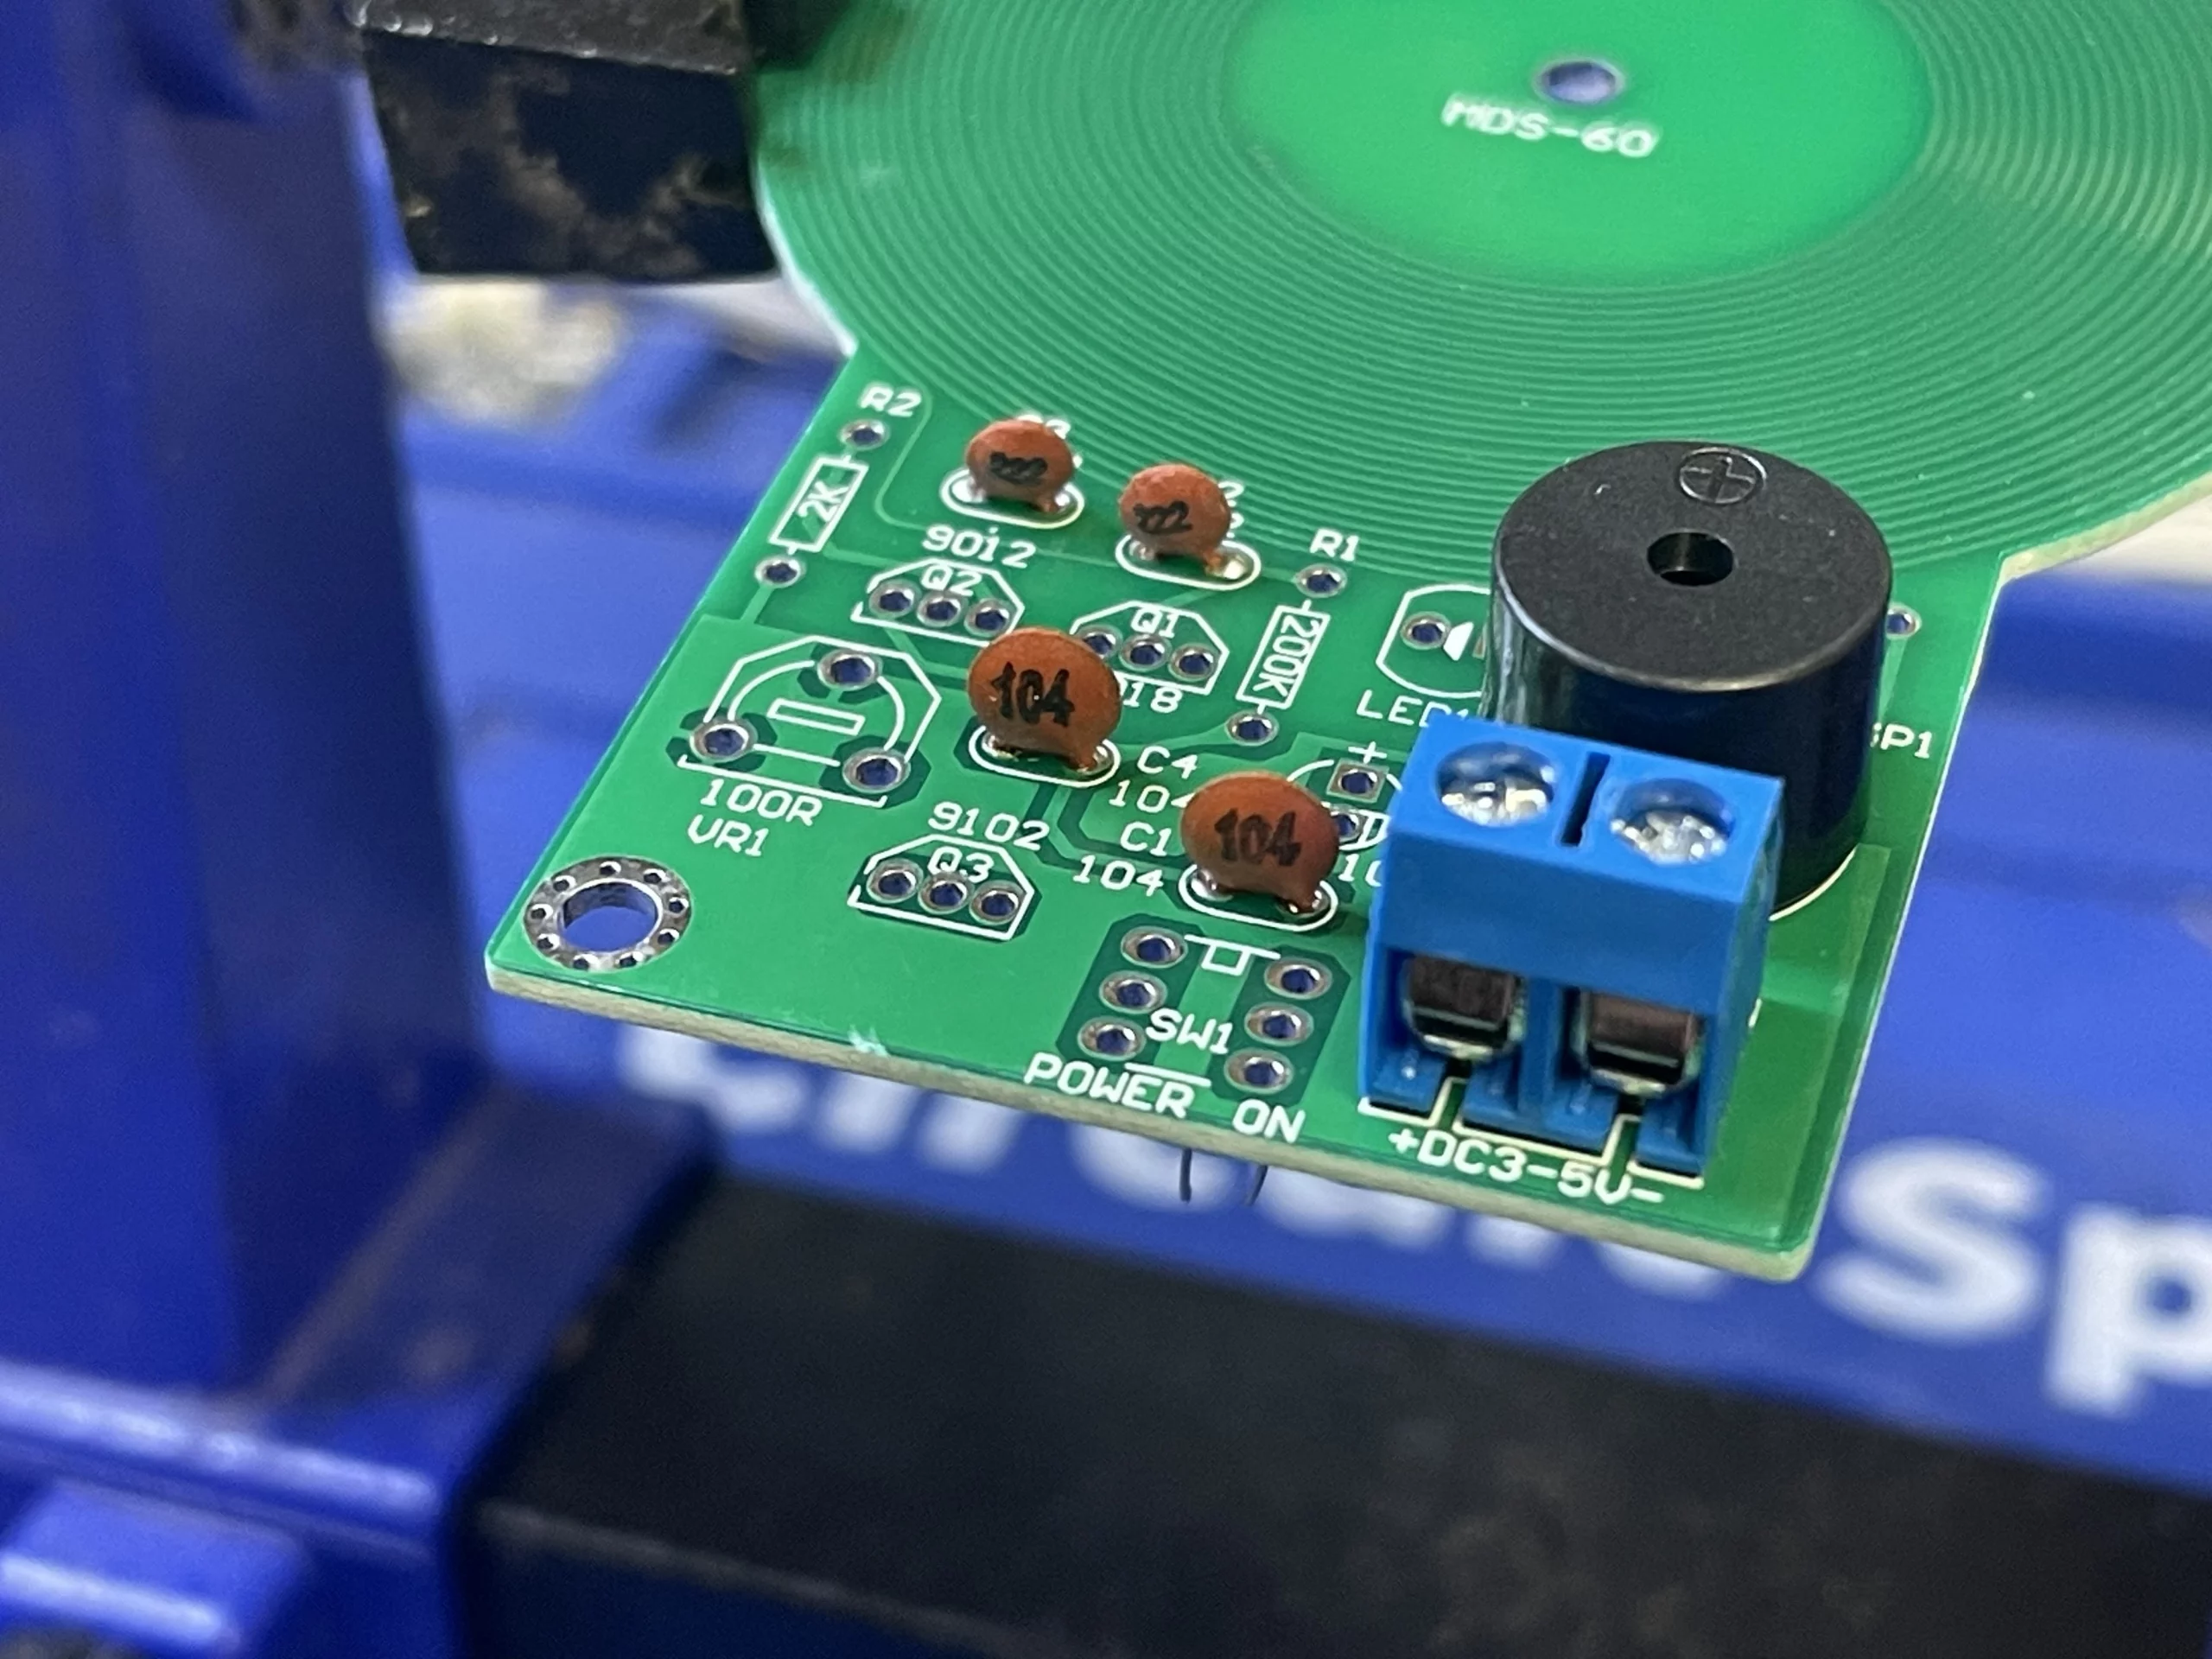
First, solder the power terminal block and buzzer onto the PCB
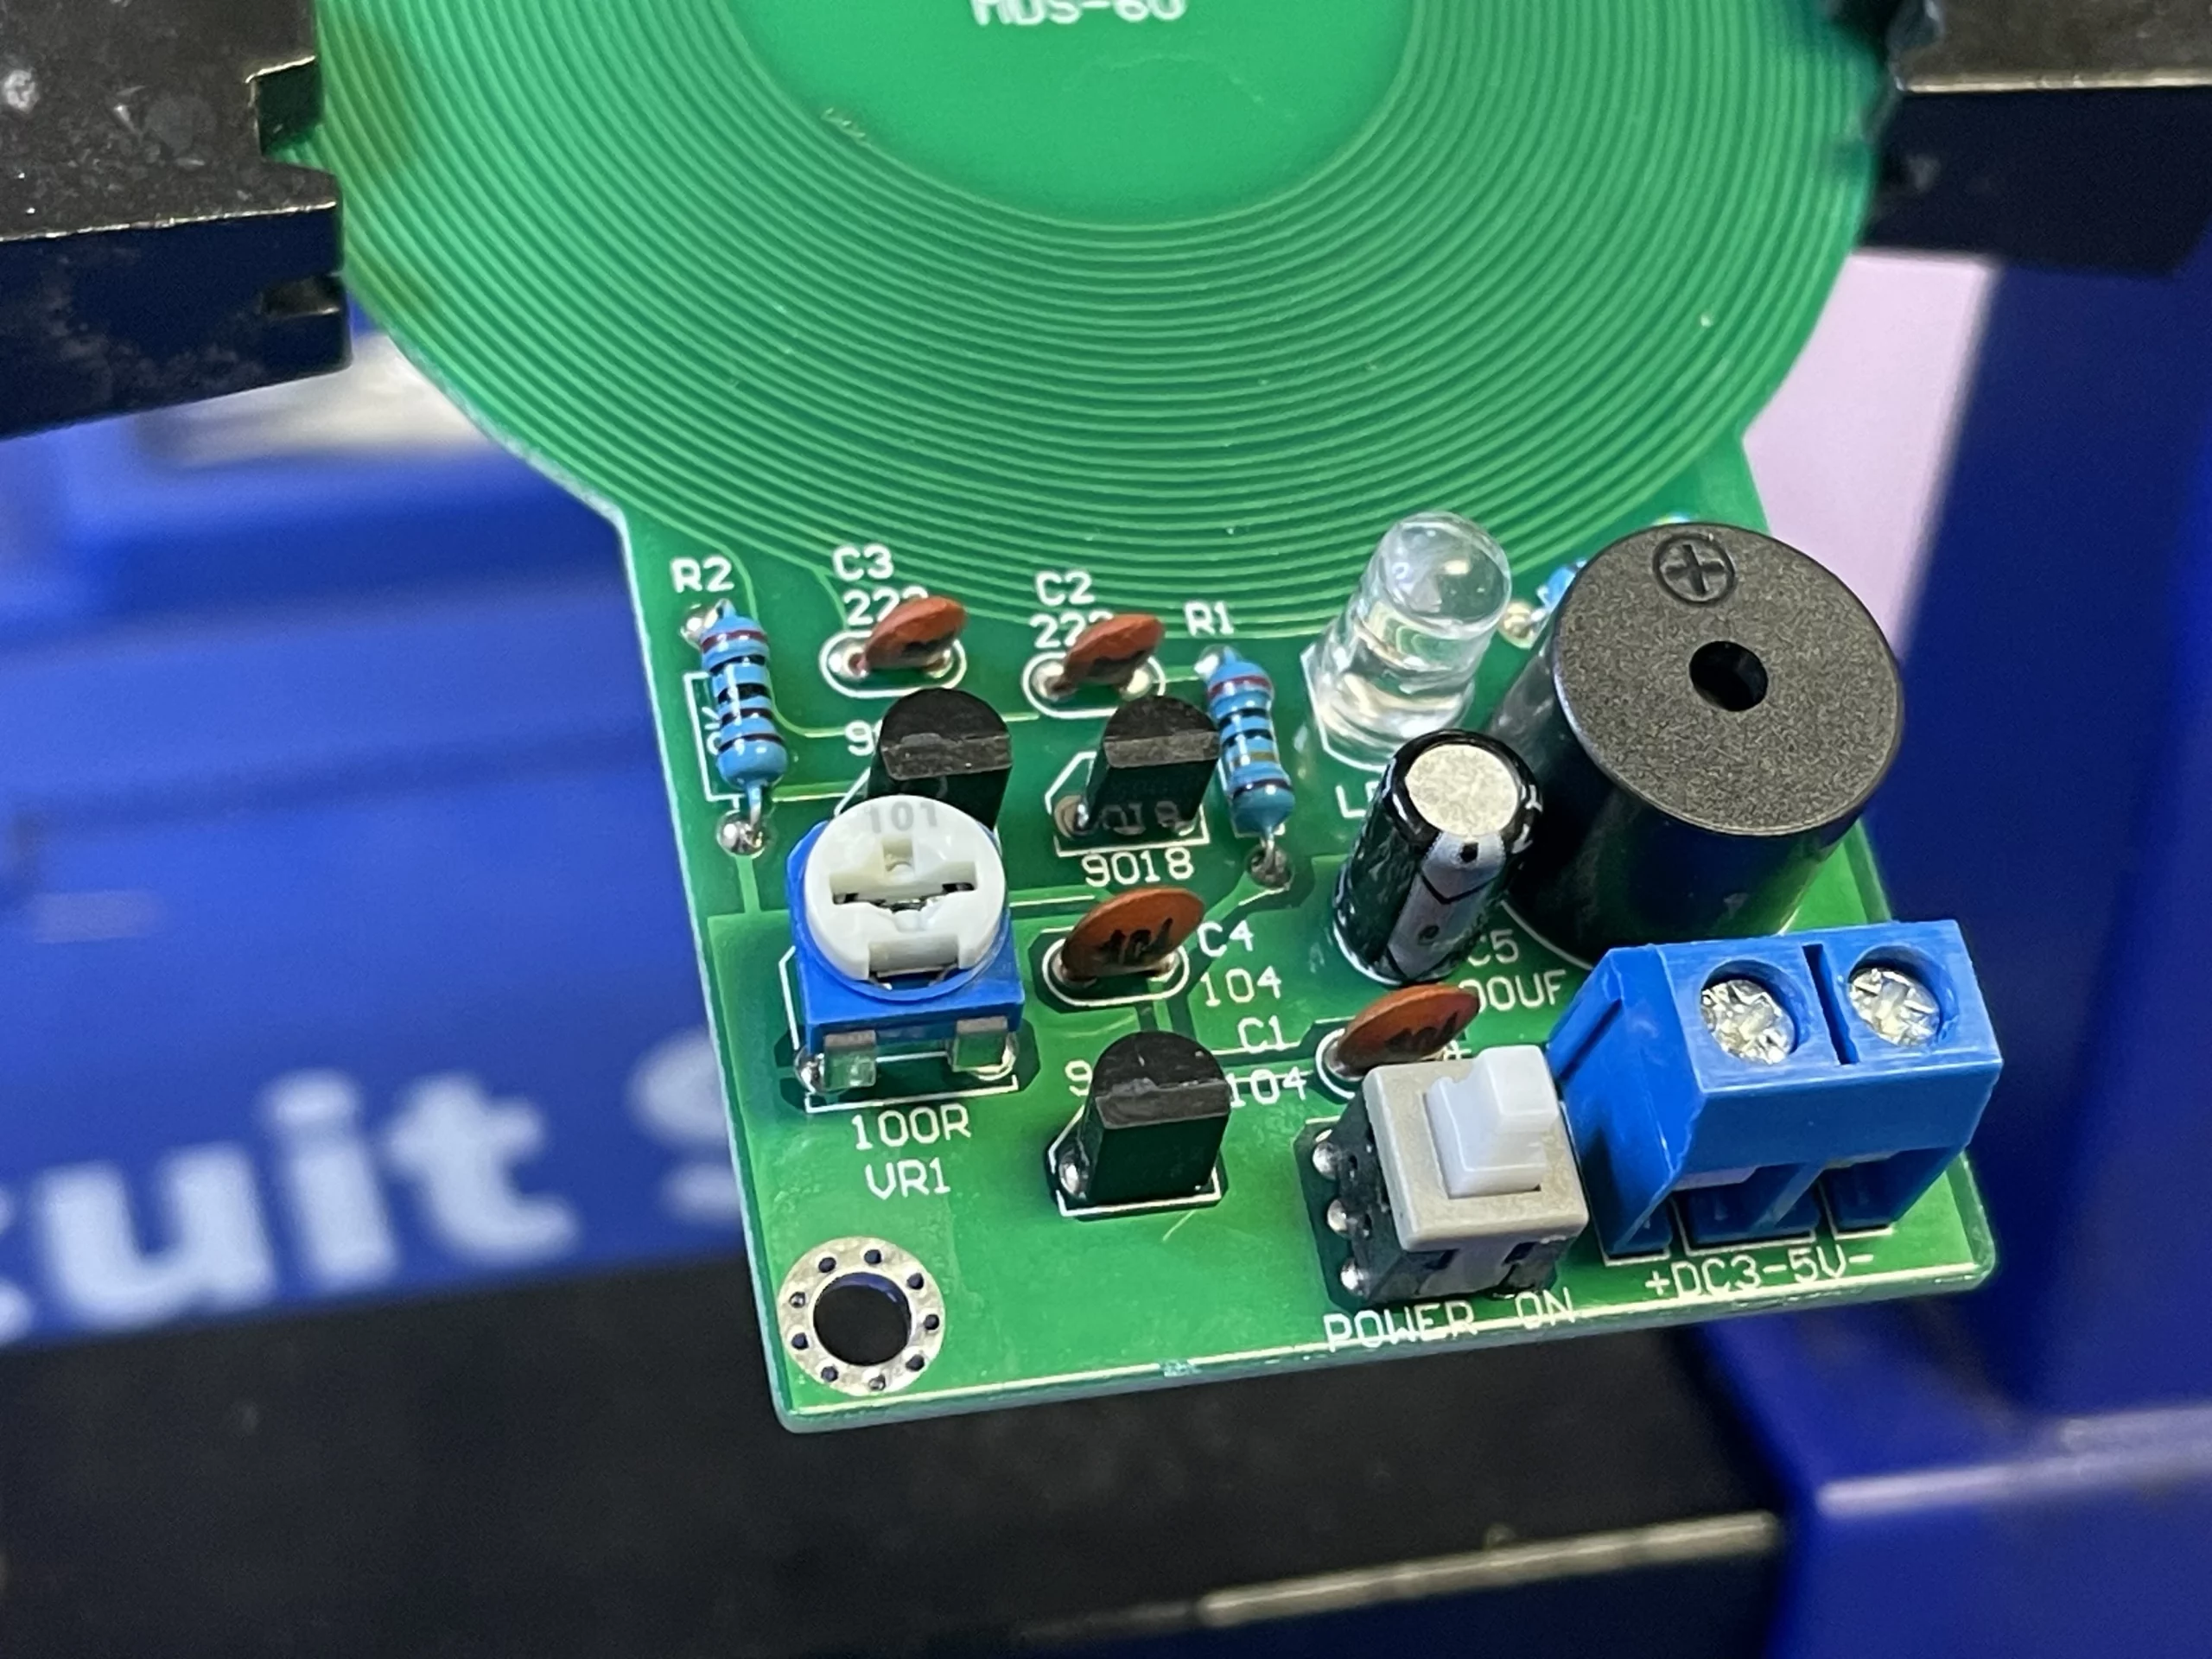
Then solder the capacitors onto the PCB according to the marking on the board.
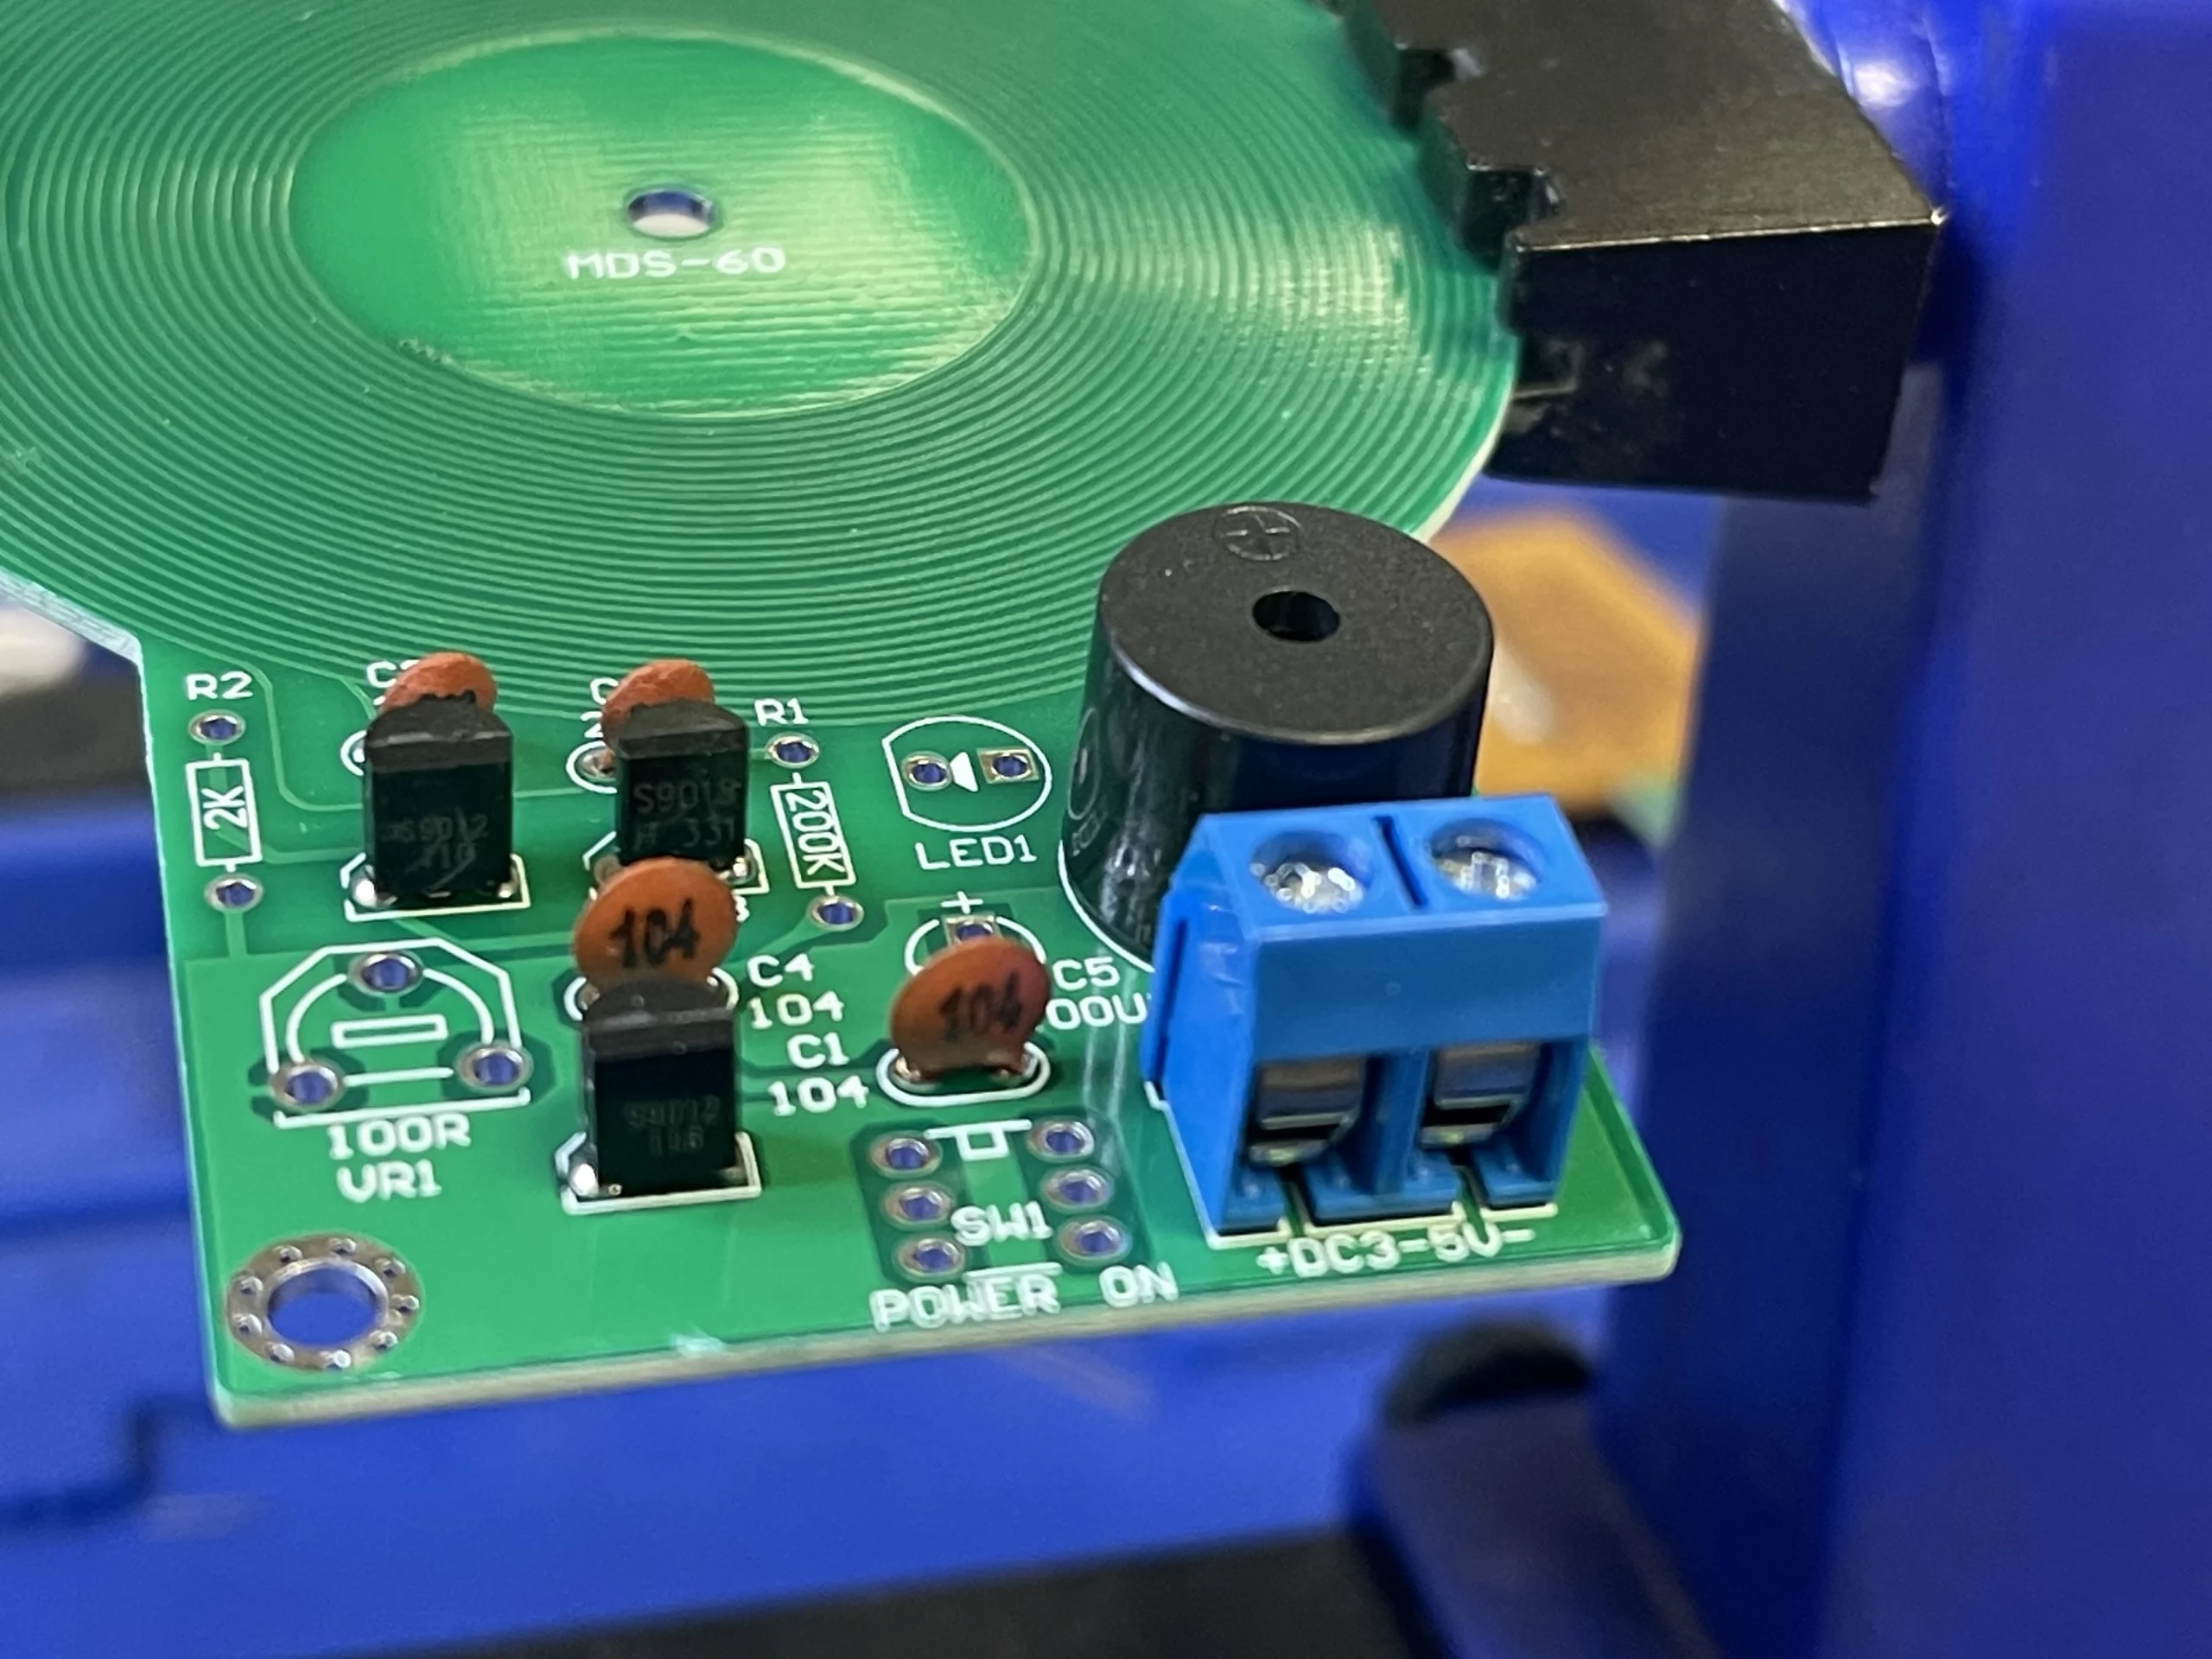
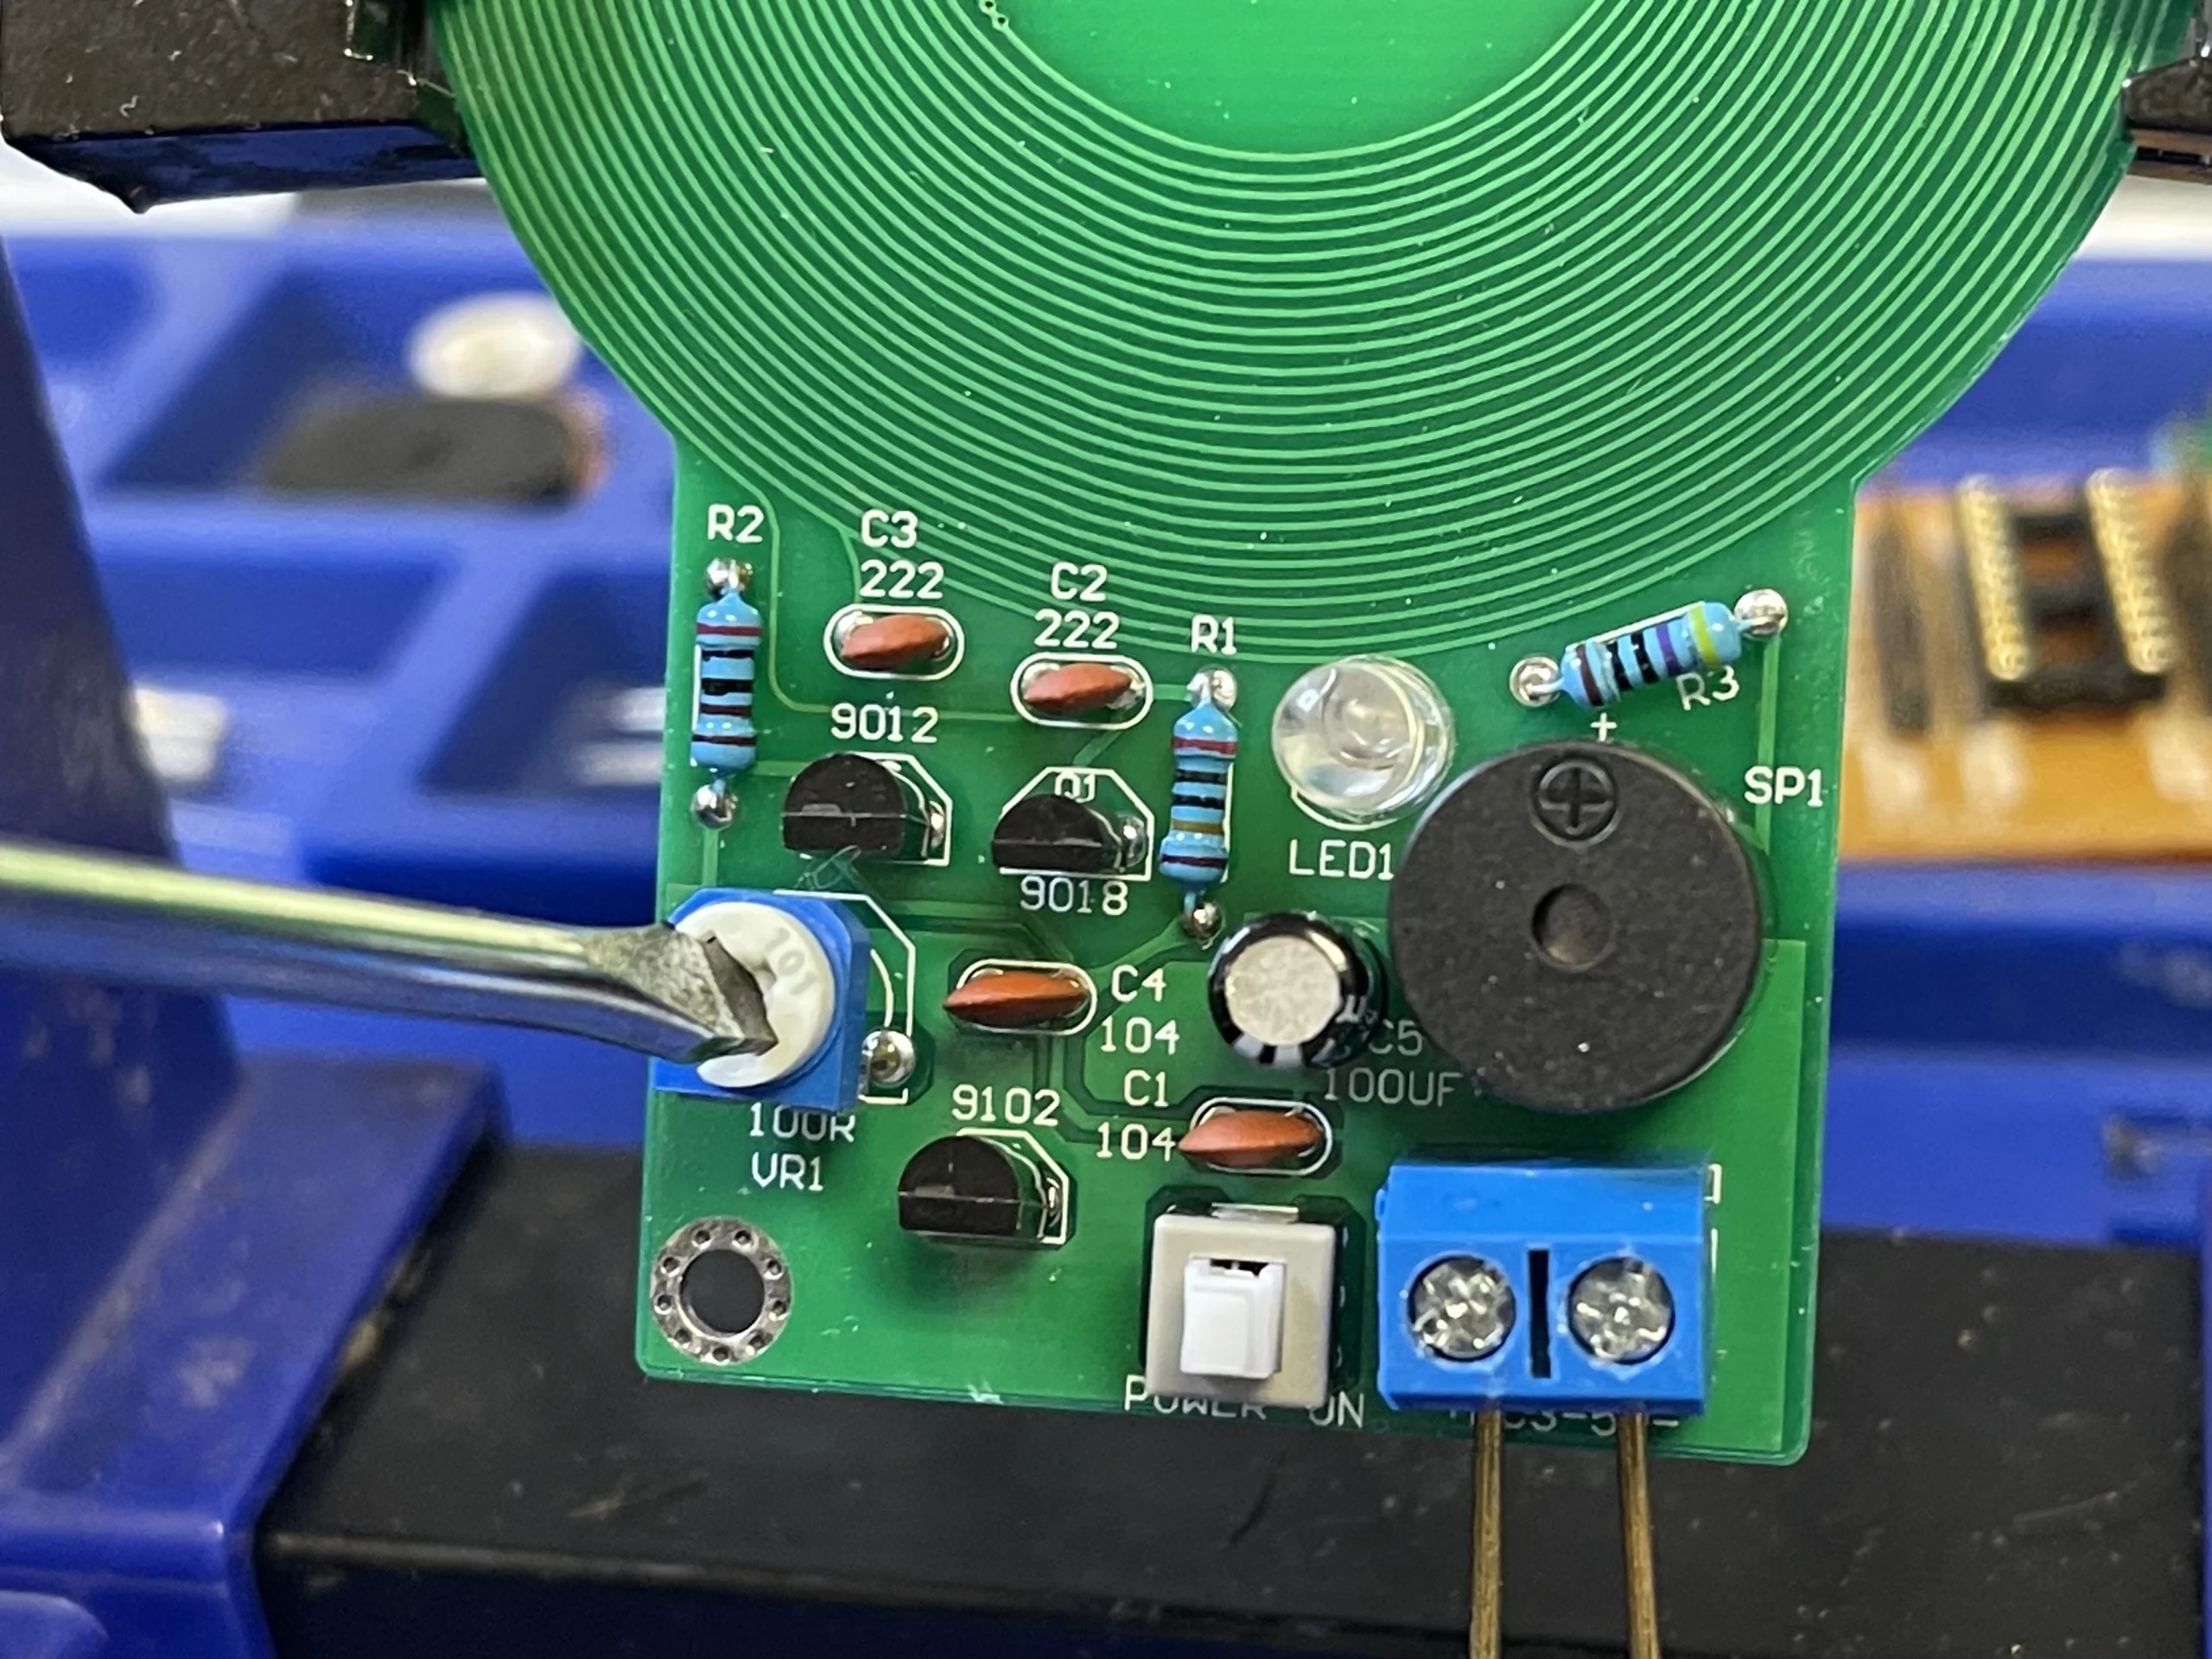
Nest, soldering the 9018 and 9012 transistors onto the board according to the marking on the PCB and the schematic.
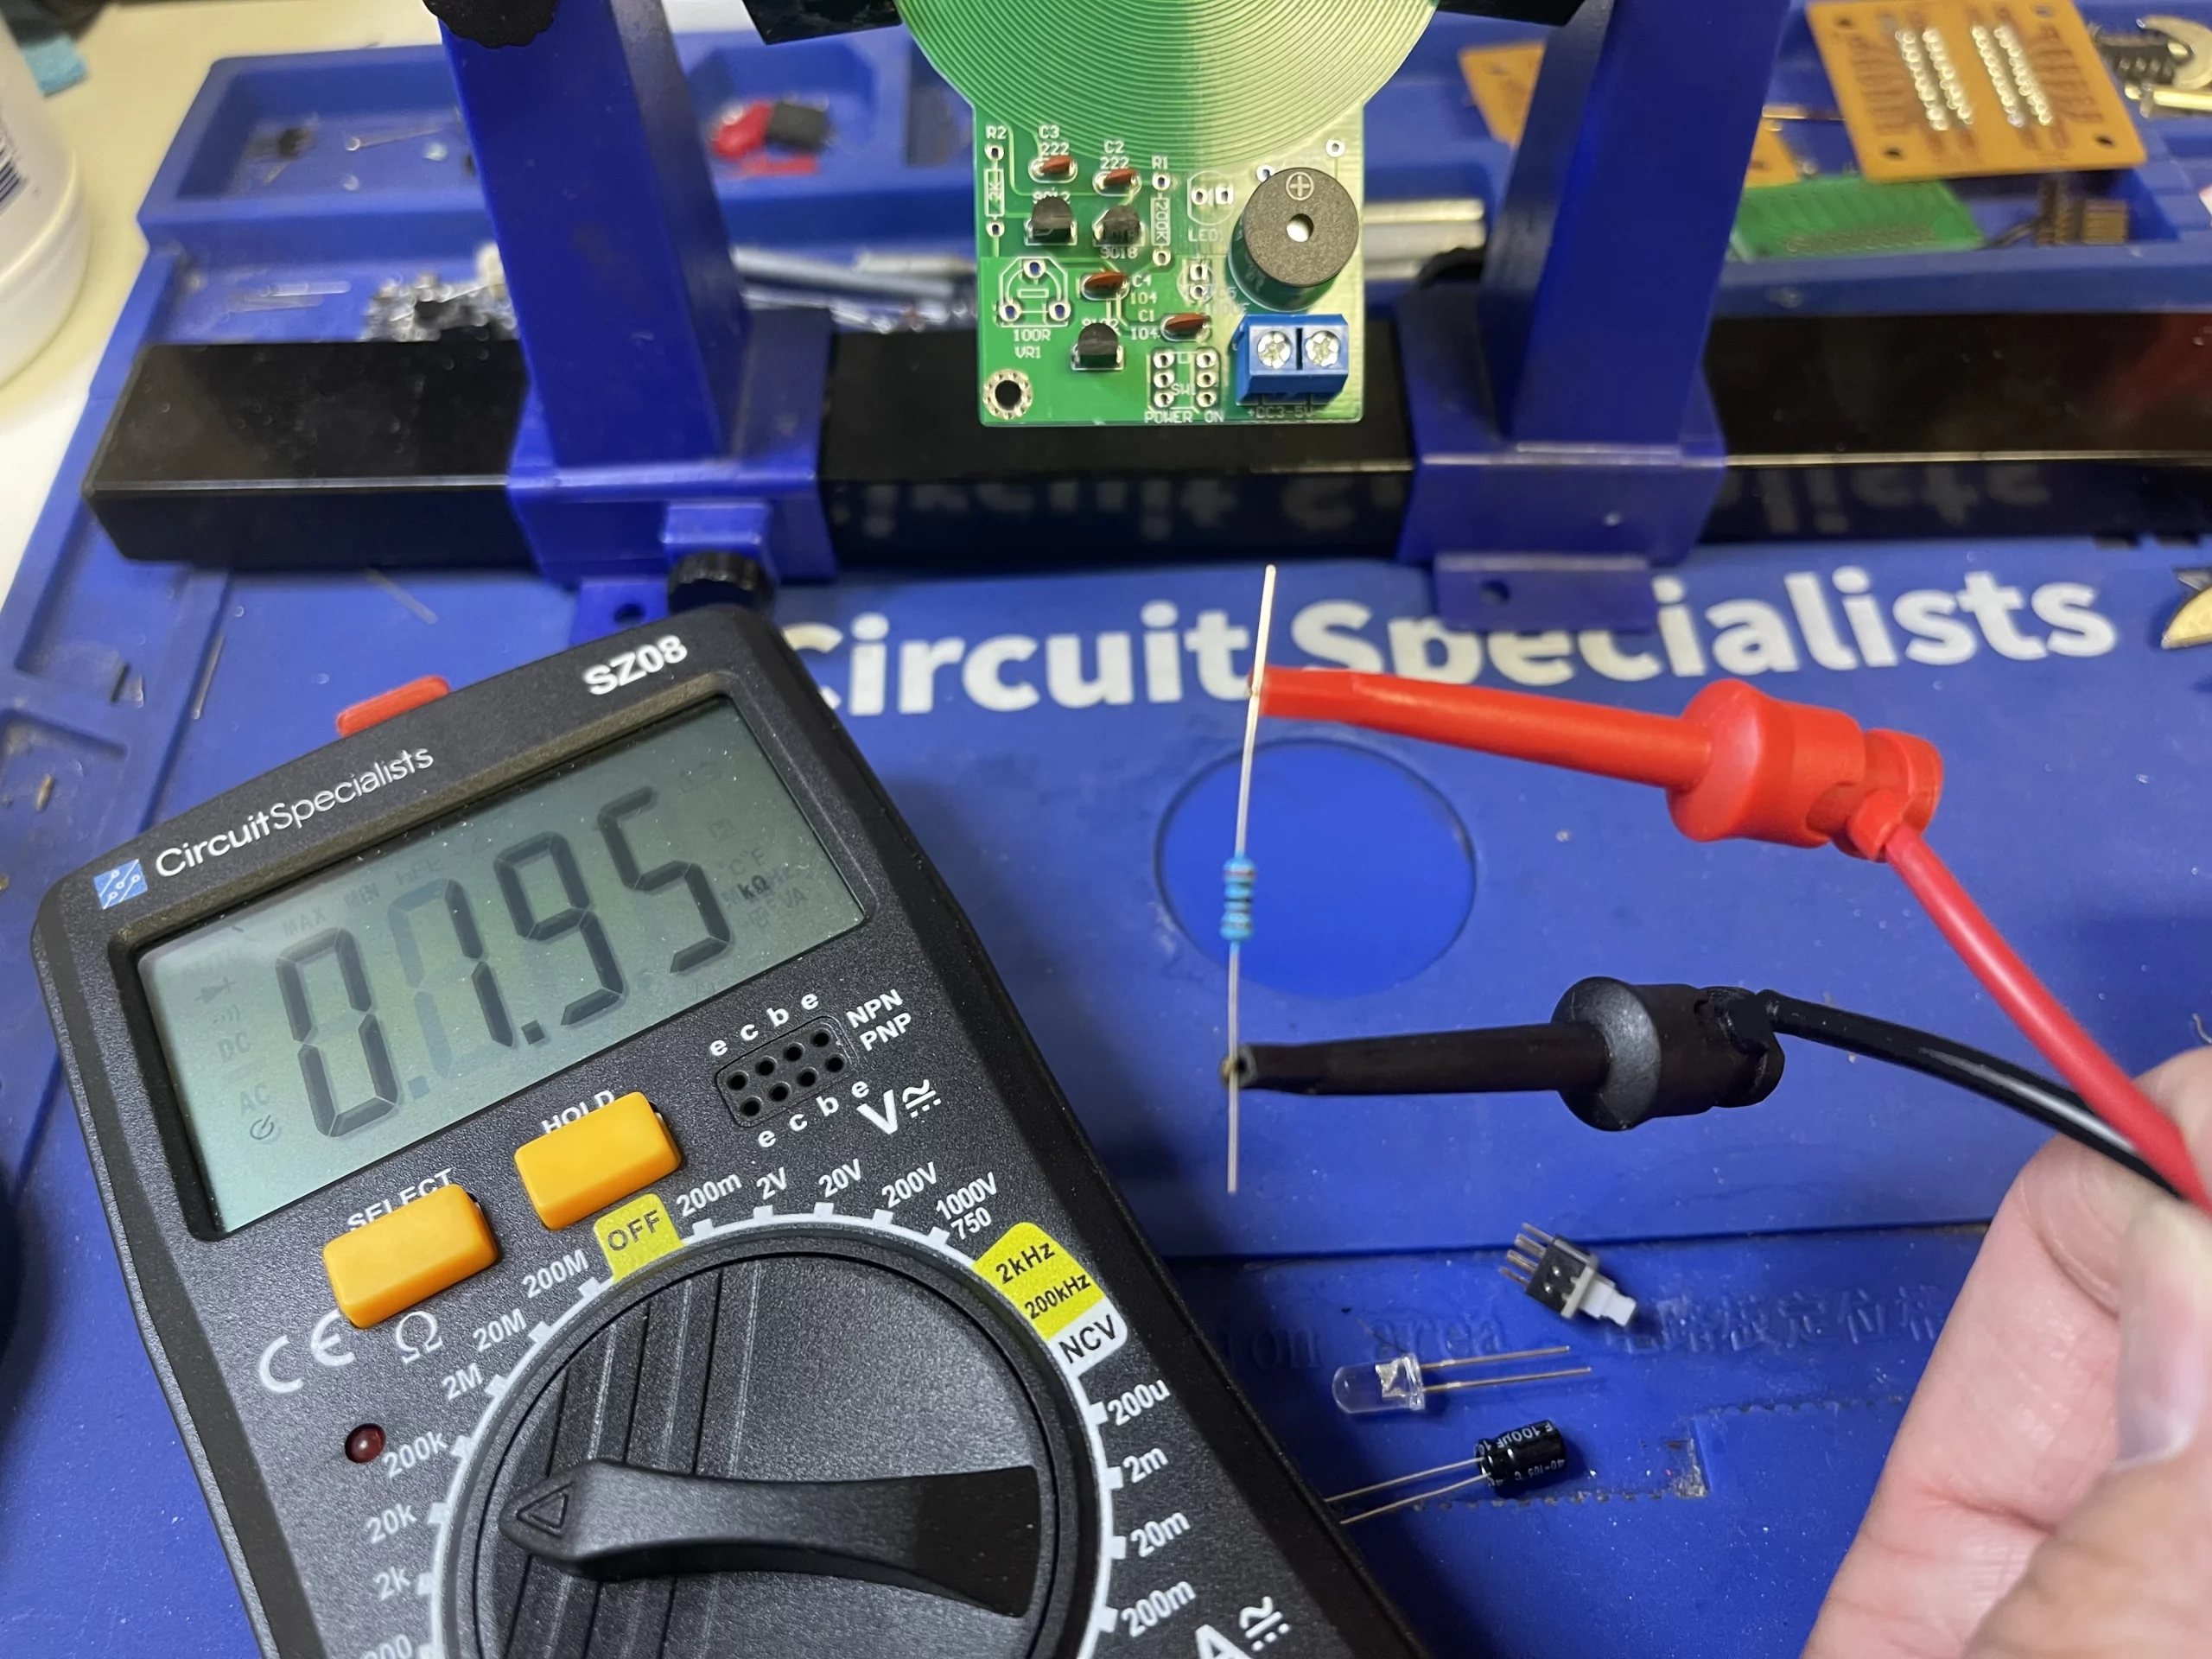
Before soldering the resistor onto the PCB, it is a good practice to check the resistor value with a multimeter before soldering them onto the board.
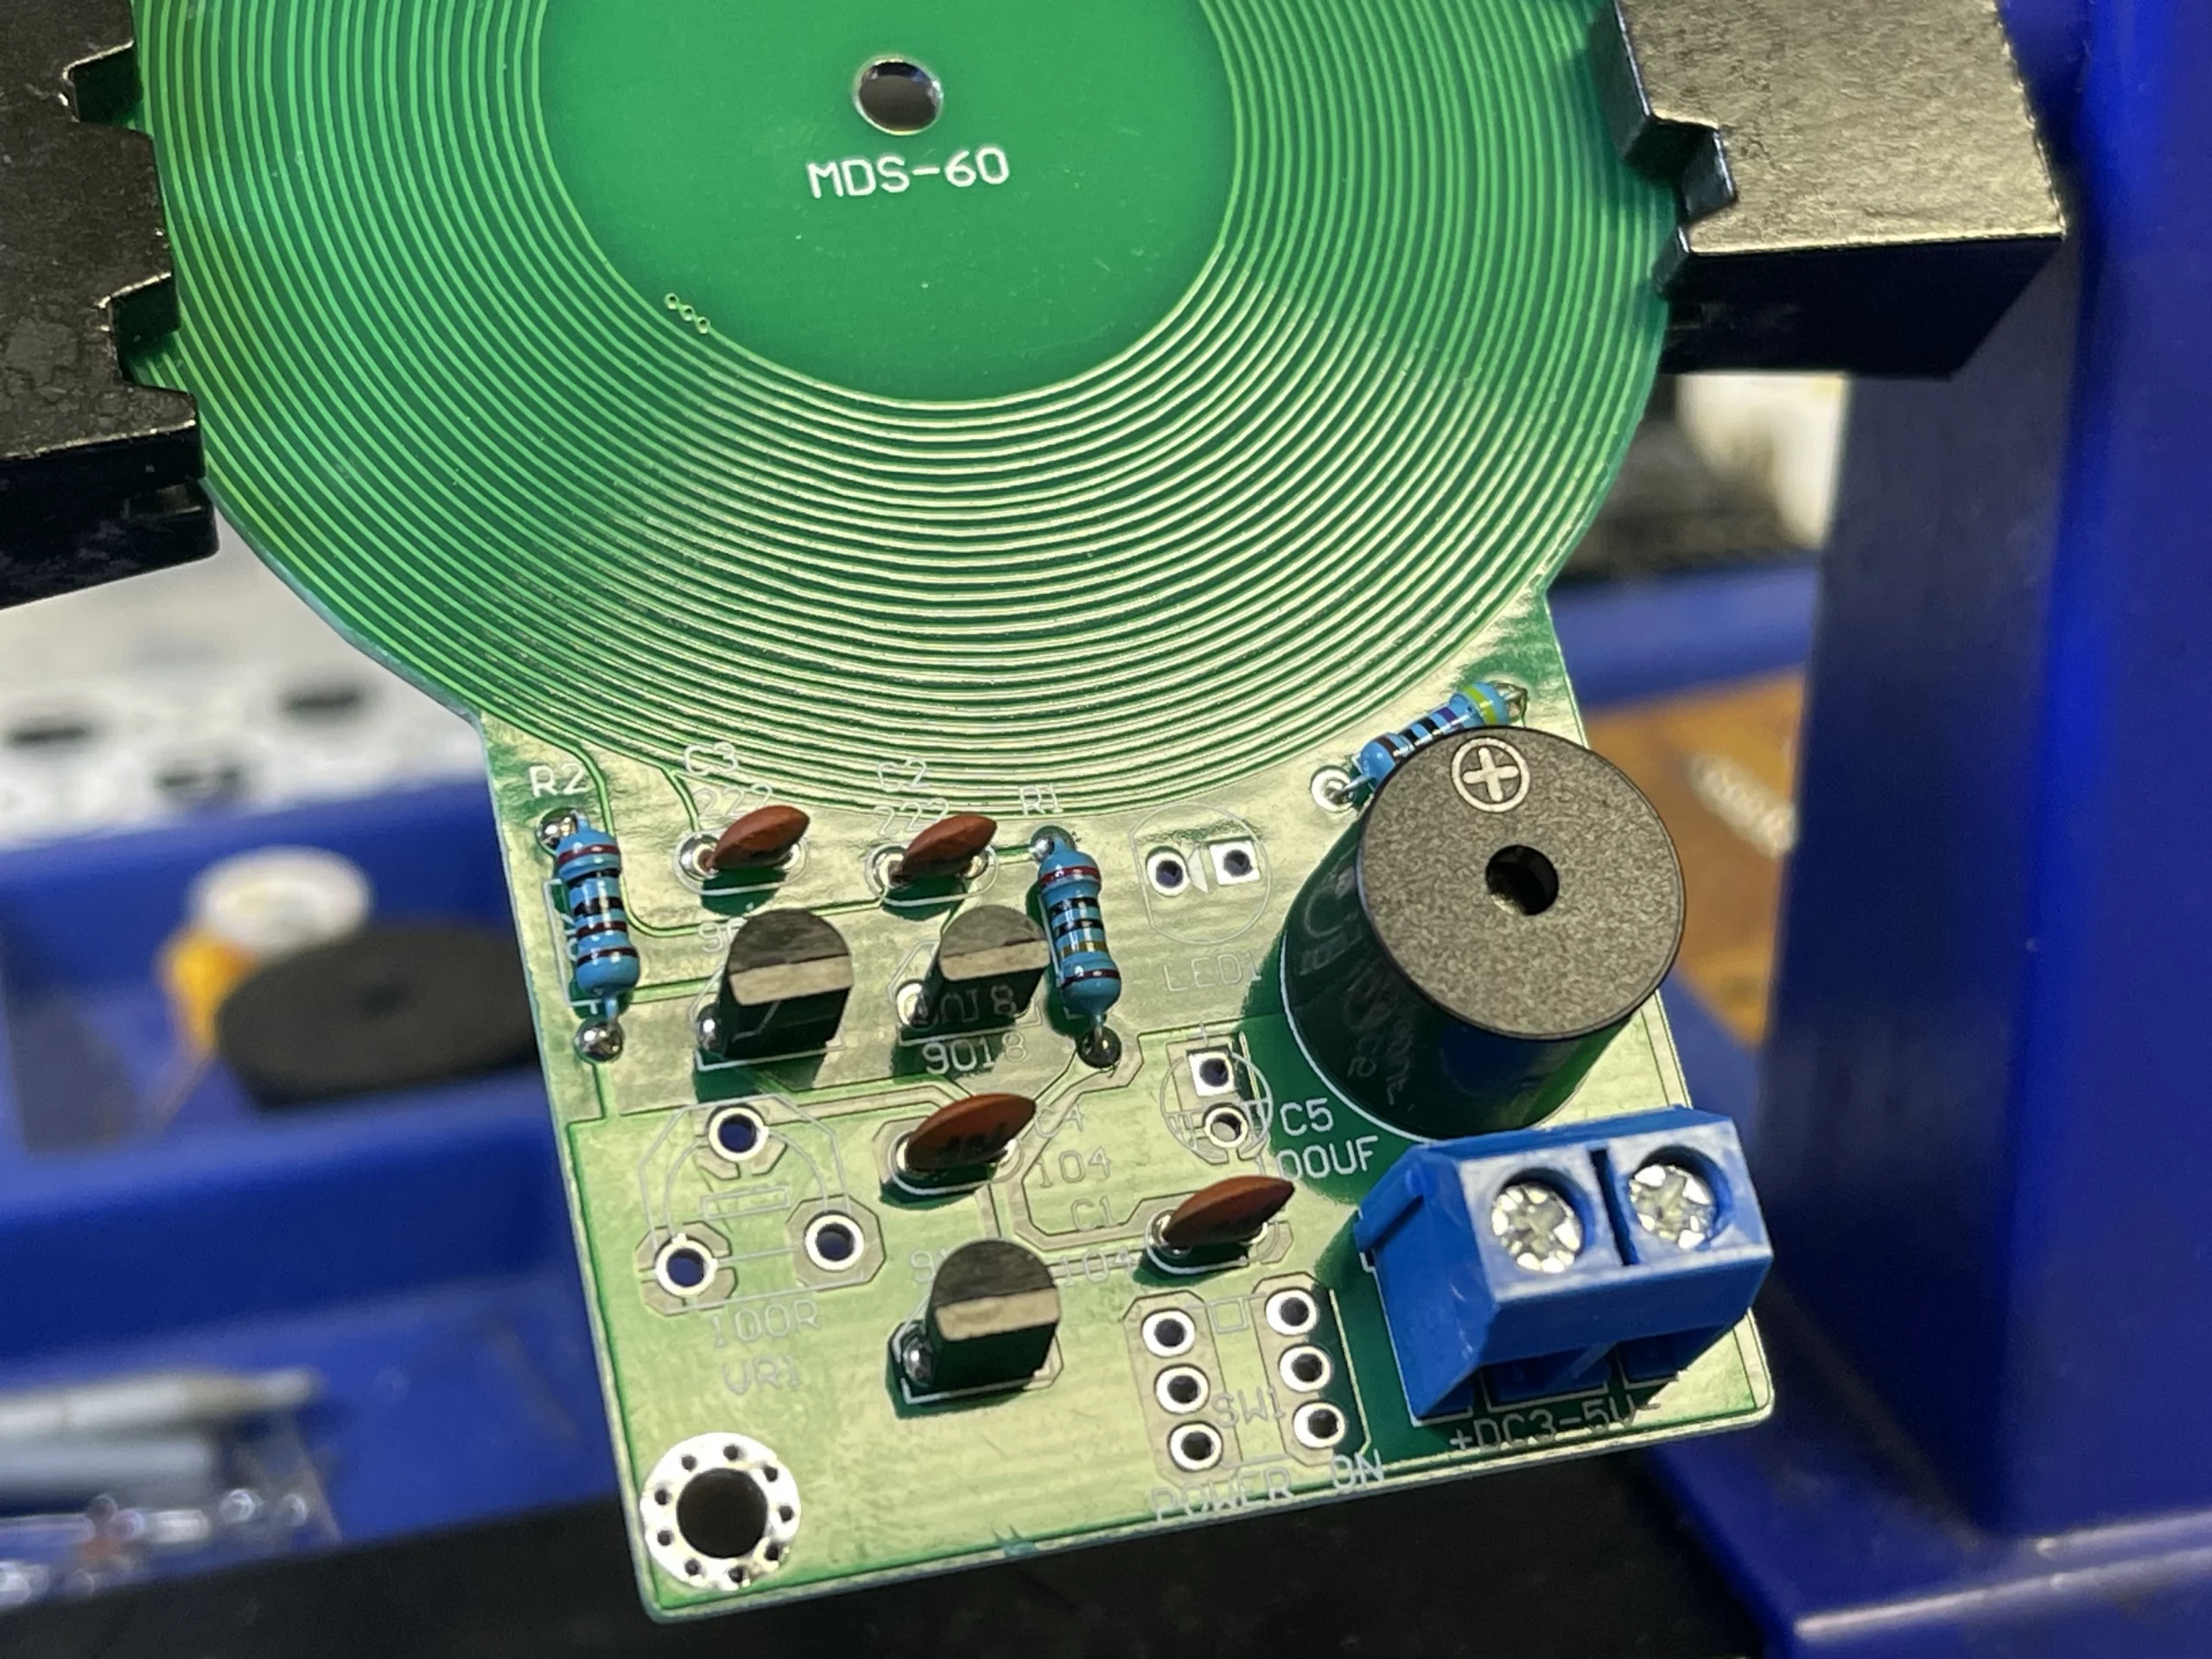
Finally, you can solder the rest of the components onto the PCB according to the marking on the board.
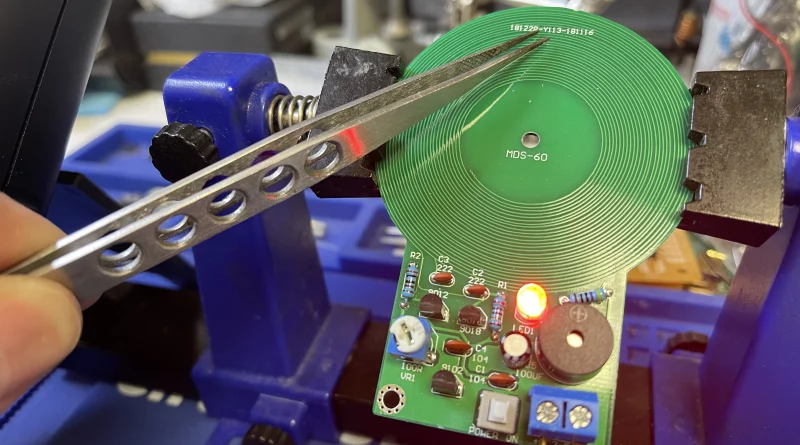
Adjust the trimmer (VR1) to your desired setting, fine-tuning the detector’s sensitivity.
Troubleshooting Tips:
- Check for solder bridges or shorts.
- Ensure proper transistor orientation.
- Verify resistor values.
- Fine-tune the detector’s response to metal objects by adjusting the trimmer.
Conclusion
With these simple steps, you’ve built a functional metal detector using basic electronic components. The 9012 and 9018 transistors play crucial roles in this circuit, working together to detect changes in the magnetic field and indicate the presence of metal. Experiment with this design, modify it, or improve it with our large selection of enclosures – the possibilities are endless!