Build Your Own Battery Powered Tesla Coil Kit Soldering Project
Introducing the Battery Powered Tesla Coil Kit – a safe and exciting DIY soldering project for kids and learners of all ages! This Battery Powered Tesla Coil Kit requires you to solder the components onto the PCB (Printed Circuit Board). In addition, allowing you to build your own portable Tesla coil with its compact design and battery-powered operation. The kit also helps improve your soldering technique. Furthermore, harness the principles of electromagnetic induction to produce a stunning visual effect. Finally, you can enjoy the thrill of experimenting with electromagnetic forces without the need for high-voltage power sources. Therefore, this kit is perfect for young scientists, students, and anyone curious about the wonders of electricity and magnetism. And finally, learn about the Tesla coil principle in a fun and safe environment, and unleash your creativity and curiosity with this hands-on DIY soldering project!
Part List:
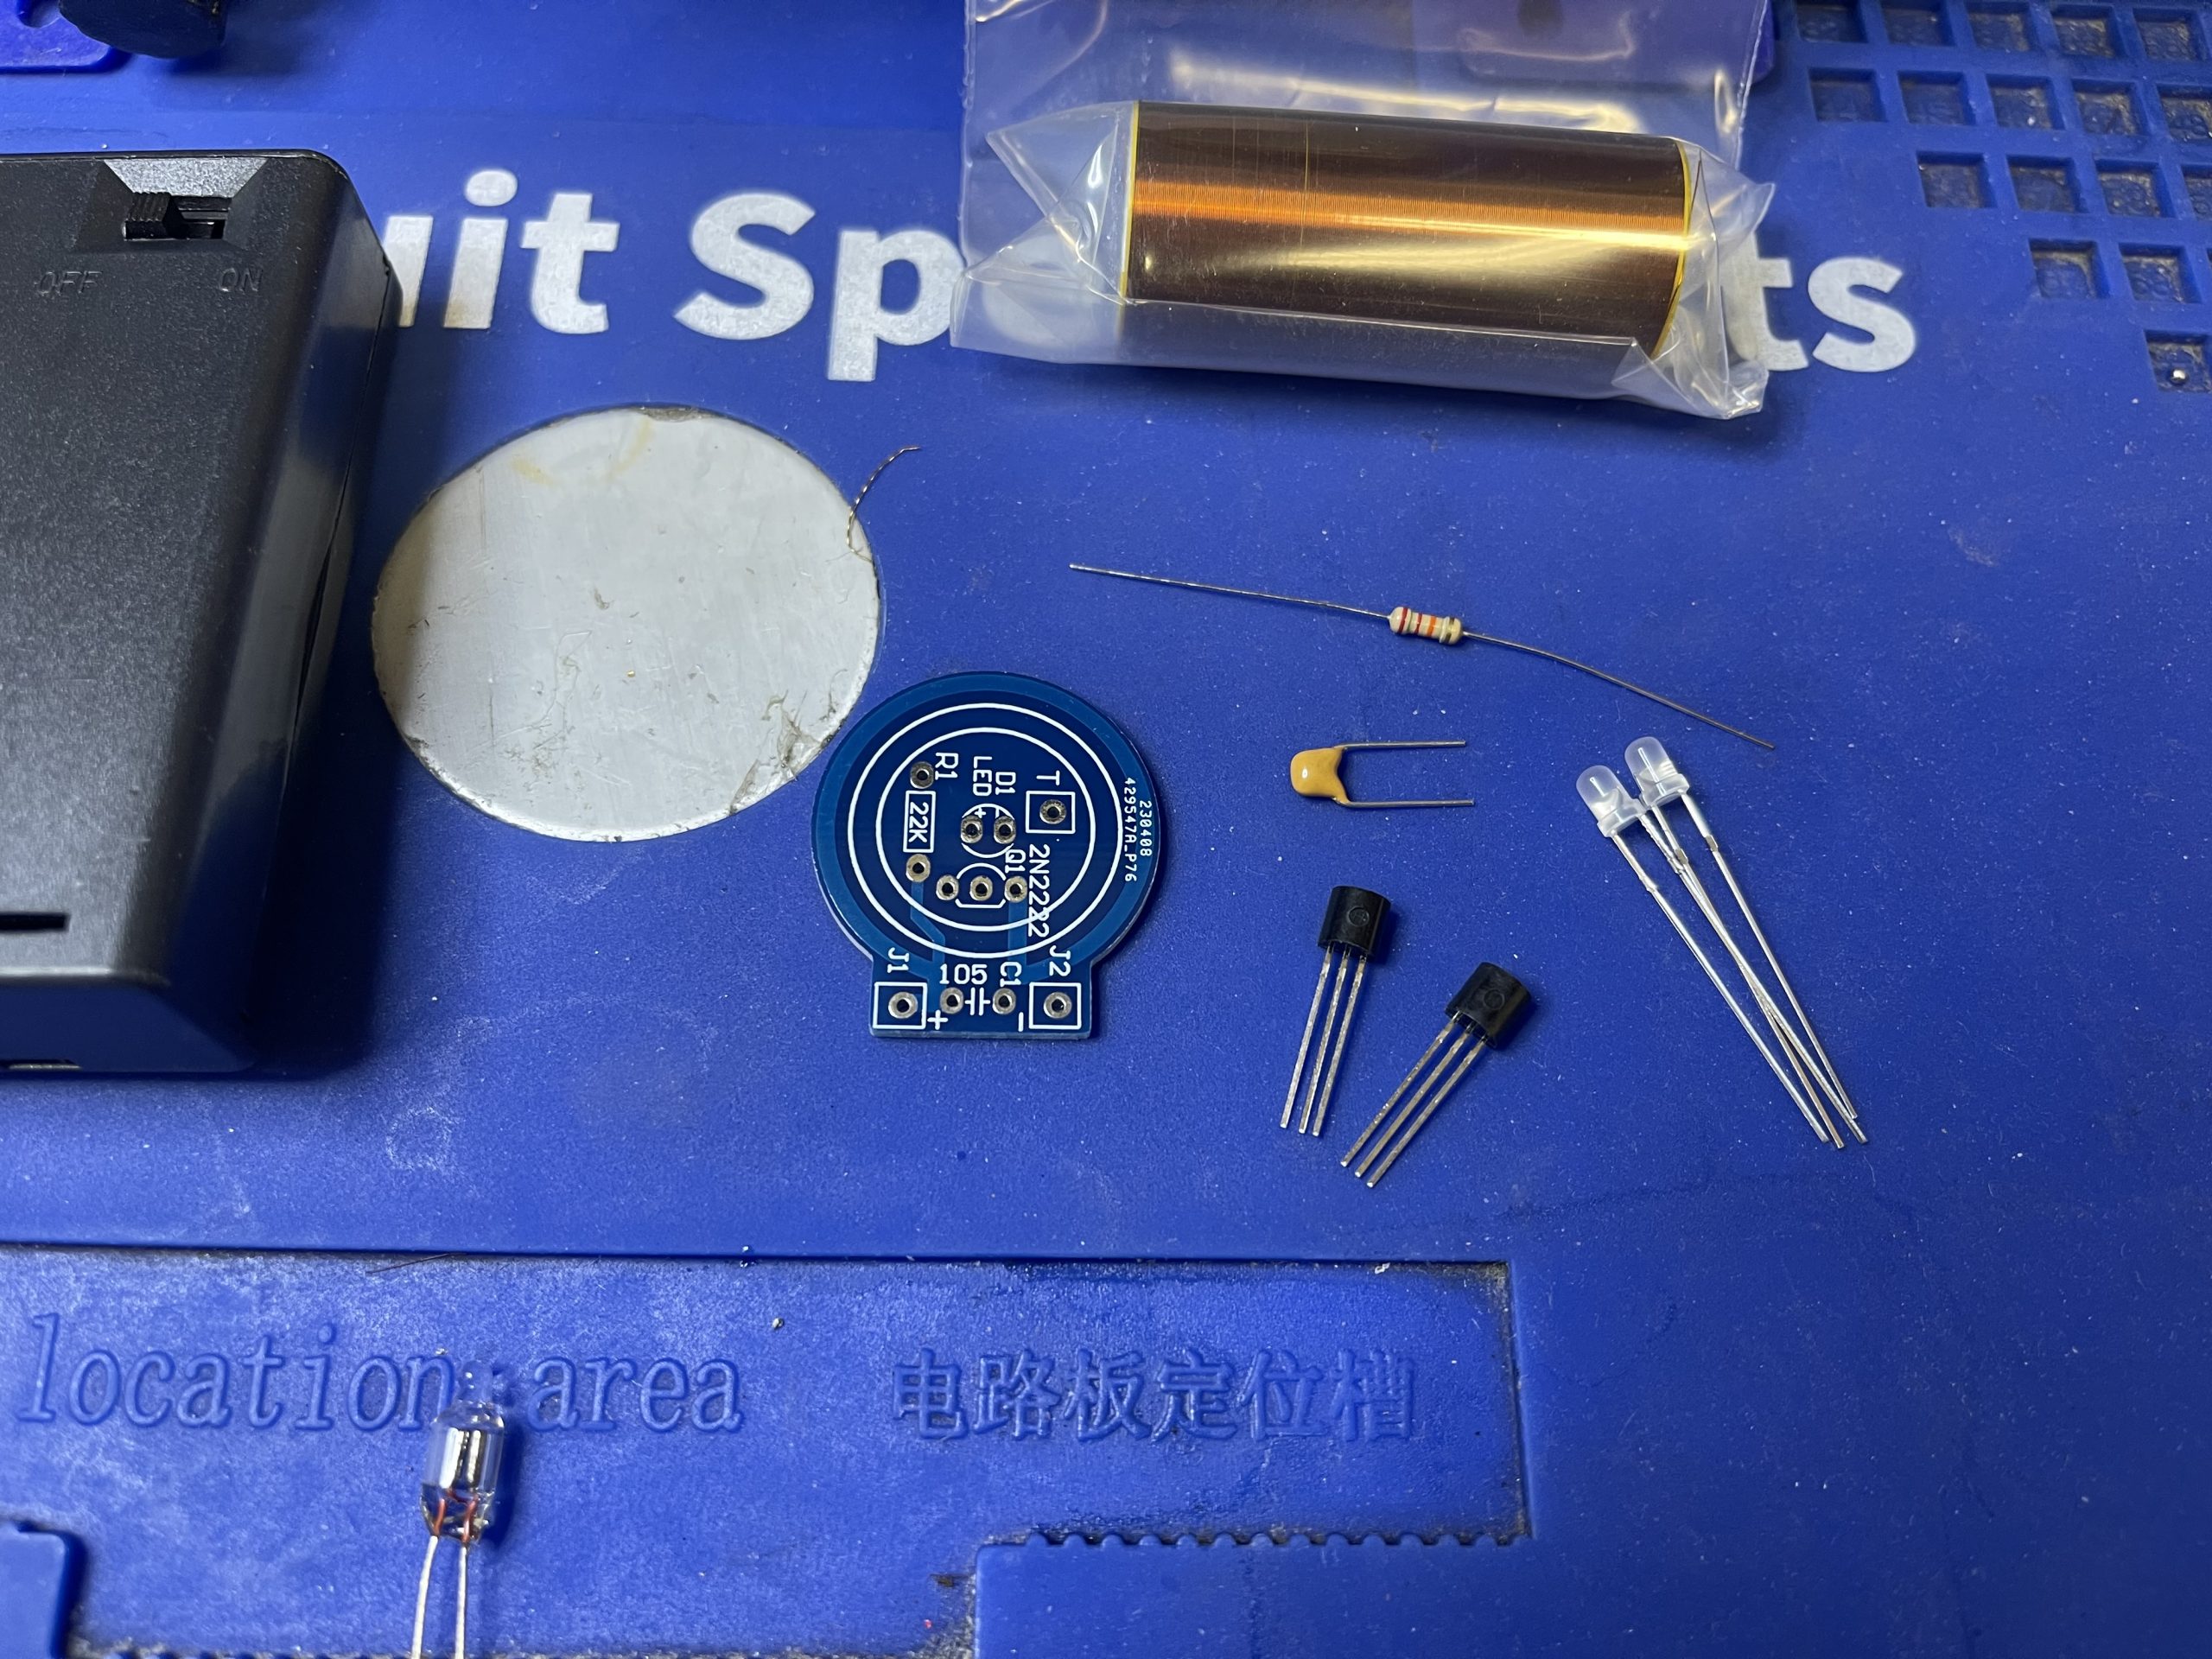
- Tesla coil
- PCB
- Resistor
- Capacitor
- Transistor
- LED
- Battery Tray
- Light Bulb
Assemble Process
Before you start assembling your kit, make sure to check out our soldering guide: How-to-Soldering-Correctly-Soldering-101. This will help you develop the skills you need to successfully solder the components onto the PCB (Printed Circuit Board). With your new soldering skills, you should have no issue building your own portable Tesla coil.
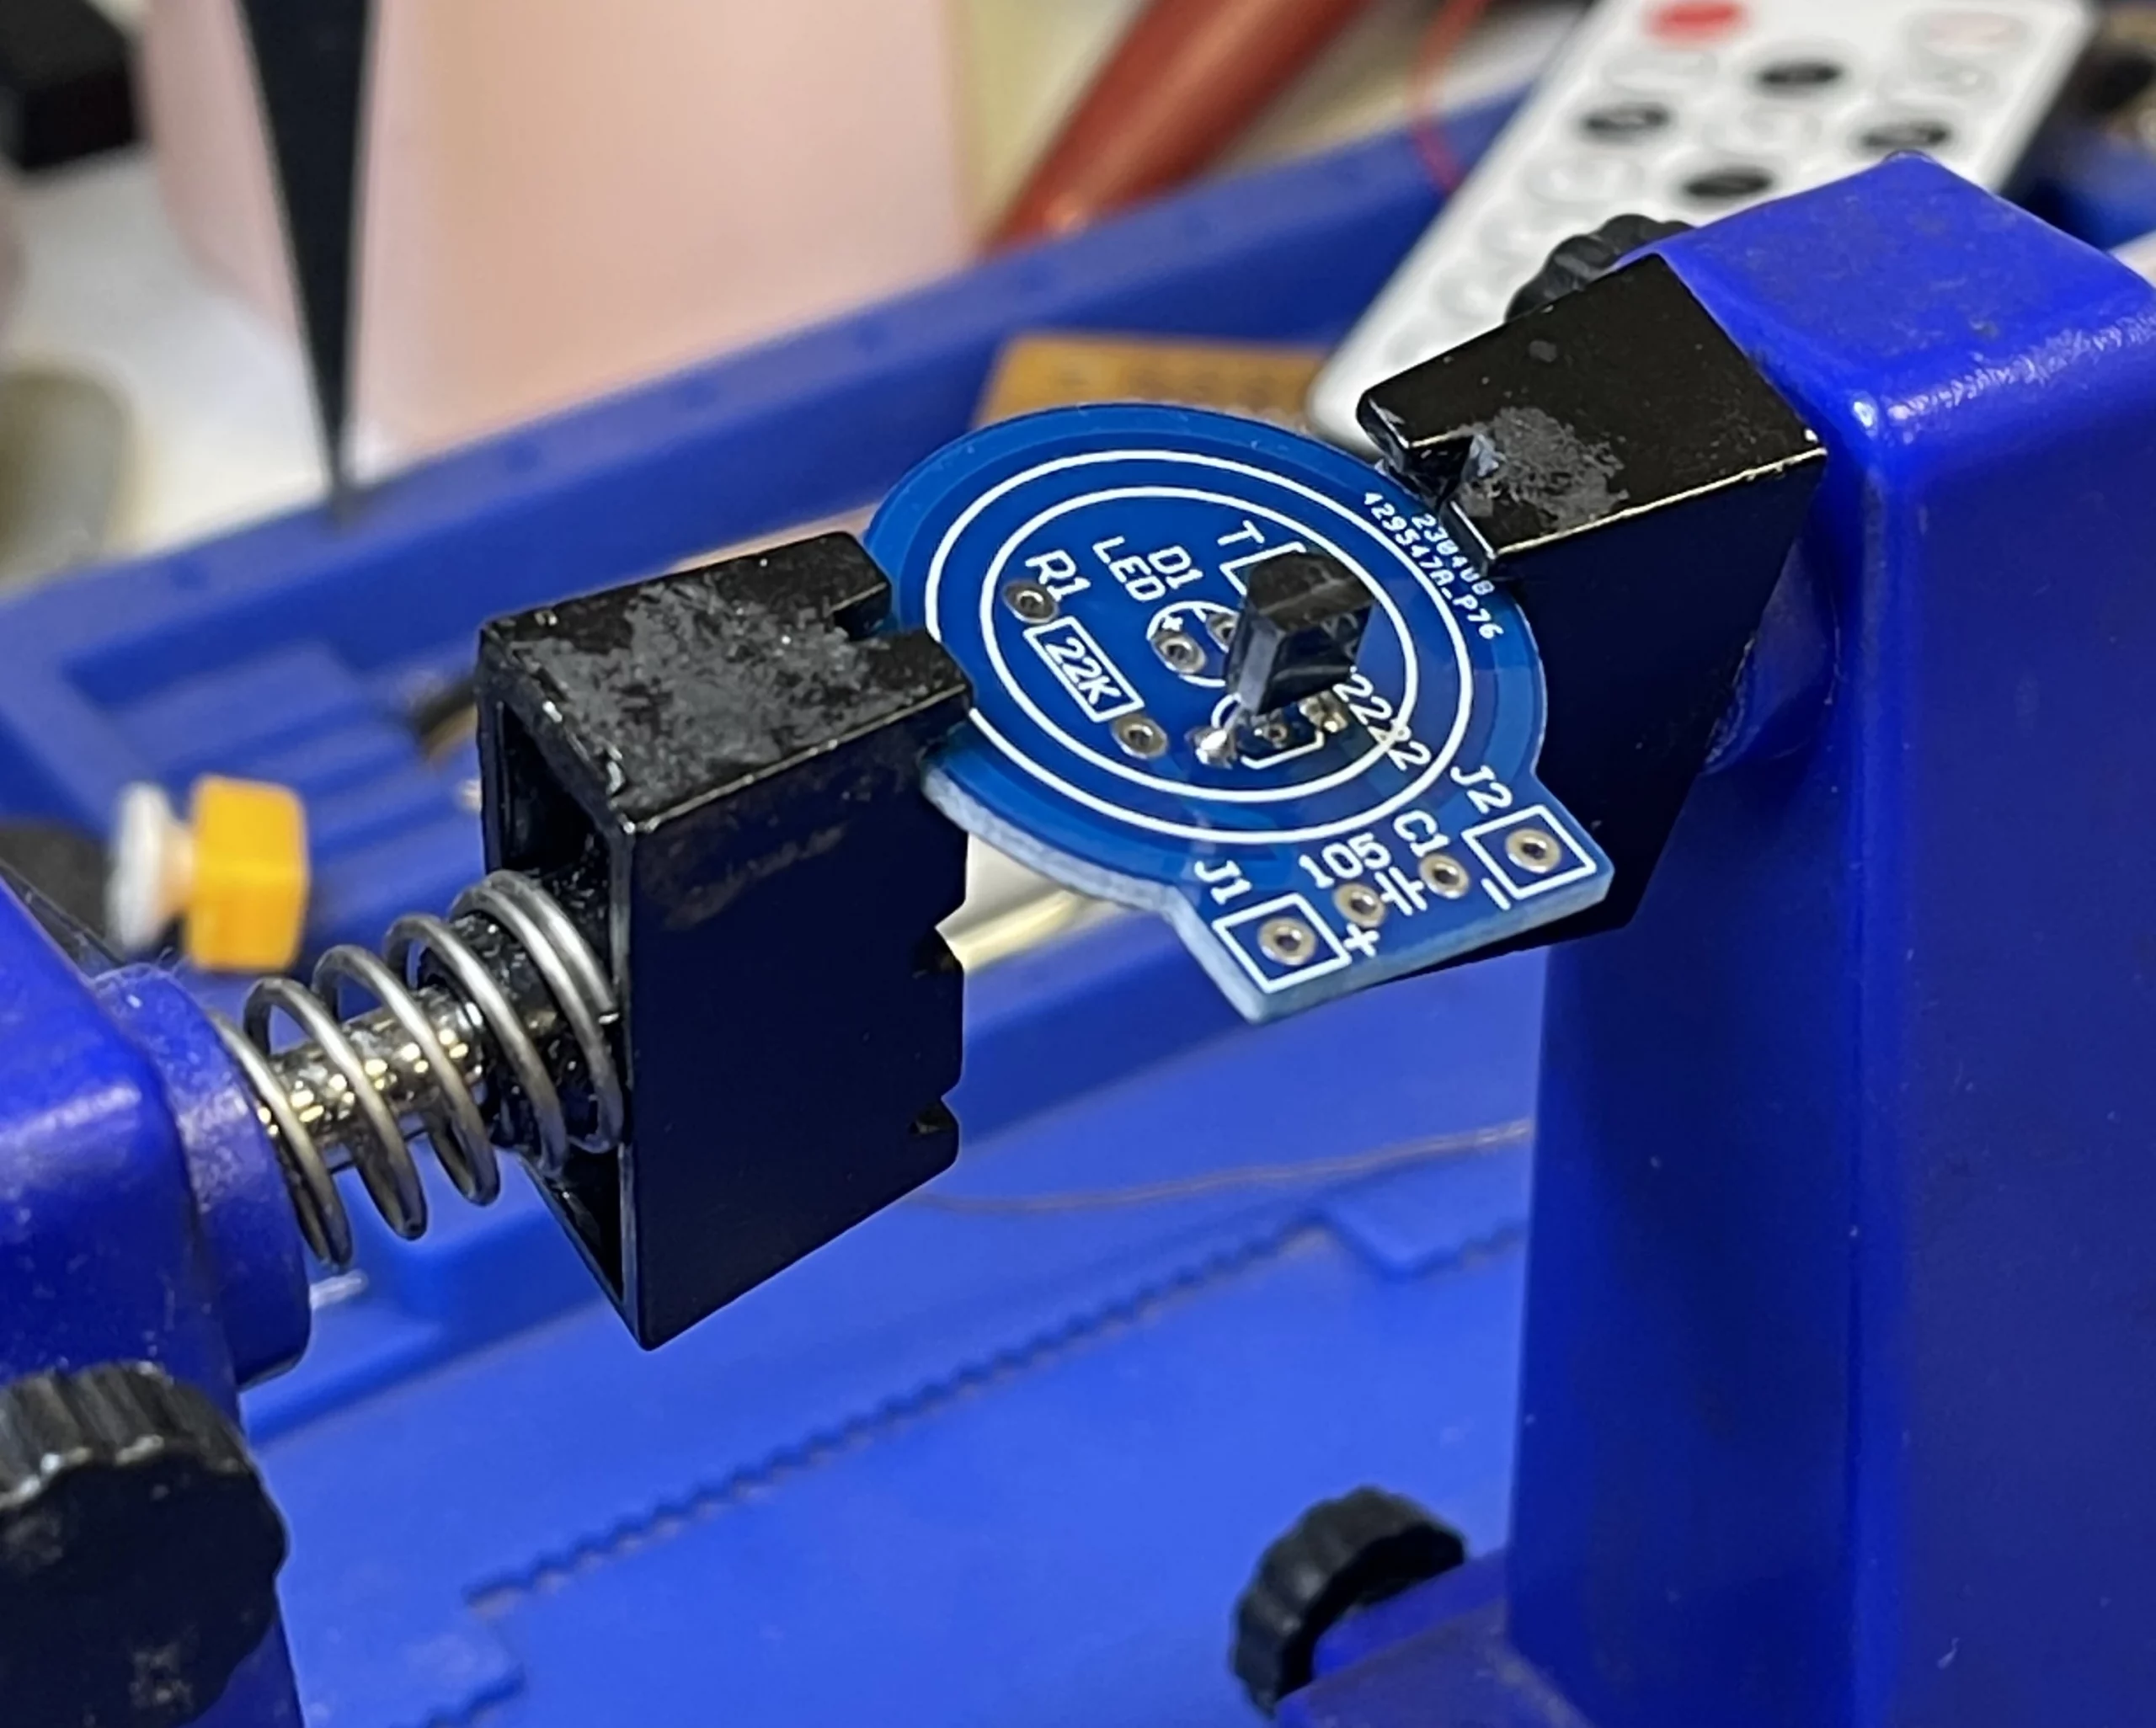
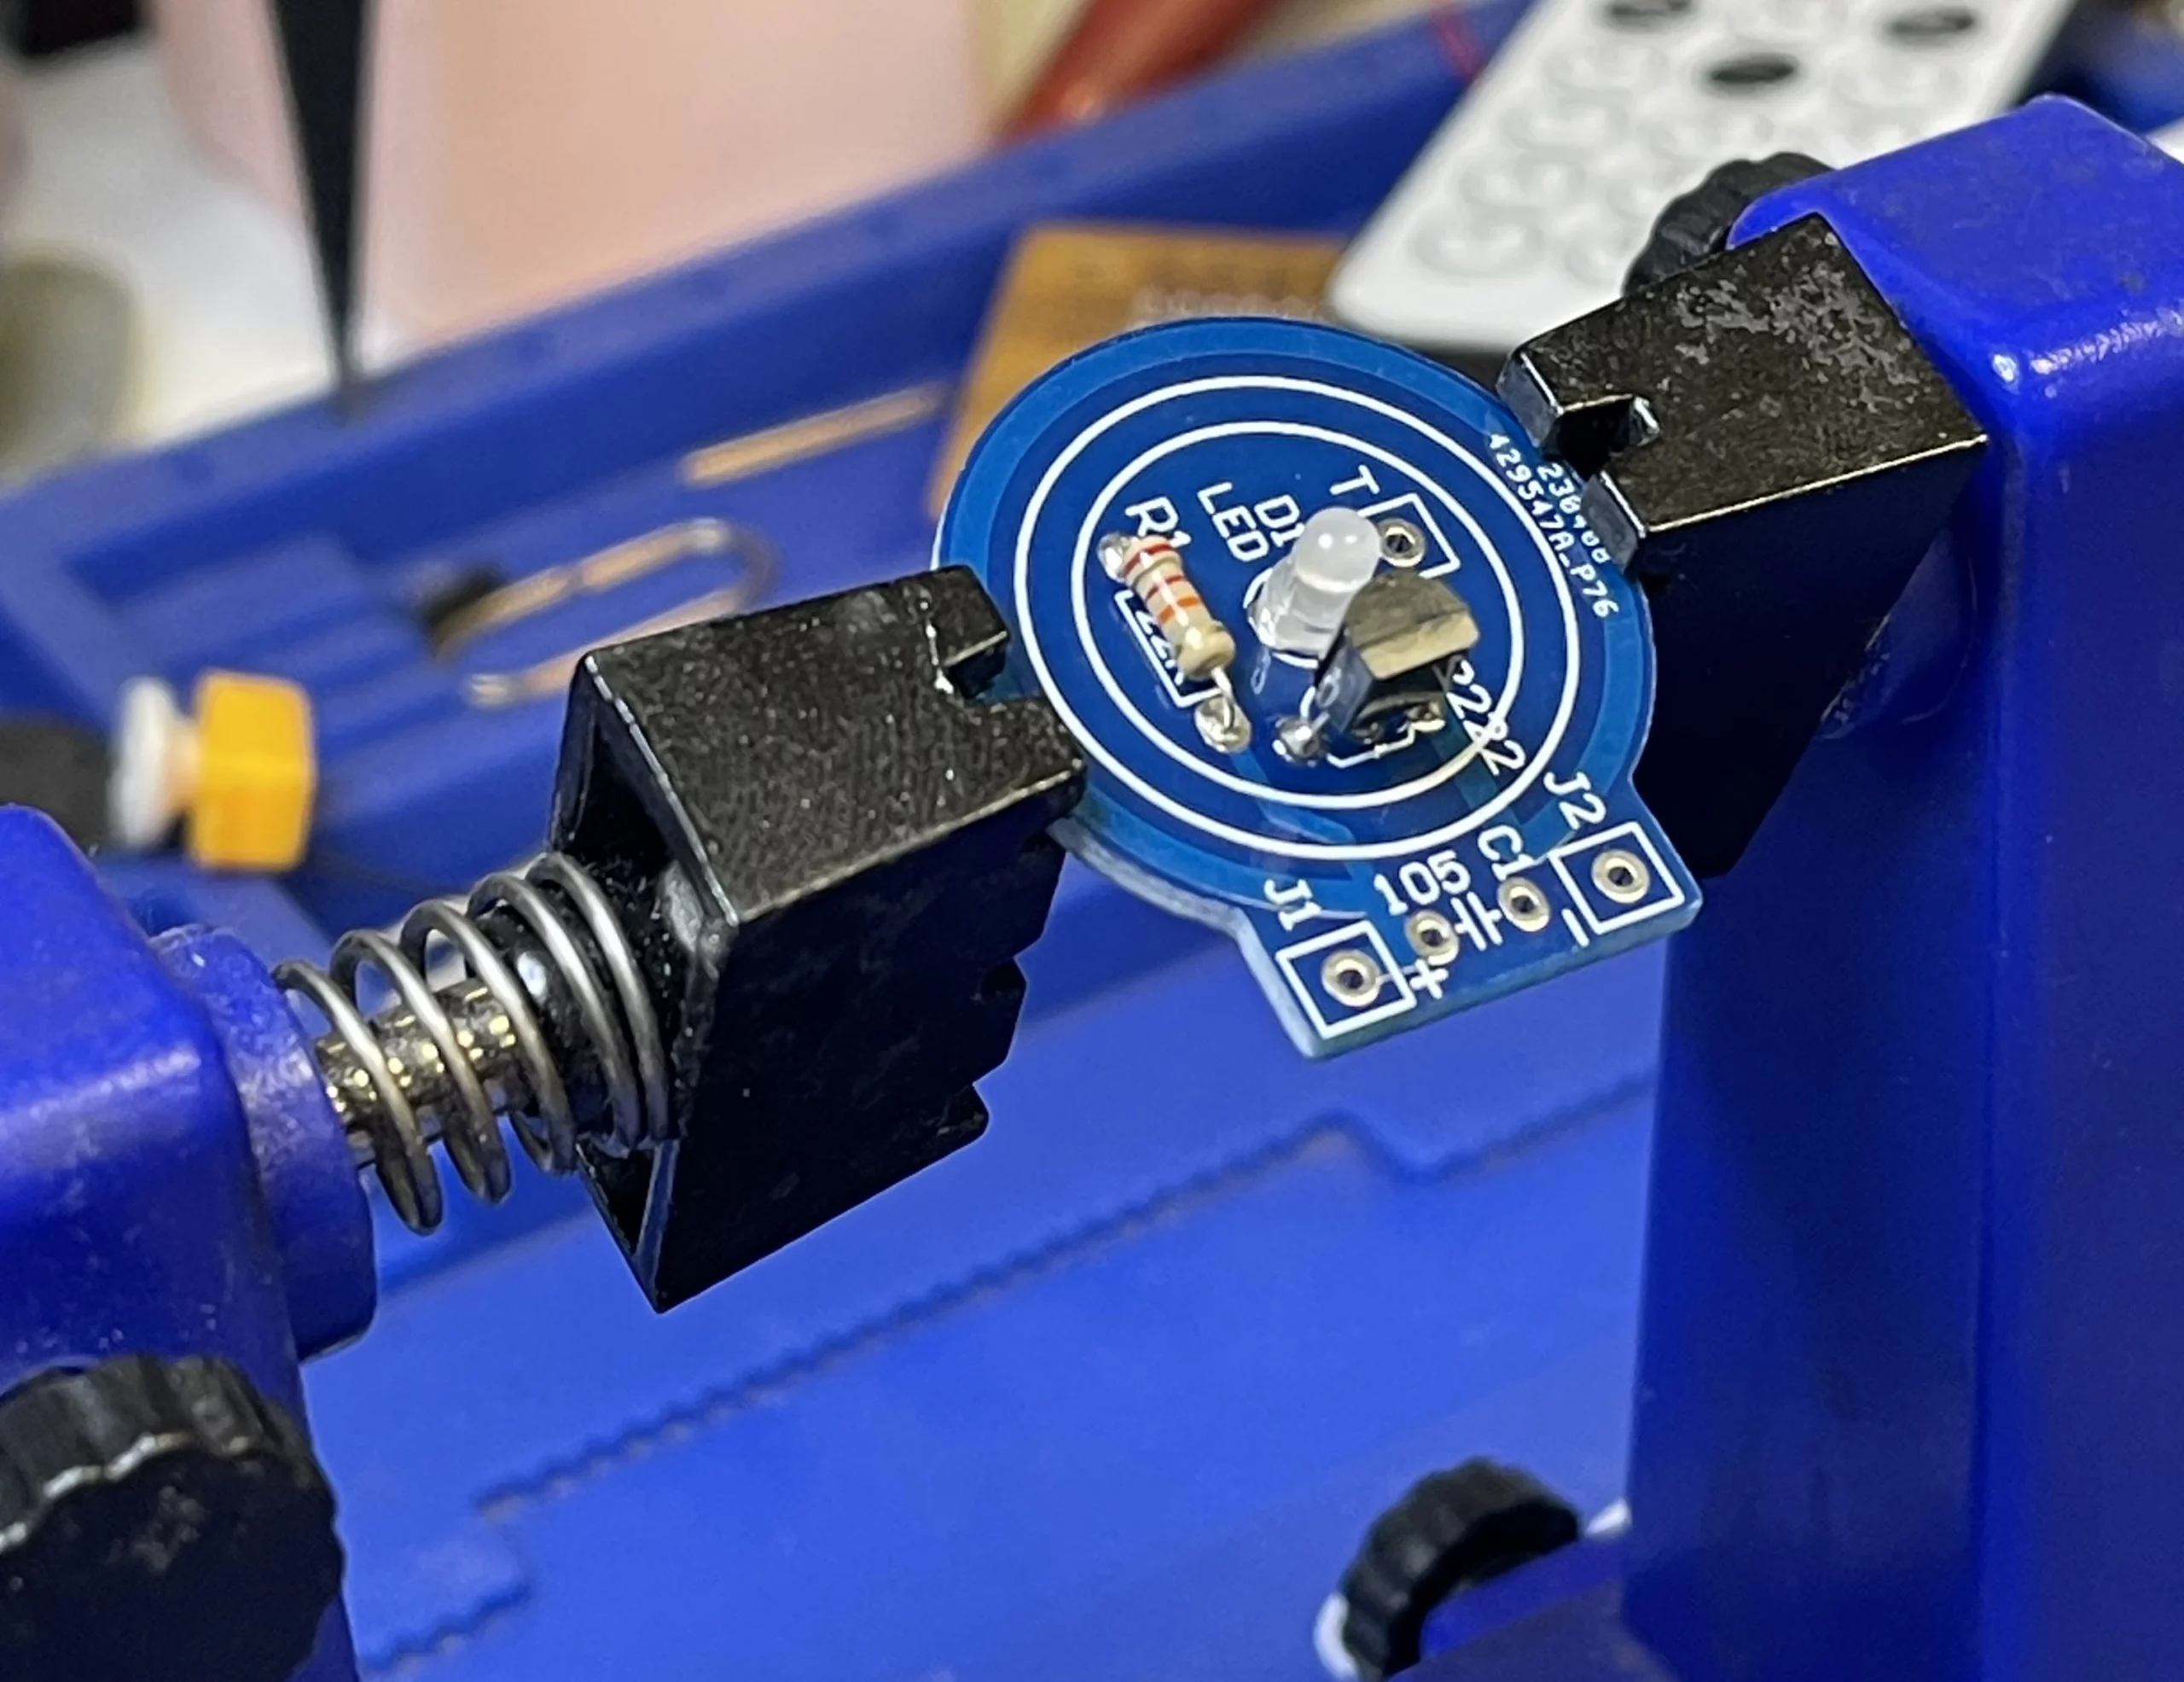
Step 1: Before, solder the transistor. First, make sure to match the orientation of the transistor to the drawing on the PCB.
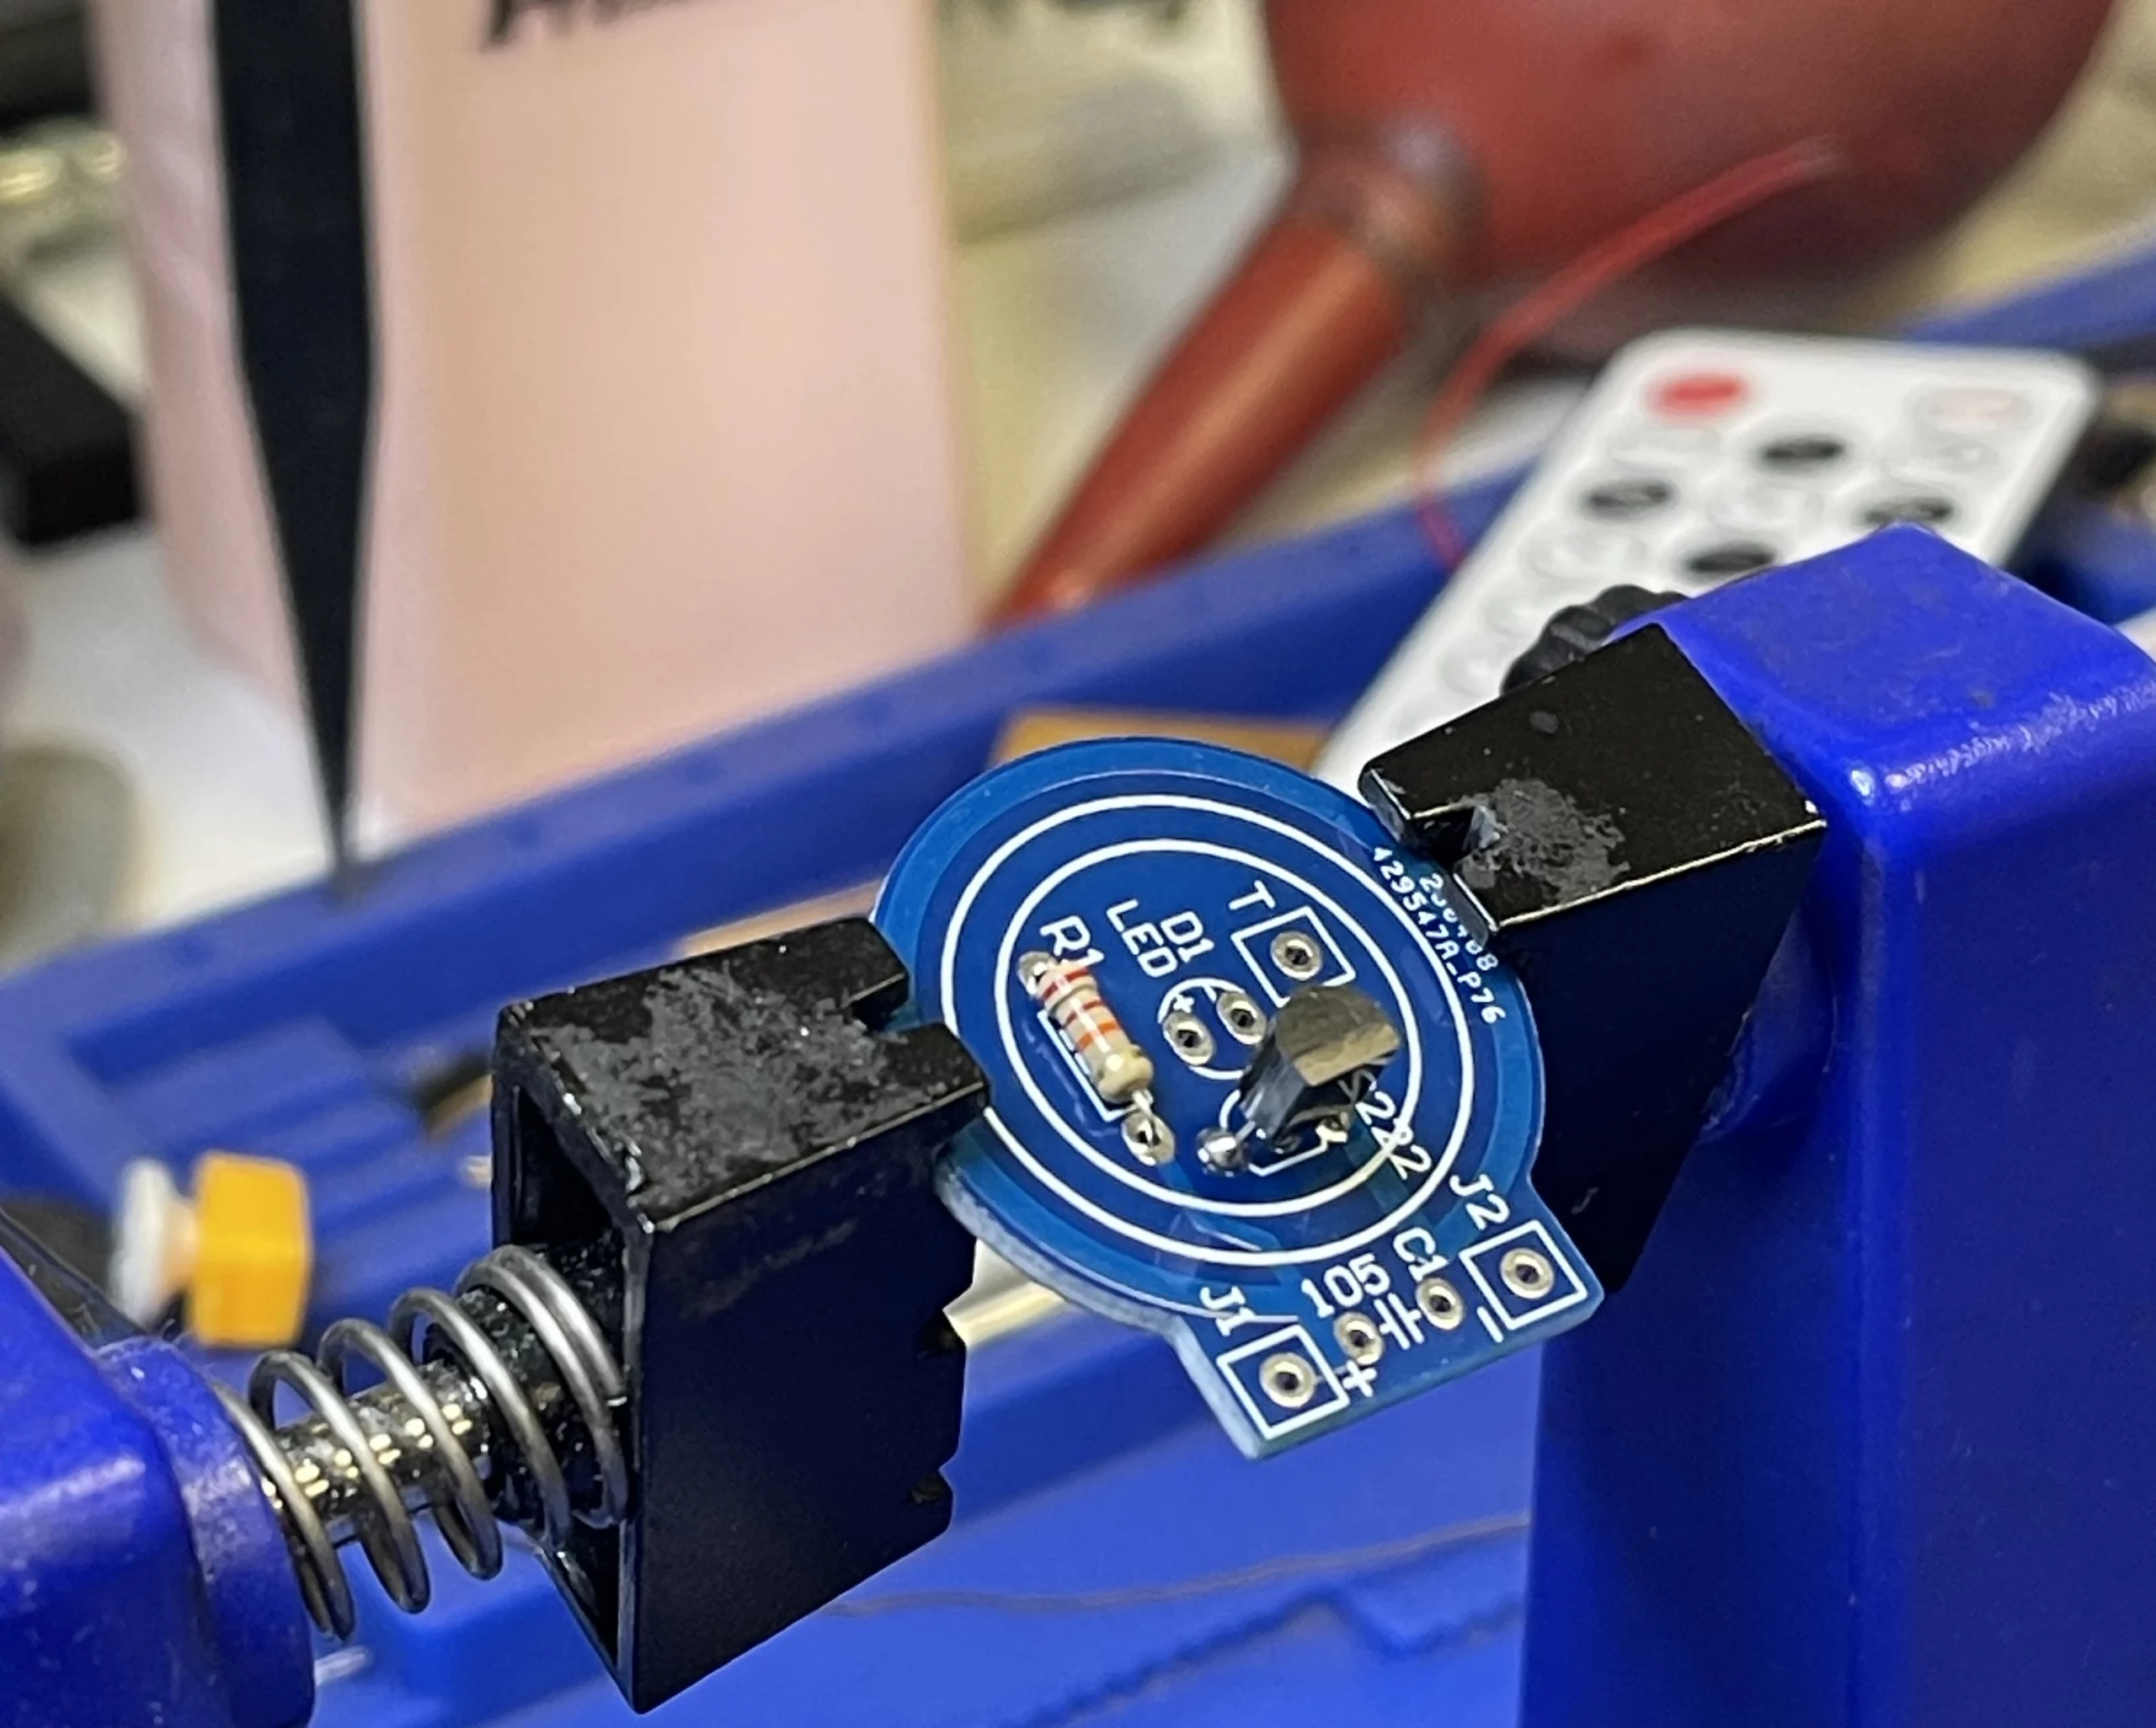
Step 2: Solder the resistor onto the PCB, and we do not have to worry about polarity for this component.
Step 3: When soldering the LED onto the PCB, make sure to insert the longer leg (anode) into the positive hole marked ‘+’
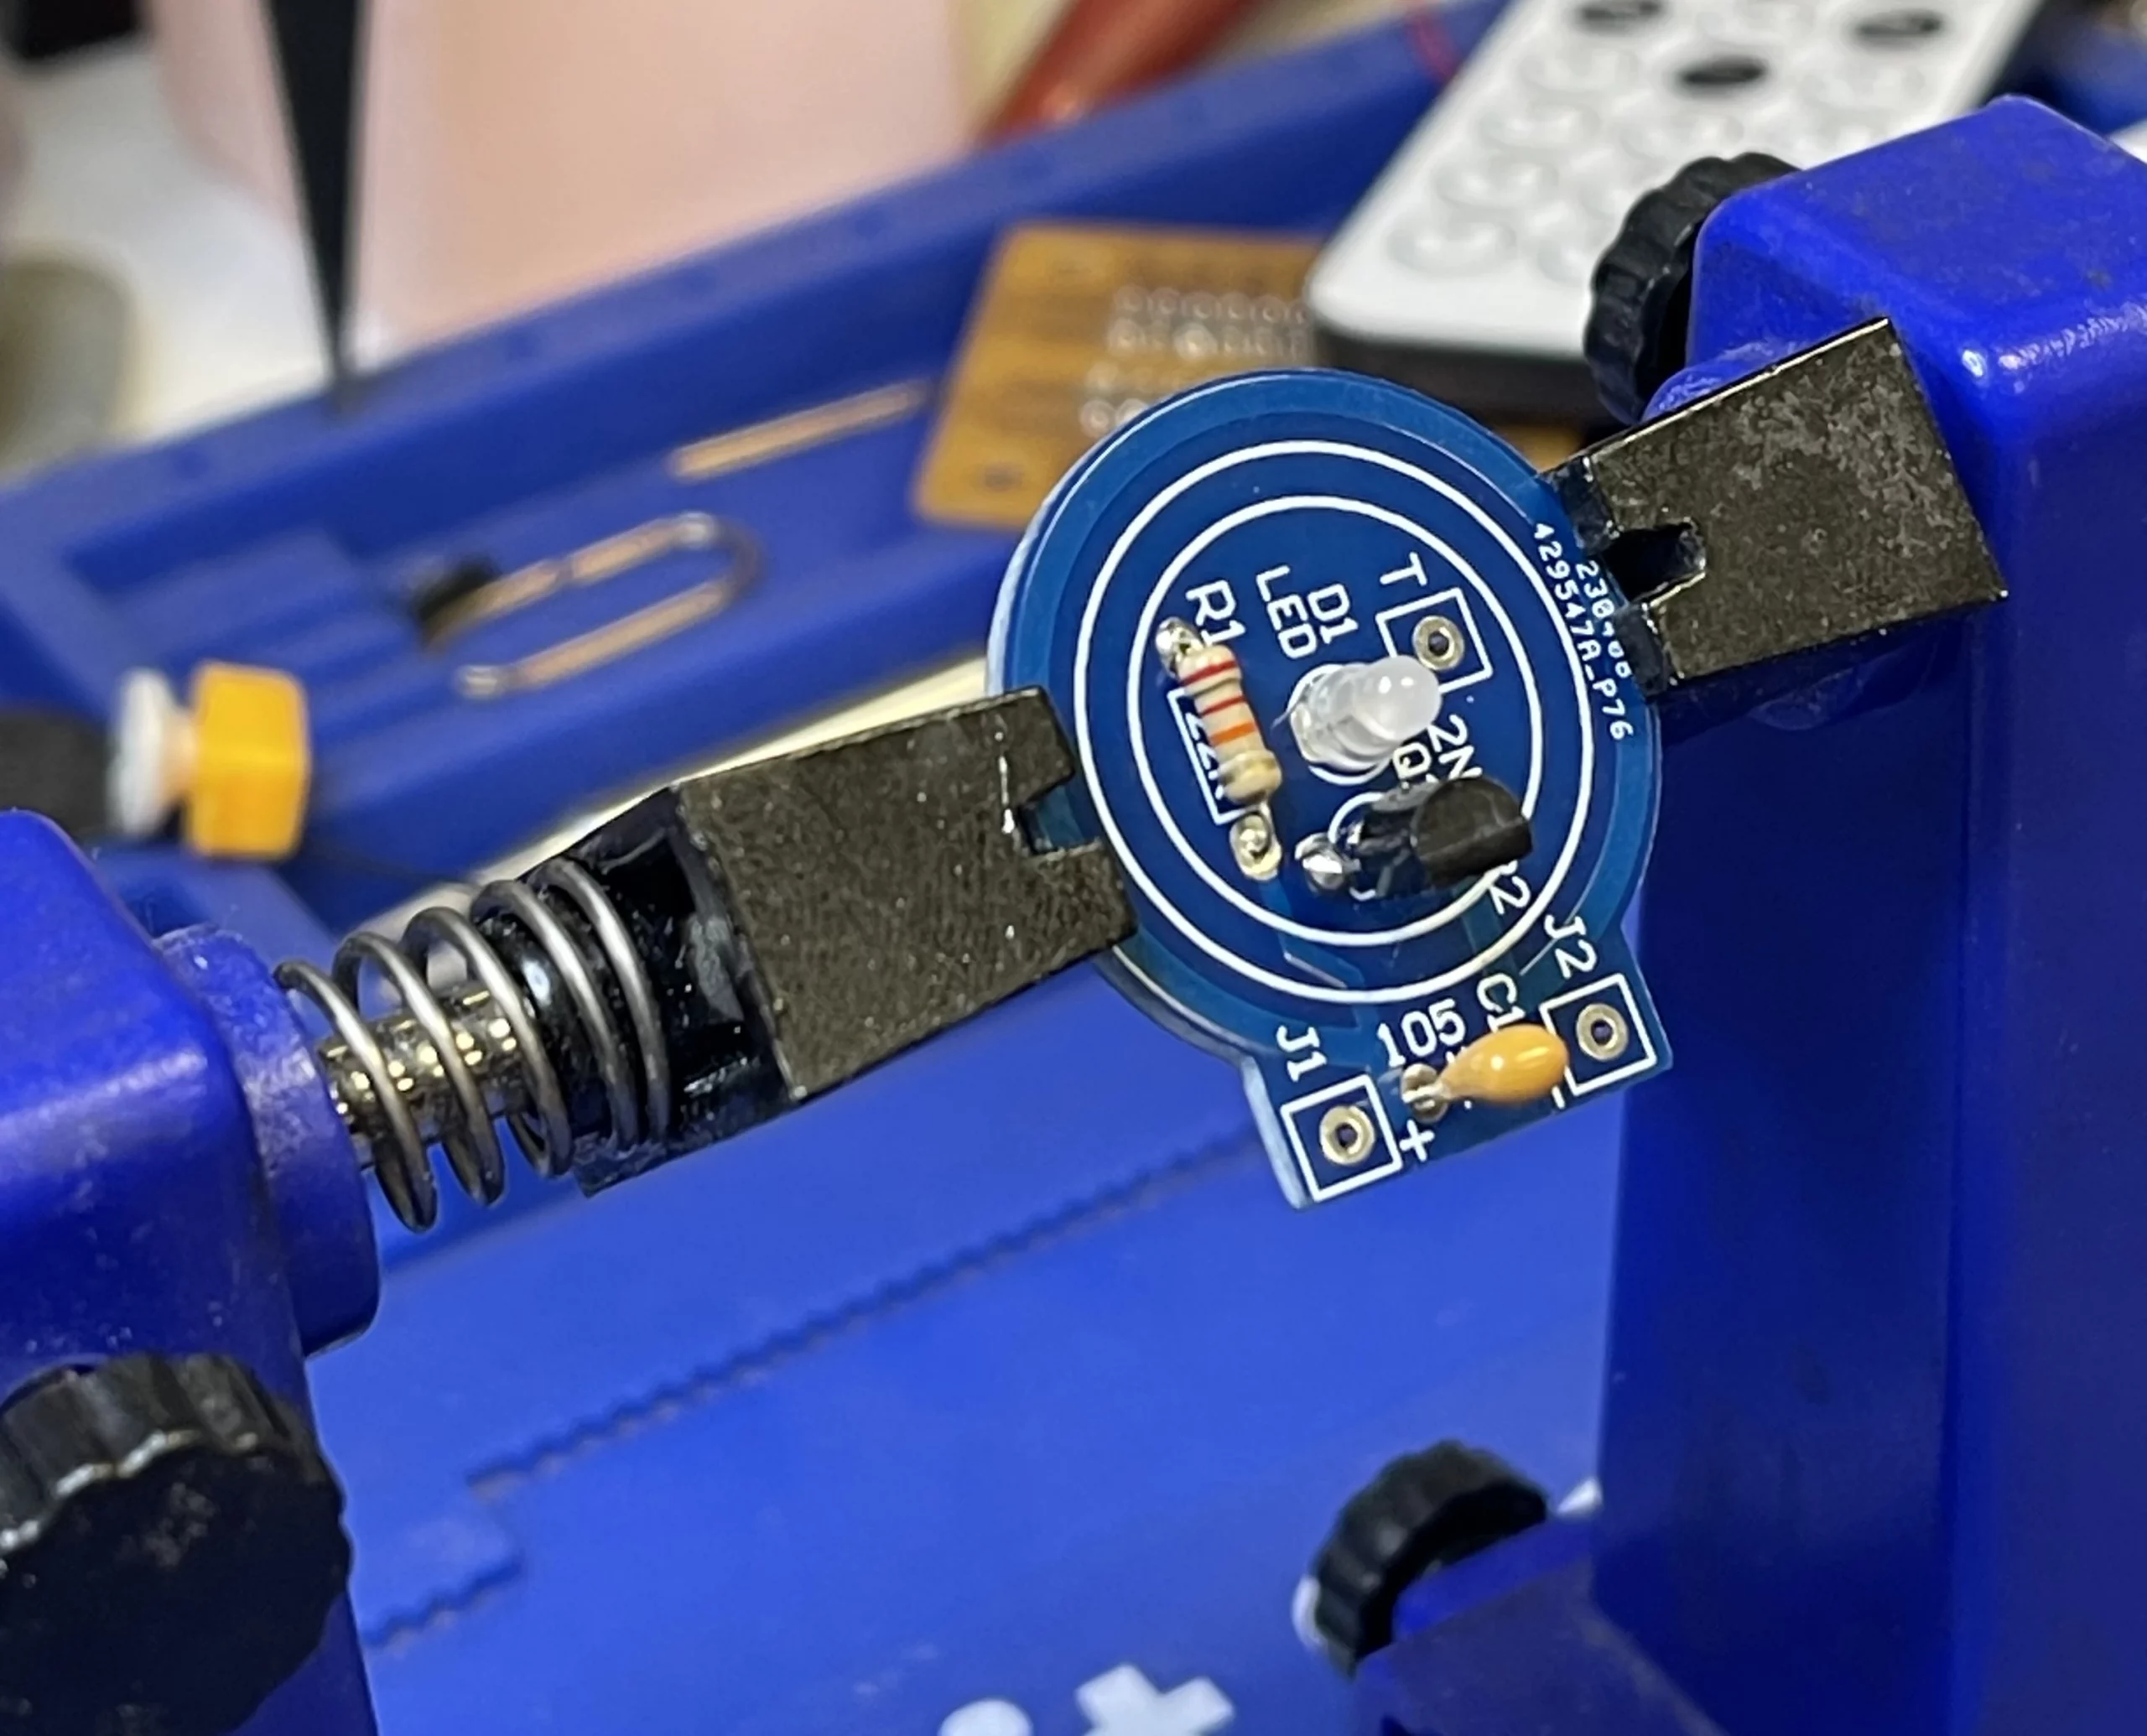
Step 4: When soldering the capacitor onto the PCB, you don’t have to worry about the polarity for this step
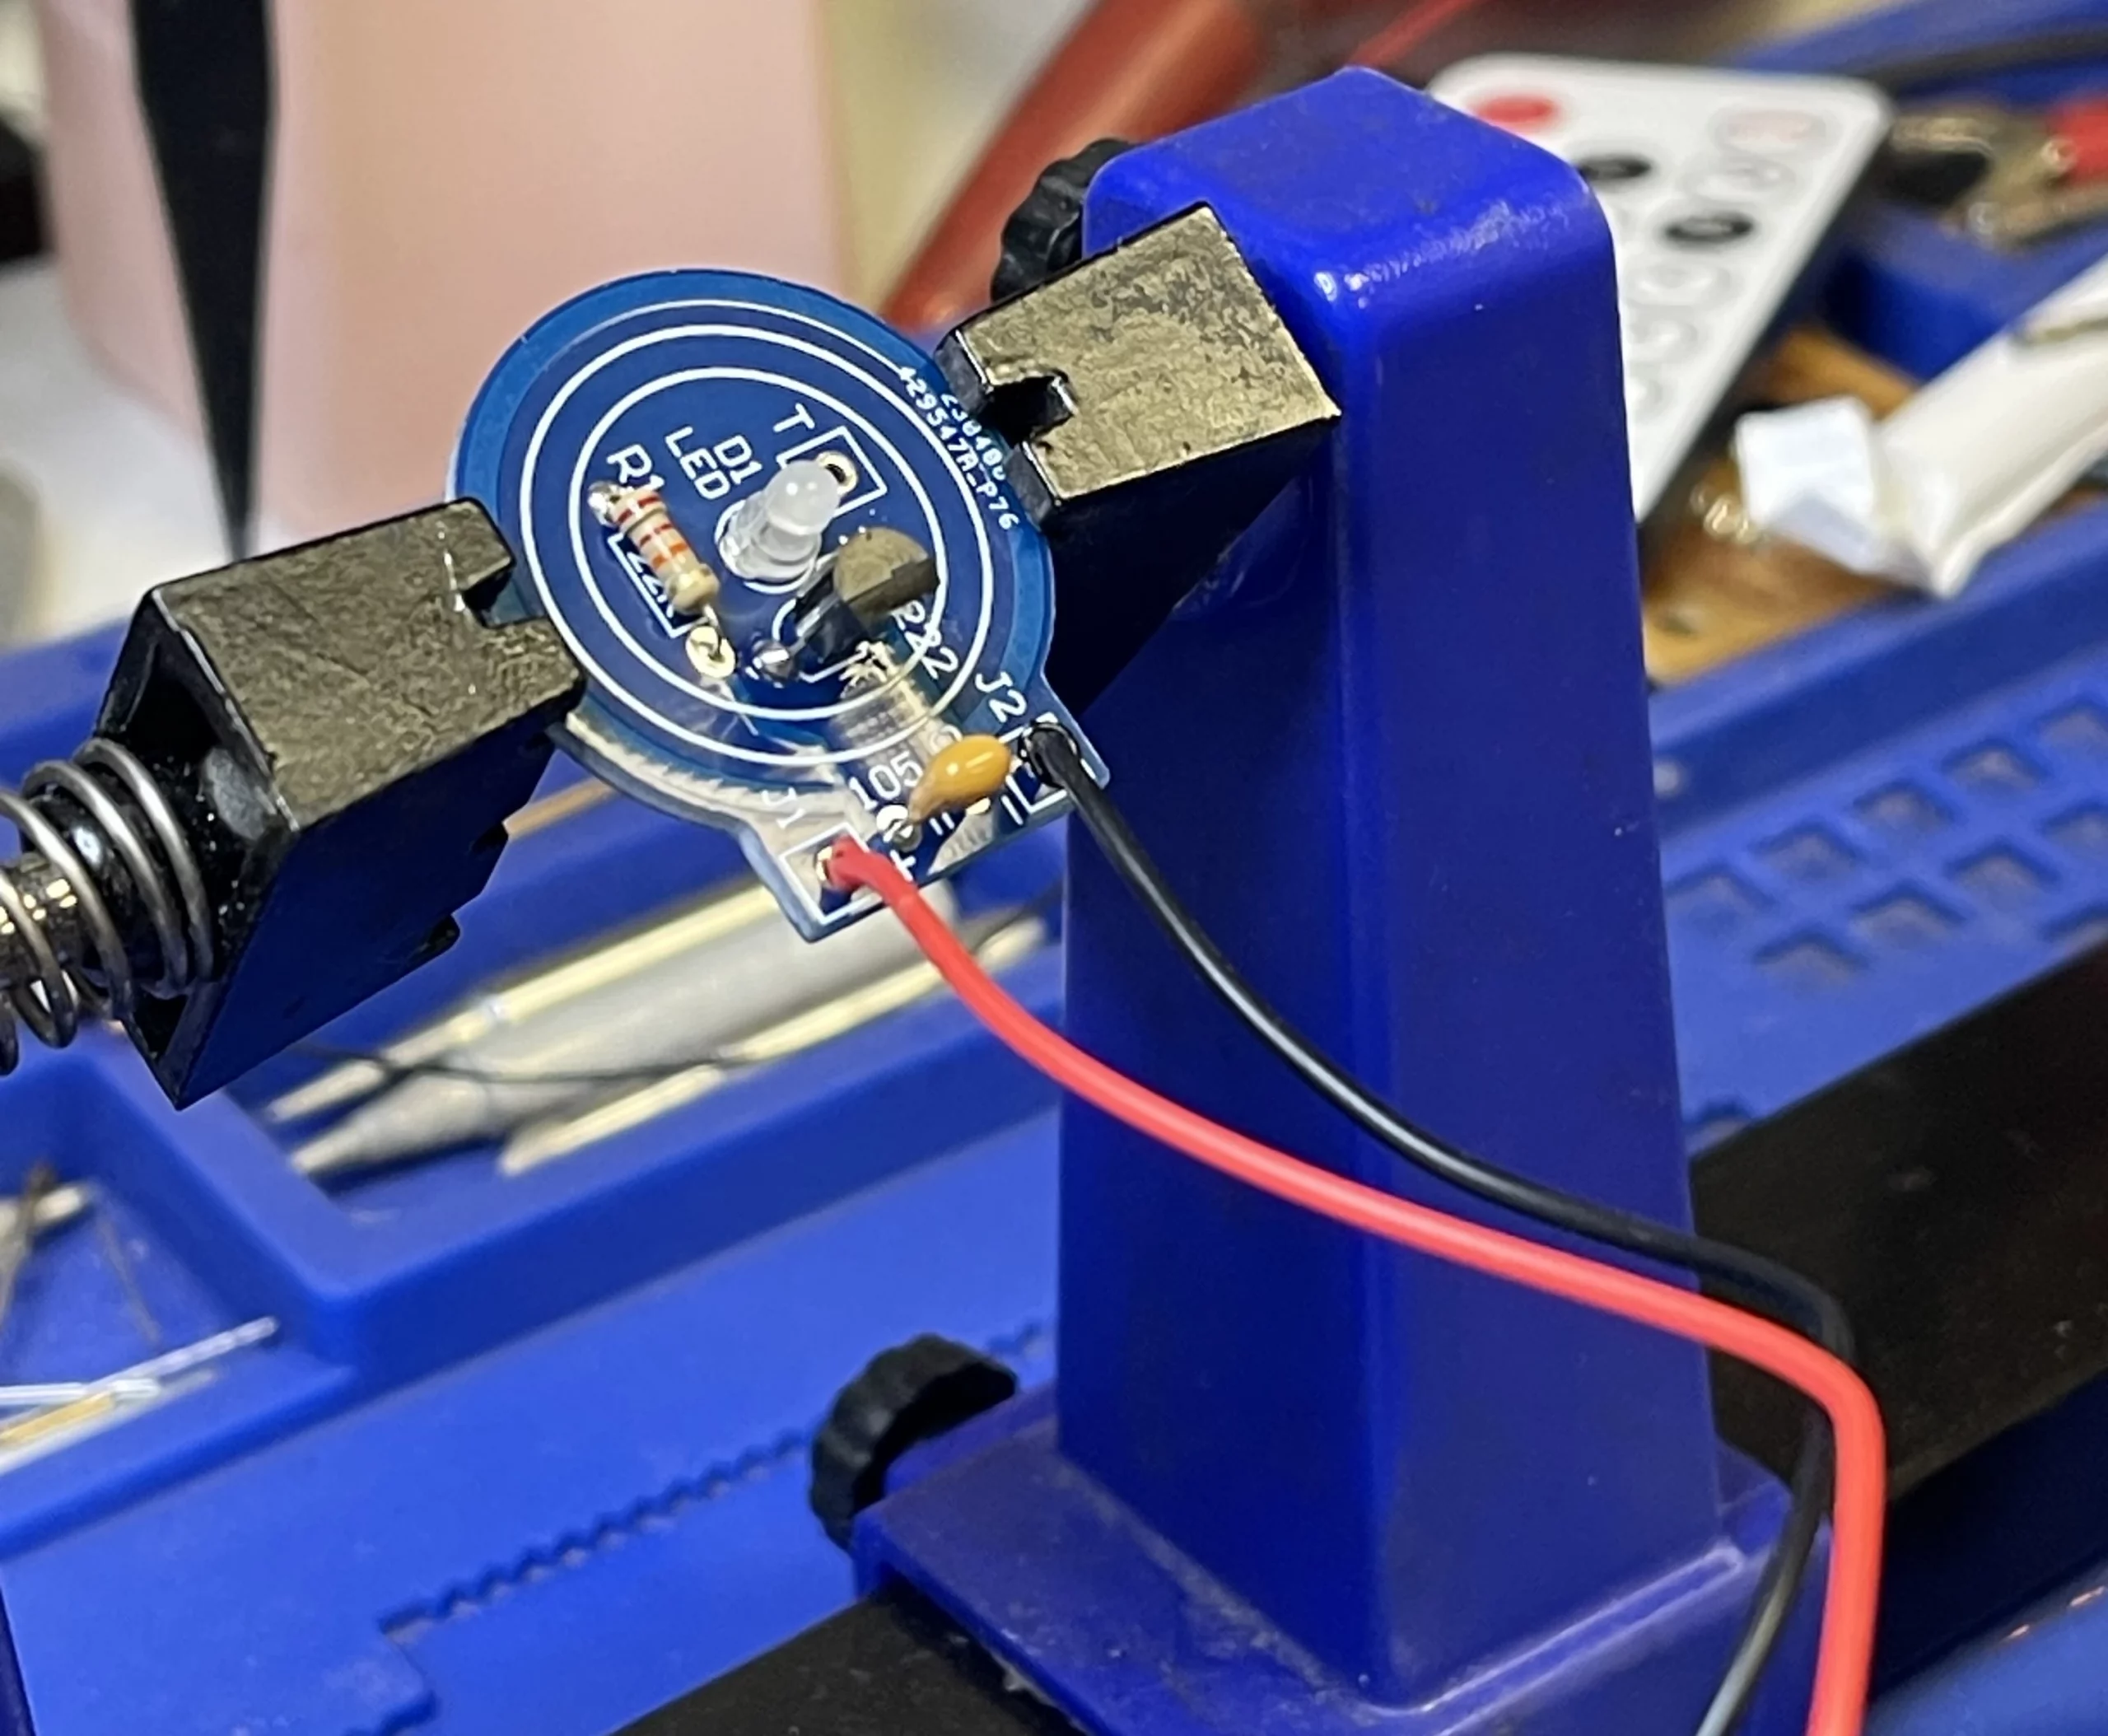
Step 5: Solder the battery tray onto the PCB, making sure the red wire goes into the positive hole and the black wire goes to the negative hole.
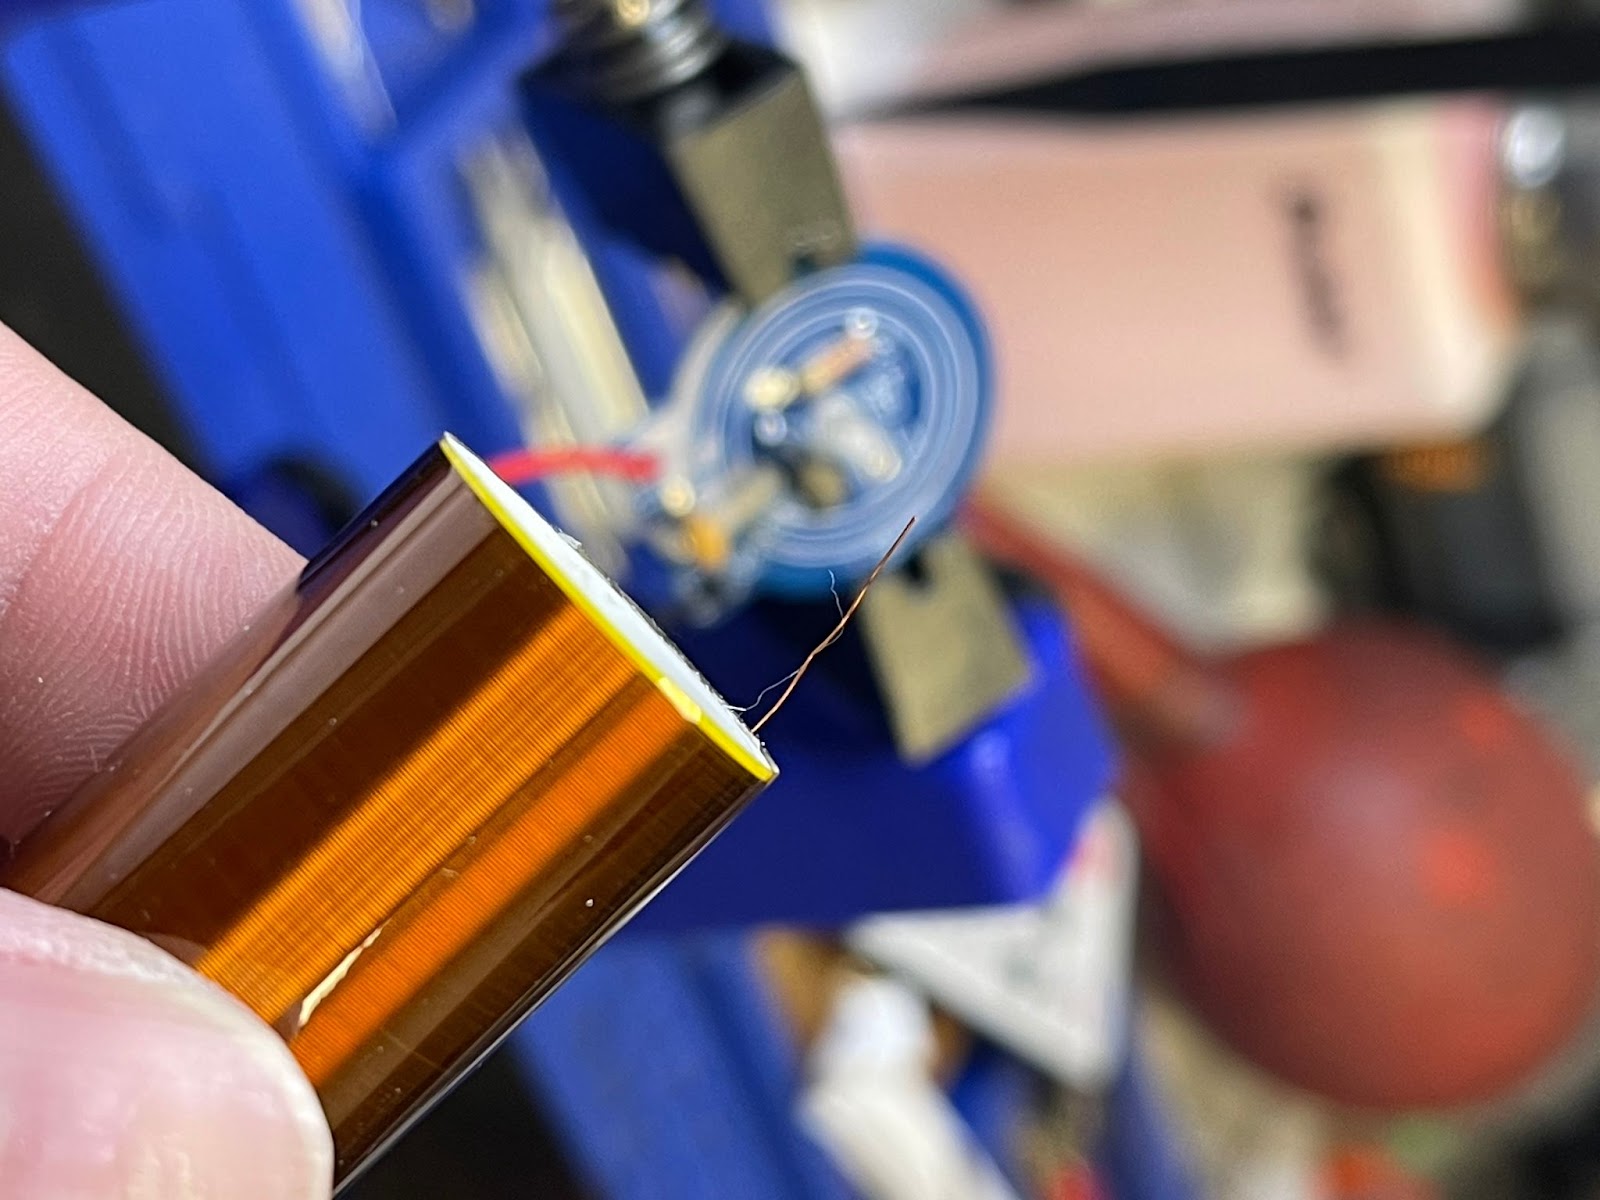
Step 6: Prepare the Tesla coil before soldering the coil to the PCB by removing the protective coat on the wire.
| Before | After |
 | 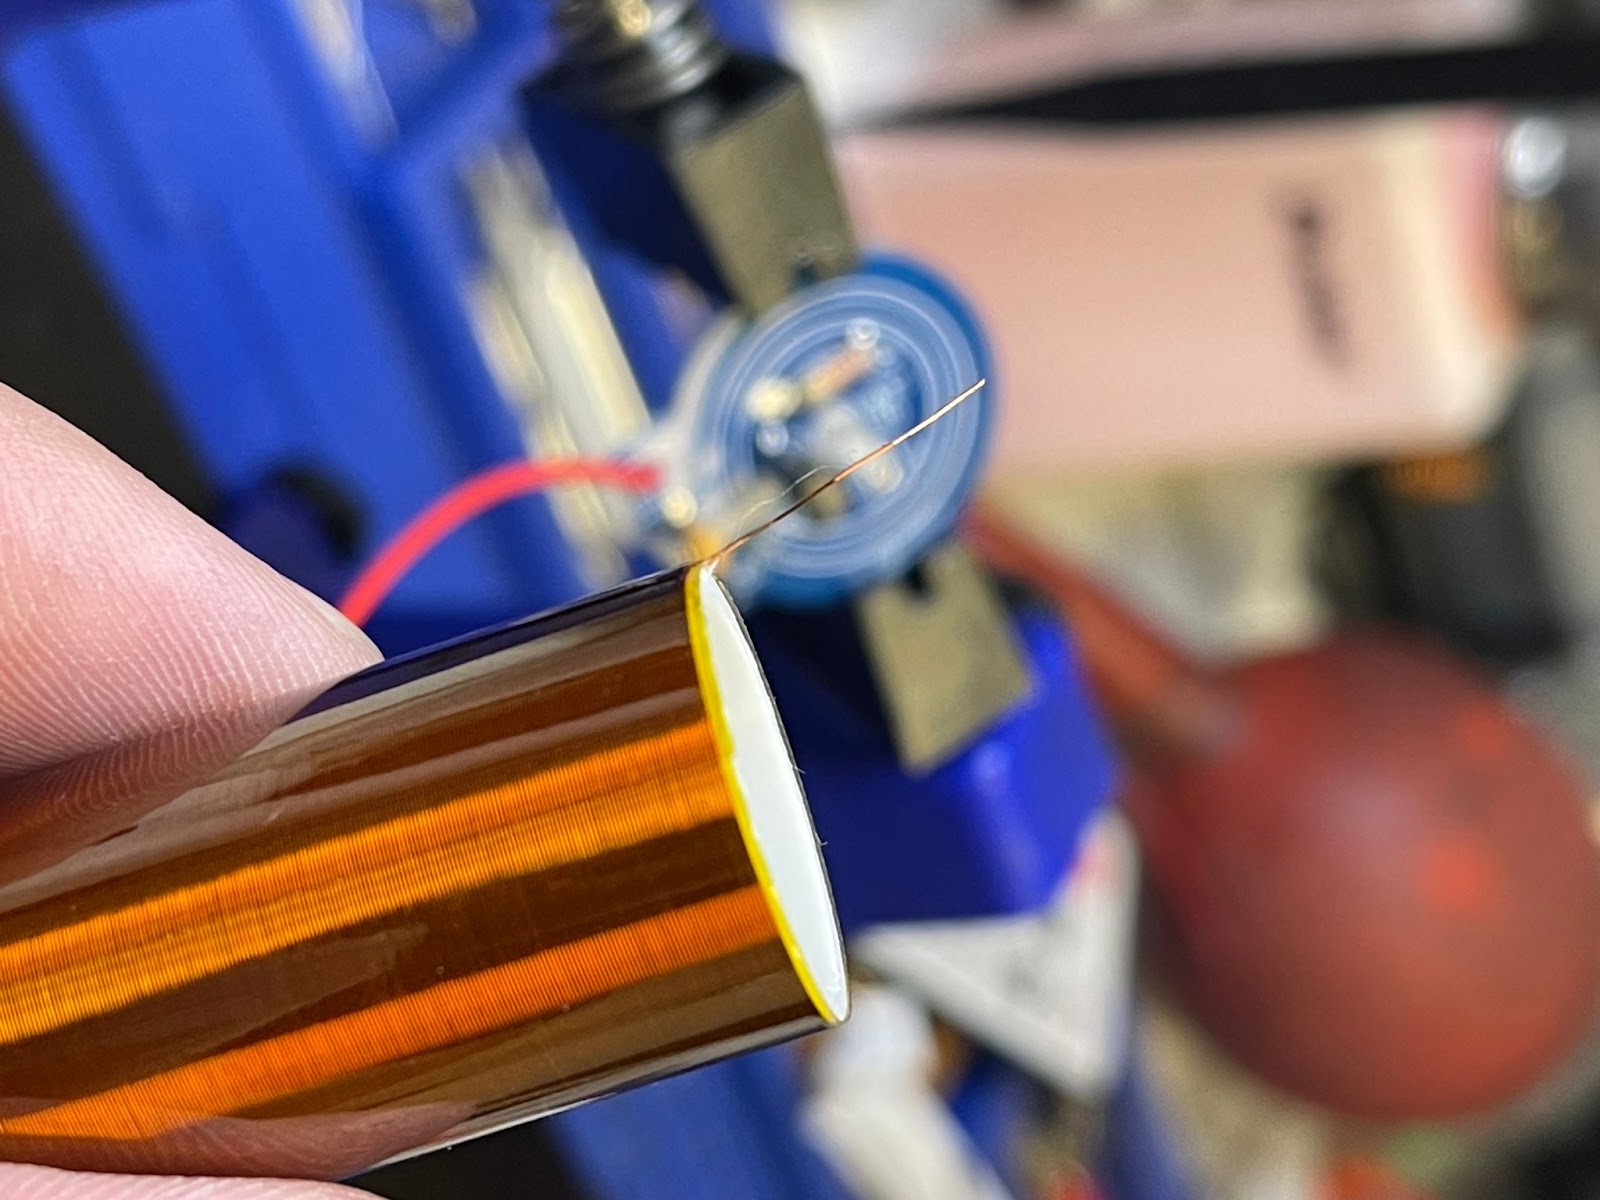 |
Step 7: First, make sure the wire on the coil goes through the PCB. Before, soldering the Tesla coil onto the PCB after preparing the wire accordingly.
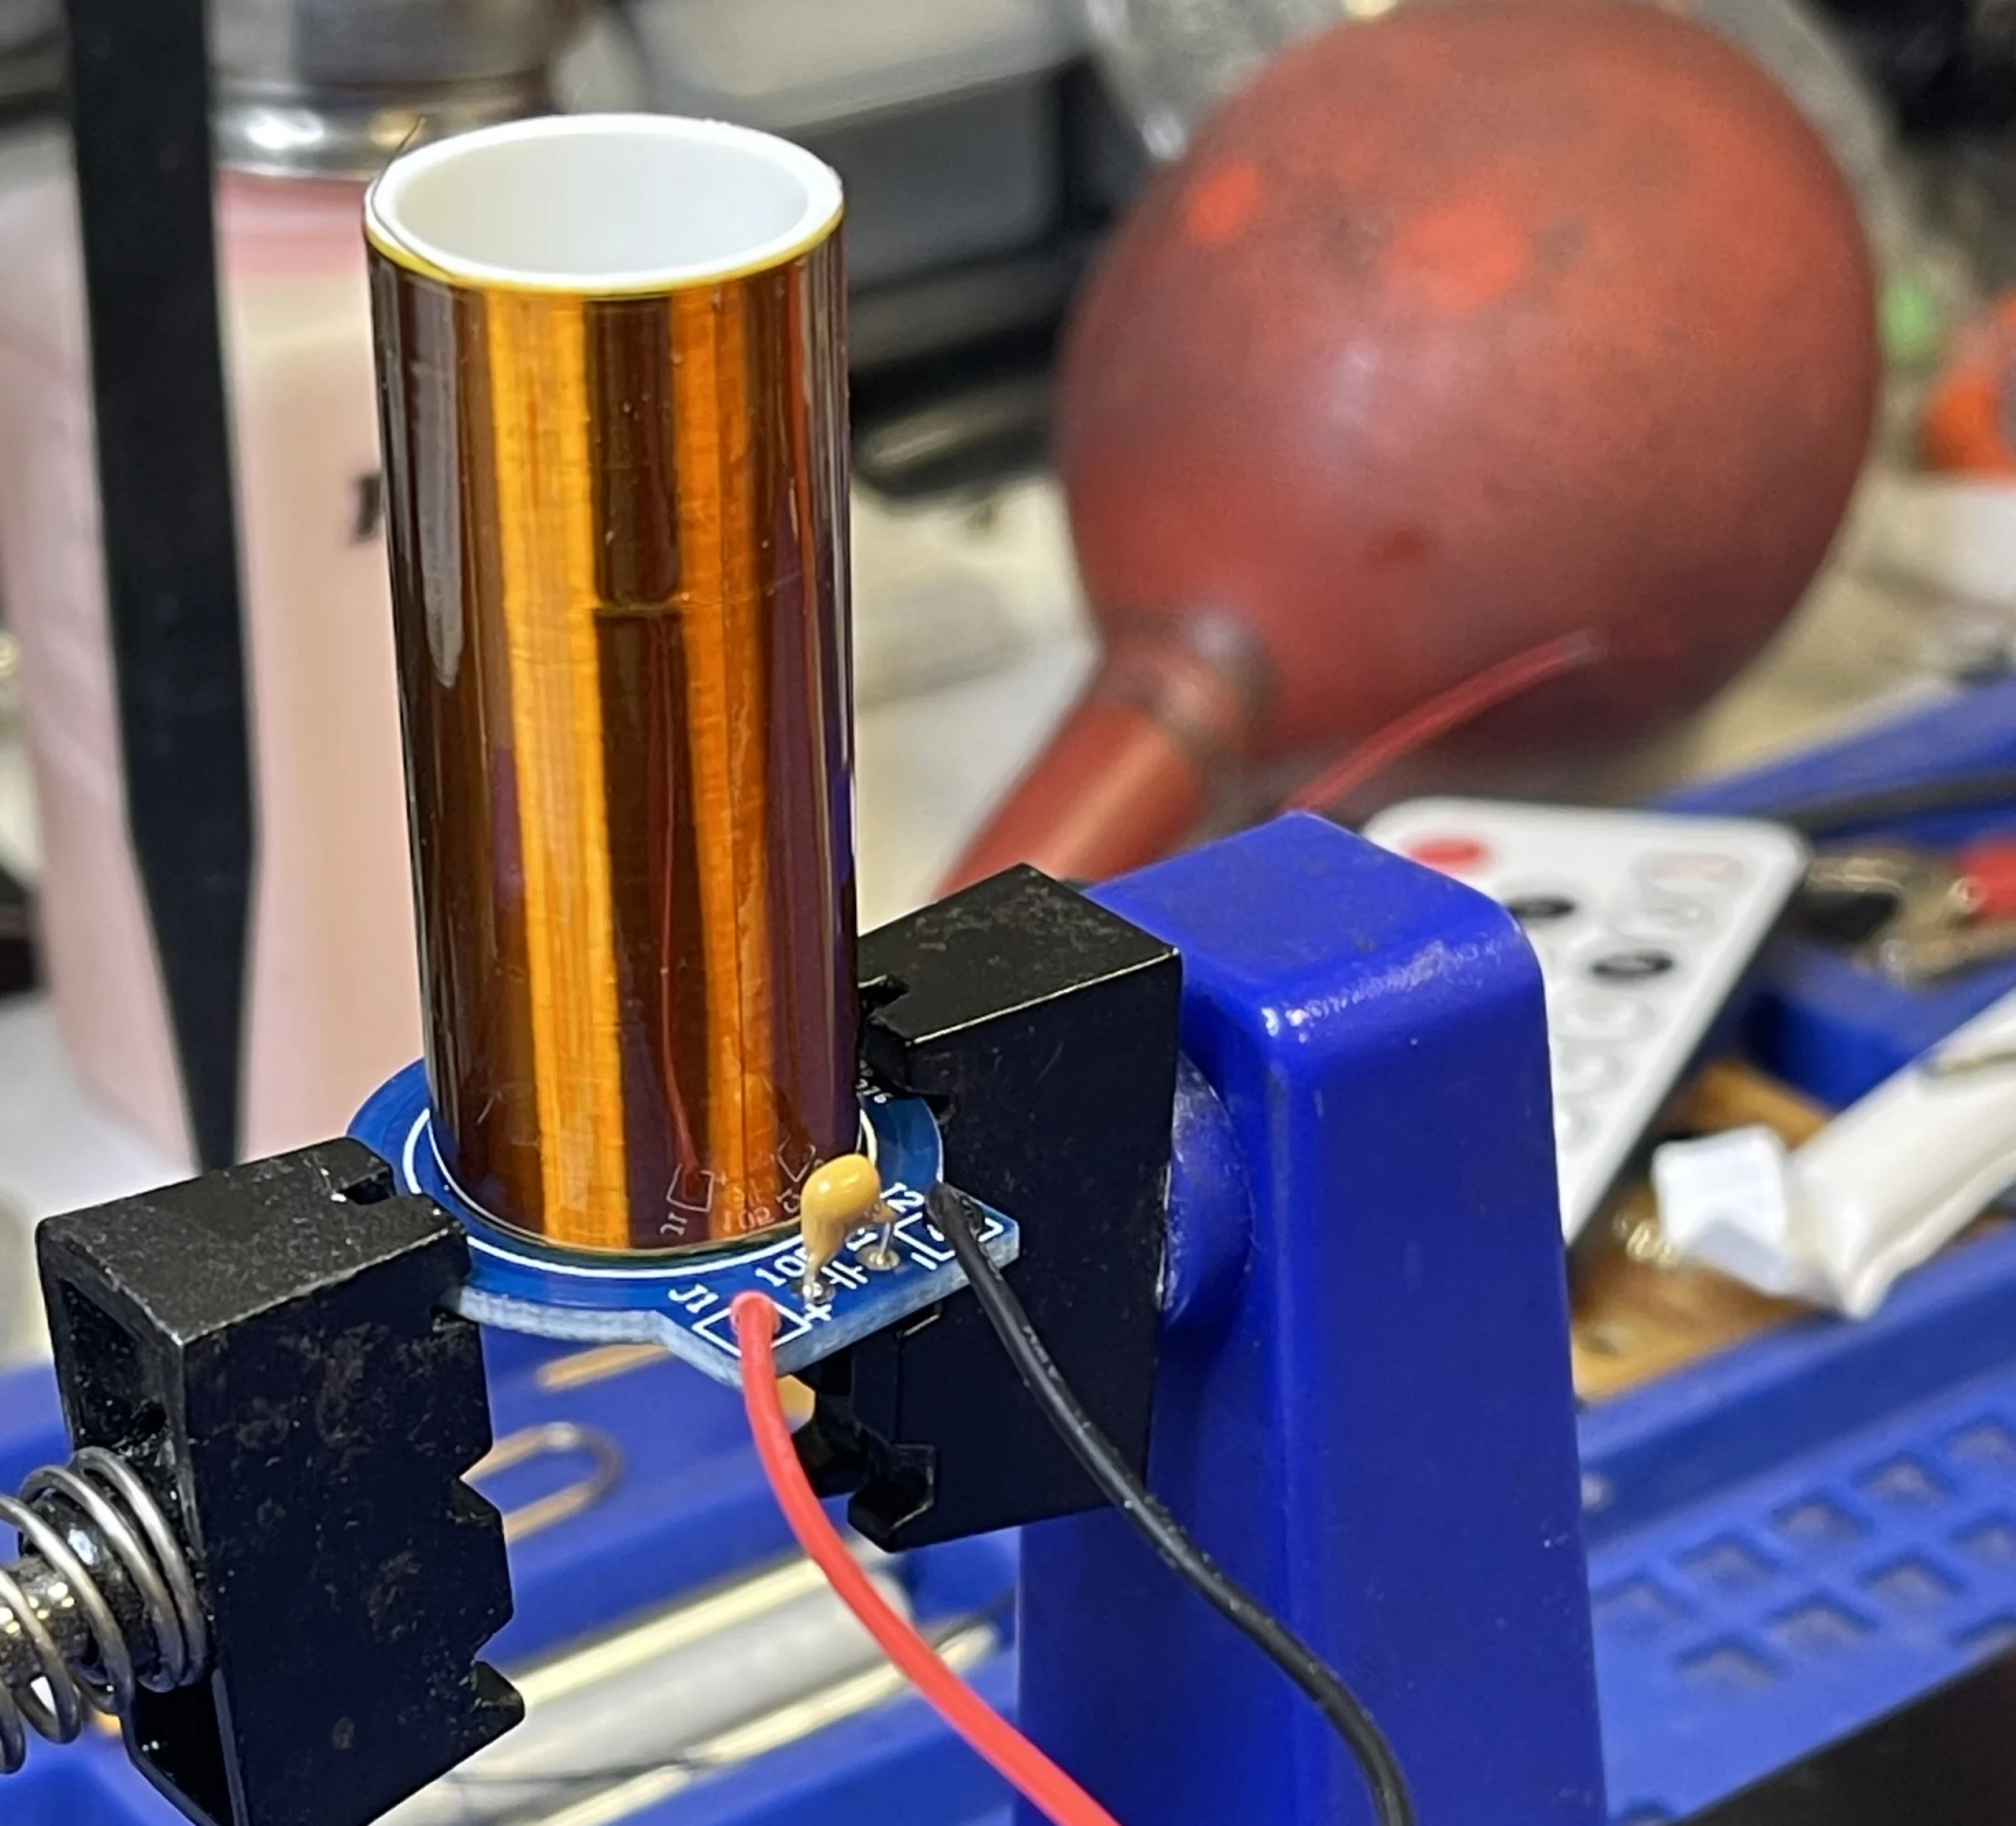
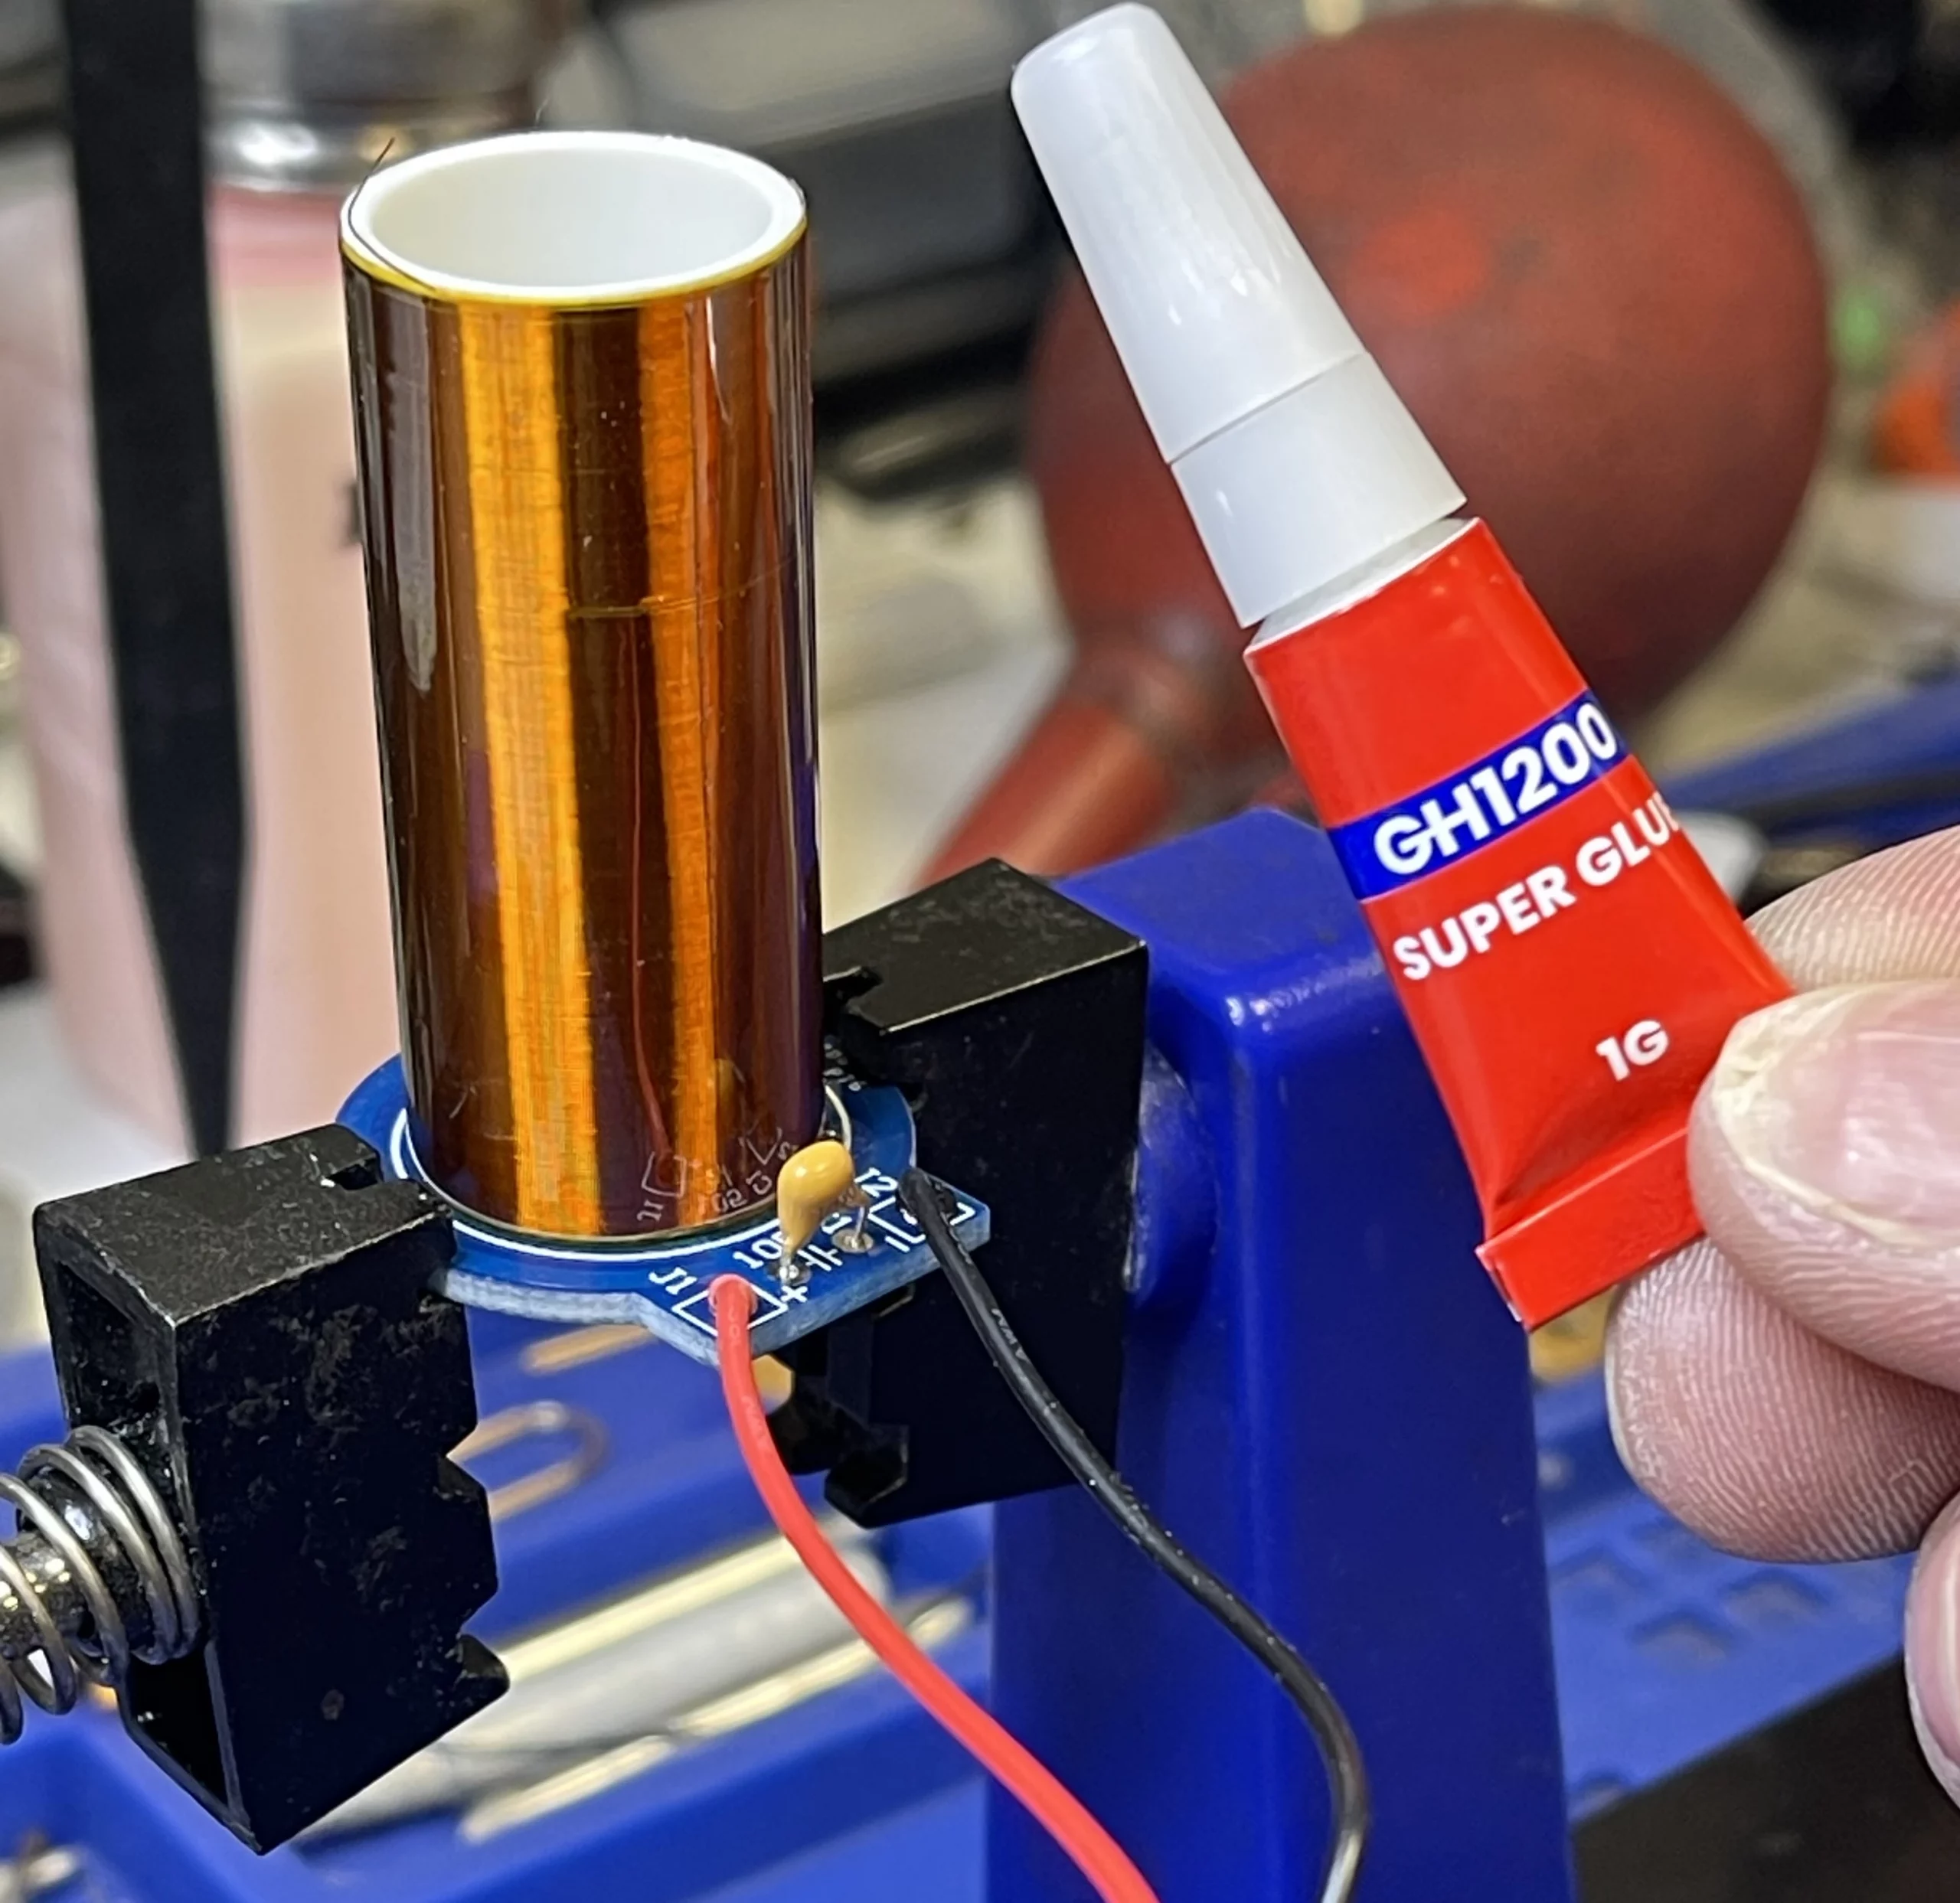
Step 8: Glue the Tesla coil onto the PCB after the soldering process.
The Tesla Coil Principle: How did the light bulb turn on?
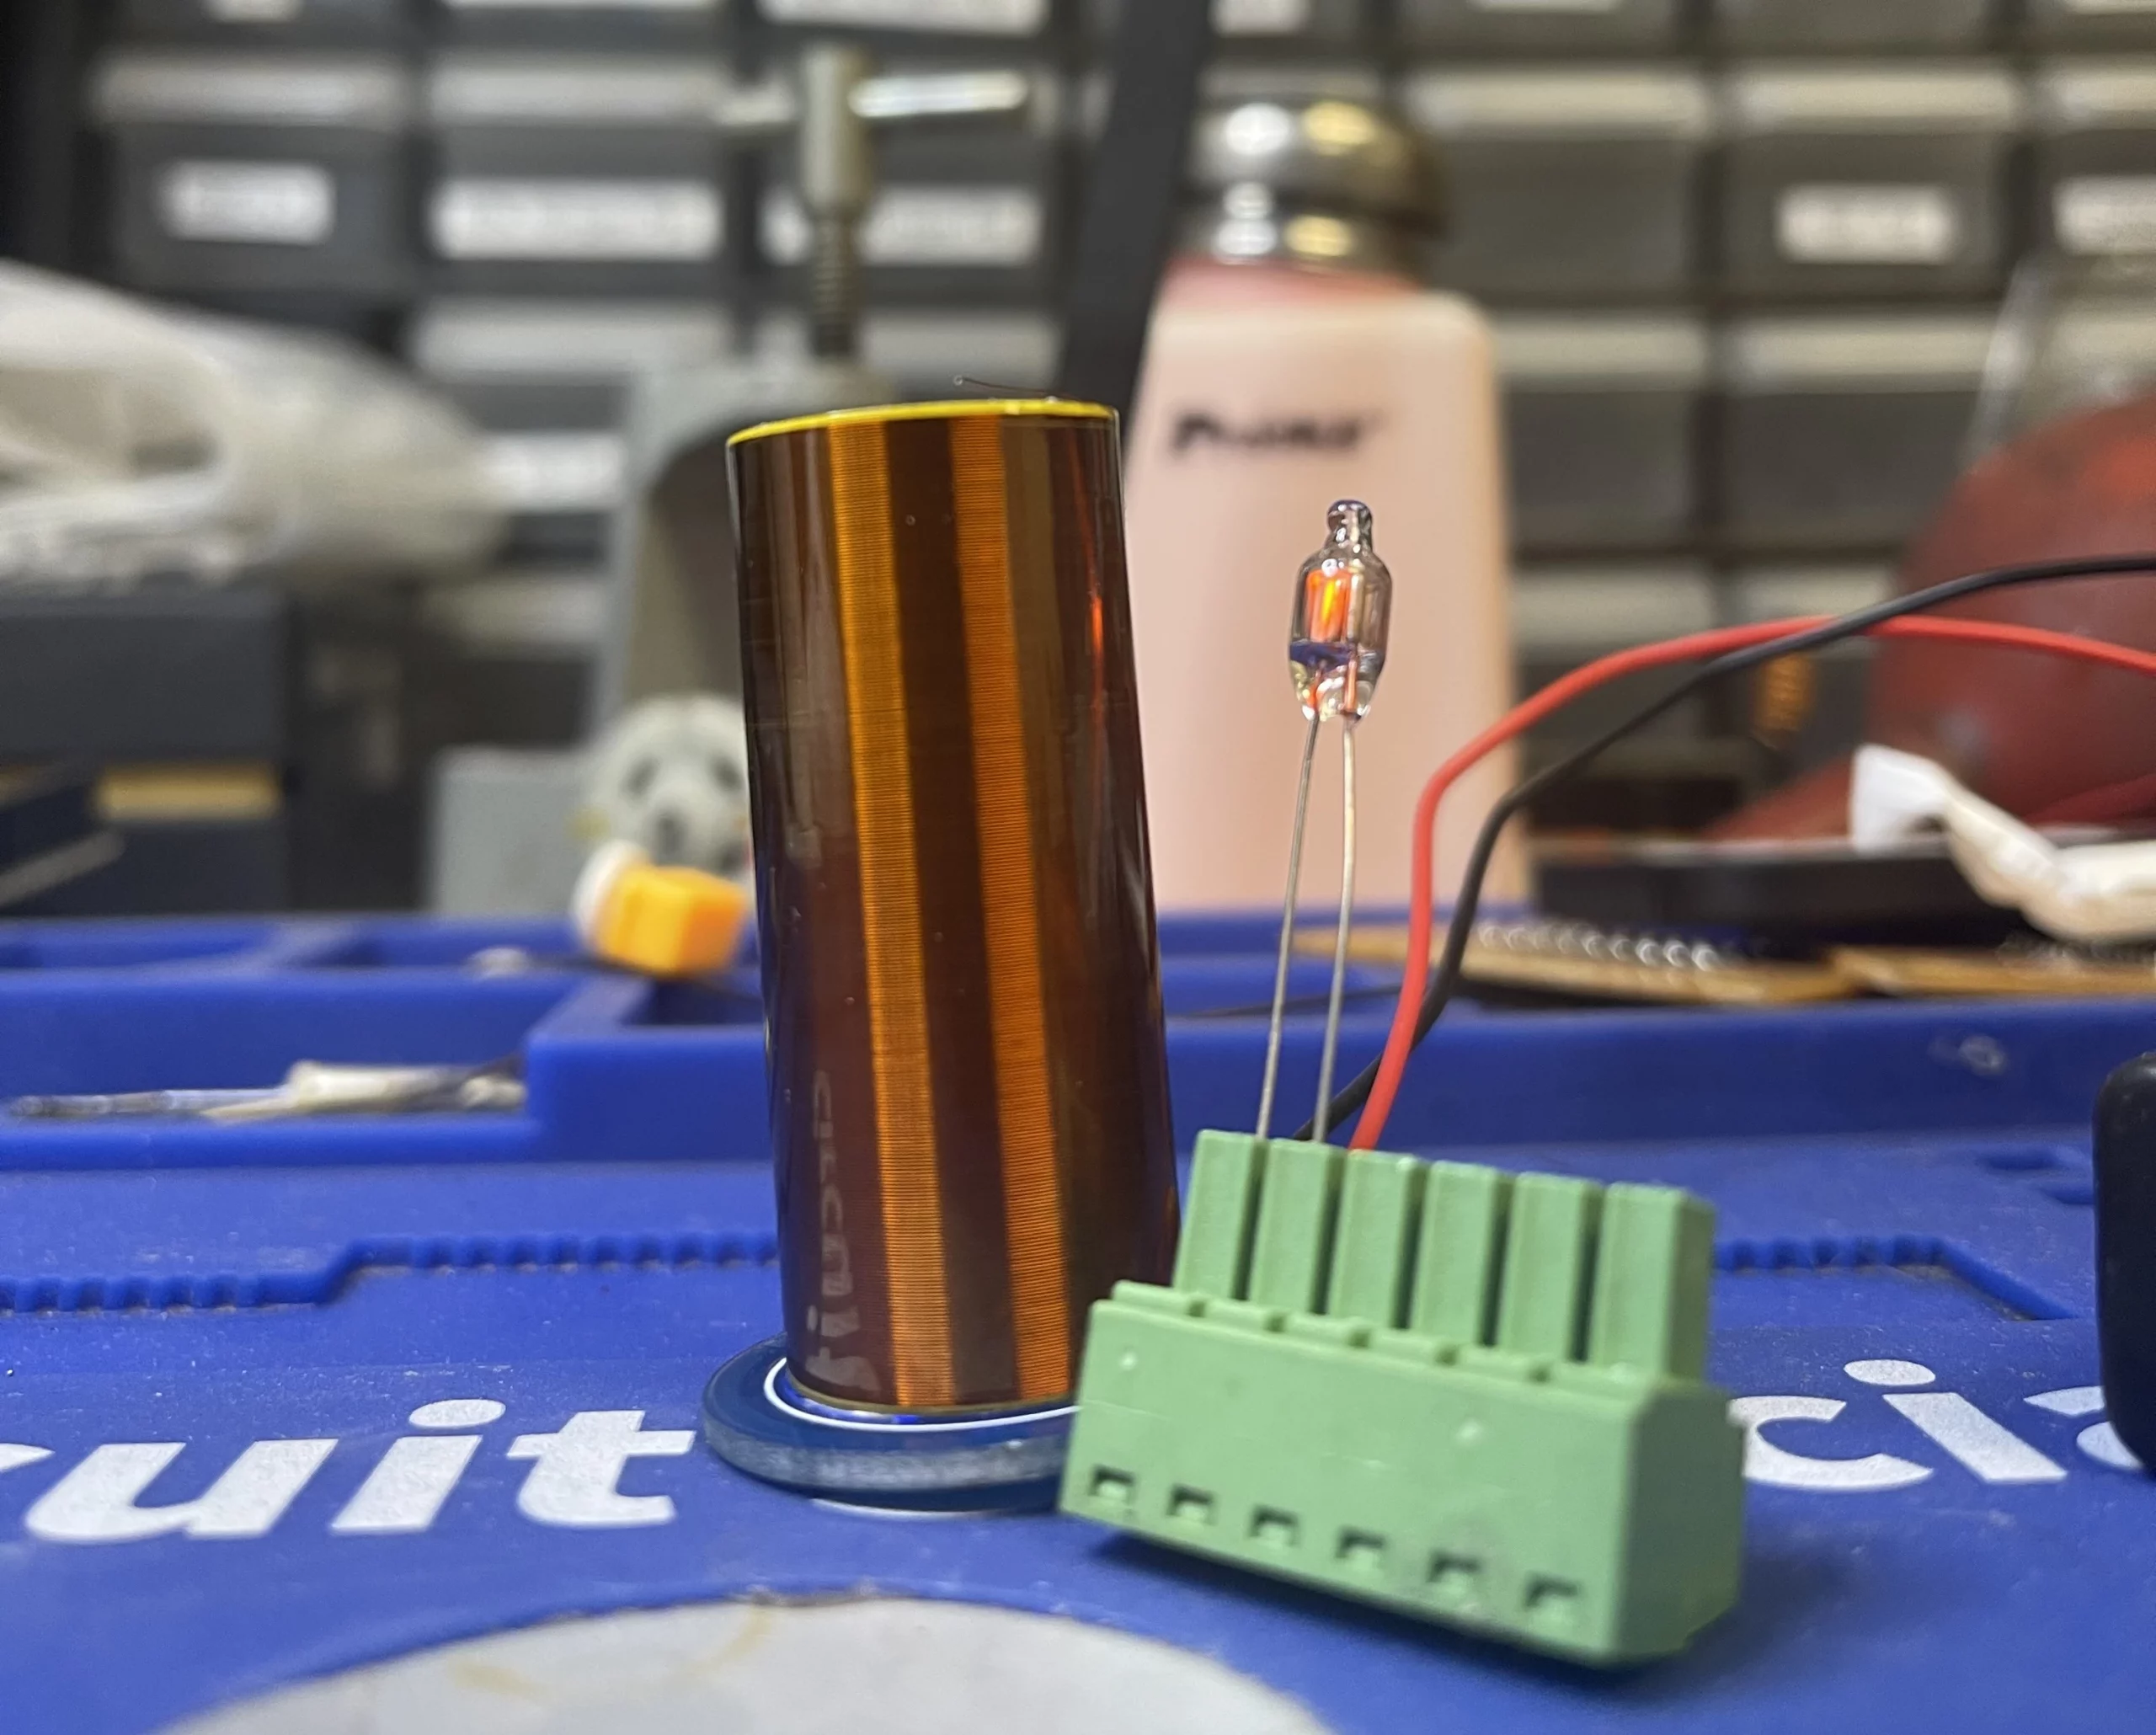
In essence, the Tesla coil’s electromagnetic field “excites” the light bulb’s coil, transferring energy wirelessly between the two devices. Furthermore, this phenomenon results from the principles of electromagnetic induction and resonance, which enable the efficient transfer of energy over short distances without physical connections.
Conclusion
Congratulations on completing the CSISLD012 Battery Powered Tesla Coil DIY project! You have successfully built a portable and electrifying device that showcases the principles of electromagnetic induction.
Finally, with your new Tesla coil, you can now mesmerize friends and family with its stunning visual effects and experiment with the fascinating world of electrical engineering.