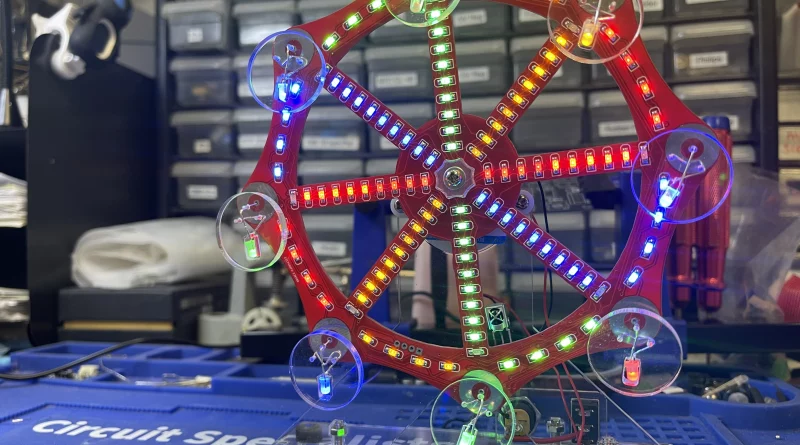
Learn SMD Soldering with LED Rotating Ferris Wheel Project
Welcome to the LED Rotating Ferris Wheel DIY Kit, a fun and interactive project that combines electronic building with learning Surface Mount Device (SMD) soldering skills. This kit features a colorful LED rotating Ferris wheel with 10 animation modes, controlled by remote control. By building this project, you’ll learn SMD soldering fundamentals, including component orientation, soldering process, and heat control. Develop your skills and create a unique electronic display!
Applications
- Training SMD soldering skill
- DIY electronic project
- Electronic competitions
- Home decoration
- Graduation design
- Holiday gifts
Understanding What is Surface Mount Device (SMD)

What are SMD components?
To learn SMD soldering we need to know that SMD components are small electronic parts like resistors, capacitors, and chips that are mounted directly onto the surface of a circuit board. They’re usually tiny and have small legs or pads that need to be soldered to the board.
What is SMD soldering?
SMD soldering is the process of connecting these small components to the circuit board using a soldering iron and solder. You apply a small amount of solder to the component’s legs or pads and the corresponding pads on the board, then heat it with the soldering iron to create a strong electrical connection.
Installation Steps
Tips before soldering:
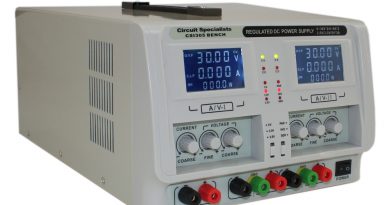
- Prepare your welding tool before starting
- Be patient and take your time during the installation
- This is a DIY kit, and user installation is required
- Avoid touching components with the soldering iron for too long (3s) to prevent damage
- Pay attention to component polarity (positive and negative)
- Avoid short circuits
- Follow specified rules for LED installation
- Install complex components first
- Ensure all components are in the correct direction and position
- Check that all LEDs are illuminated
- Read the installation manual before starting
- Wear anti-static gloves or wristbands when handling electronic components
- Using a PCB clamp to secure the PCB during the soldering process.
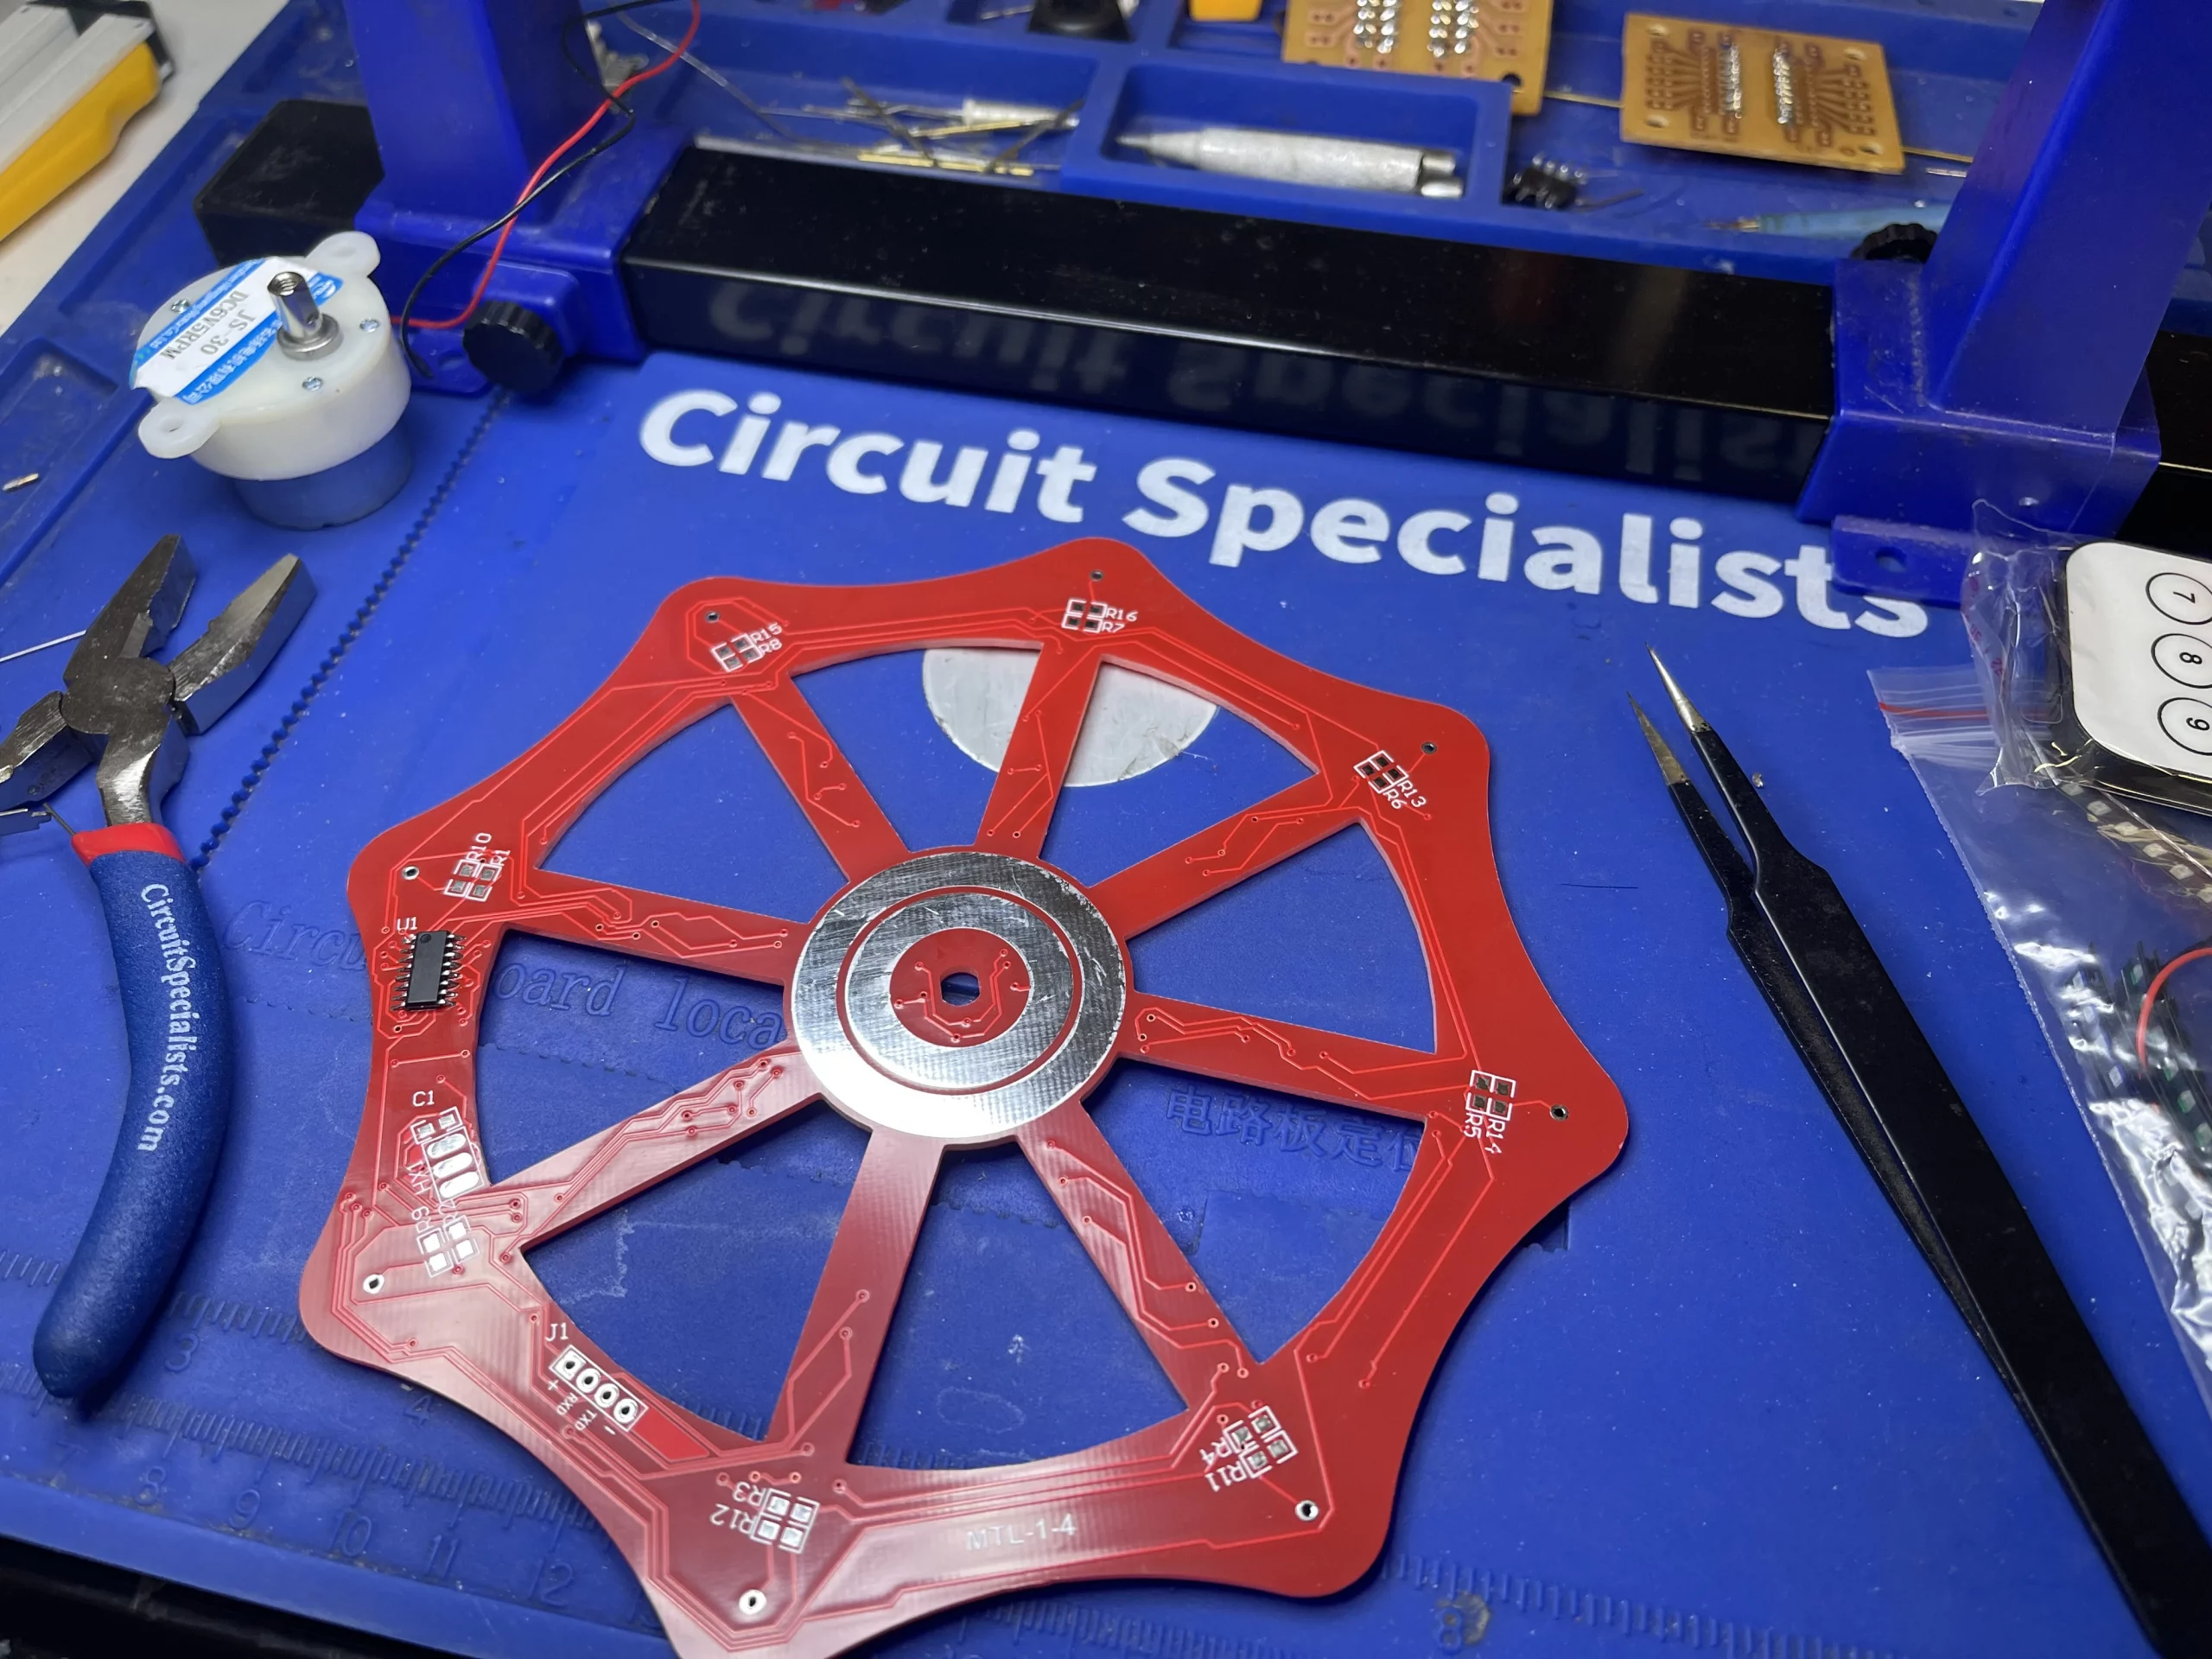
Component Installation
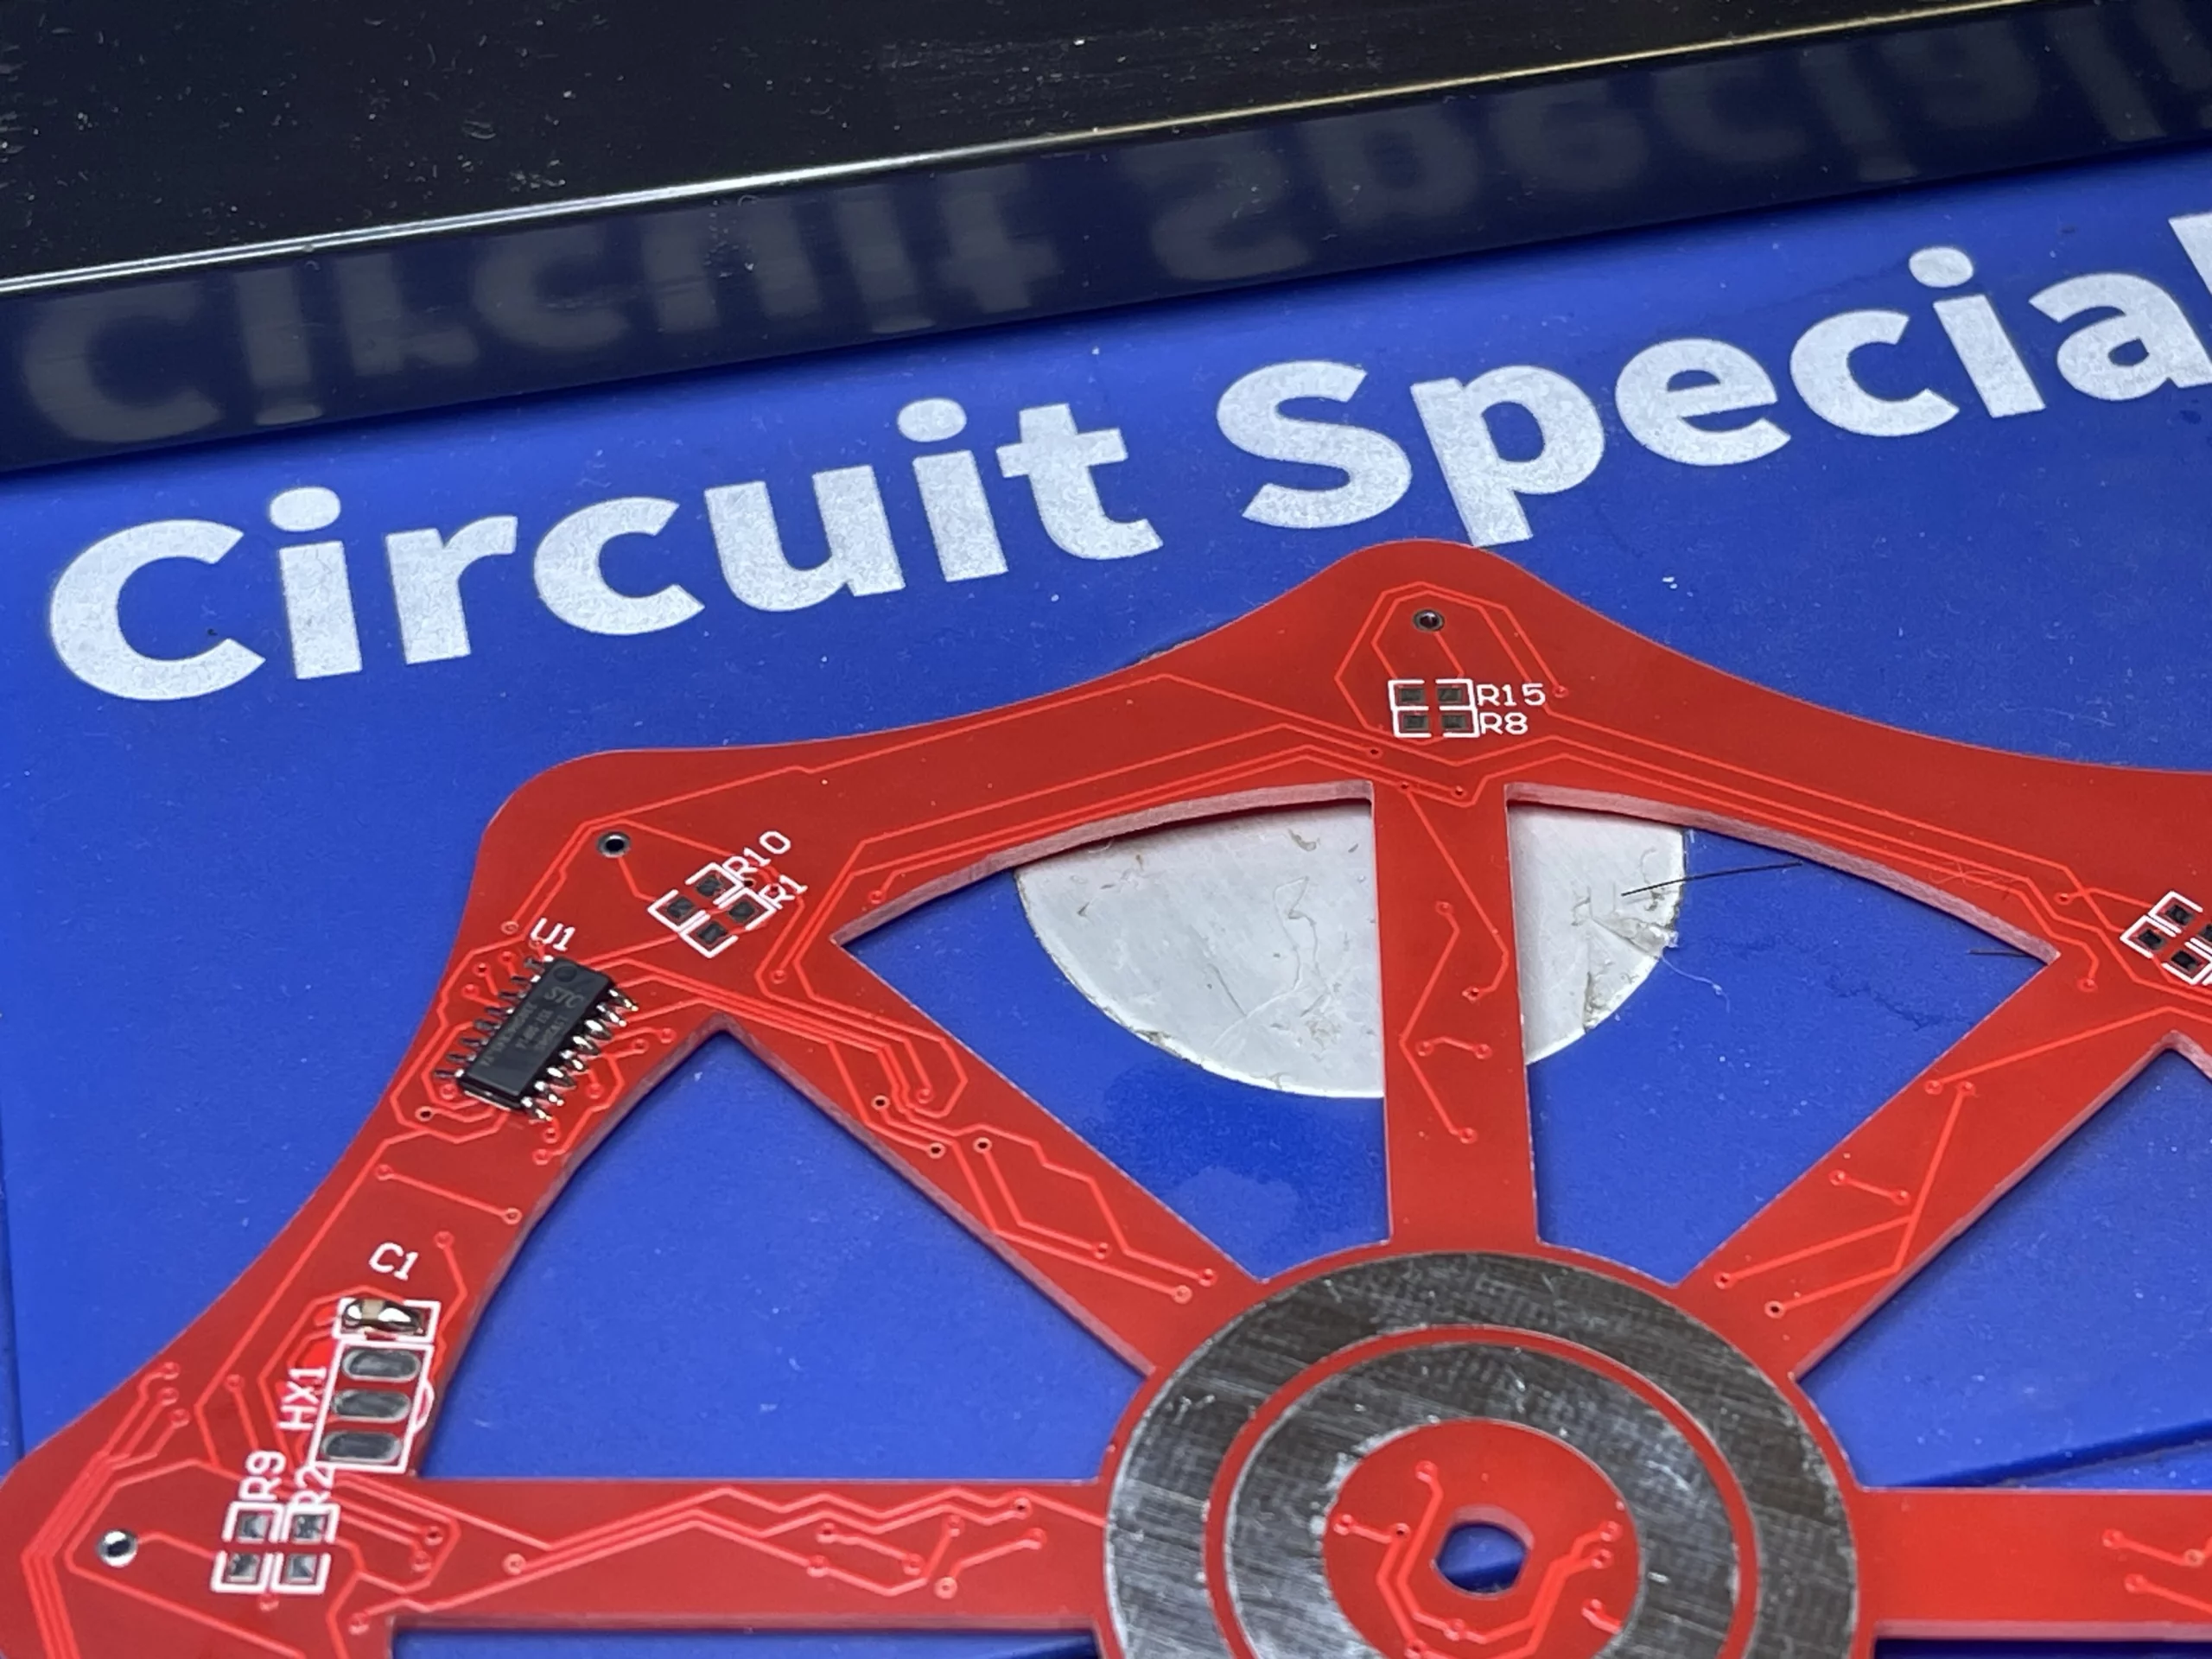
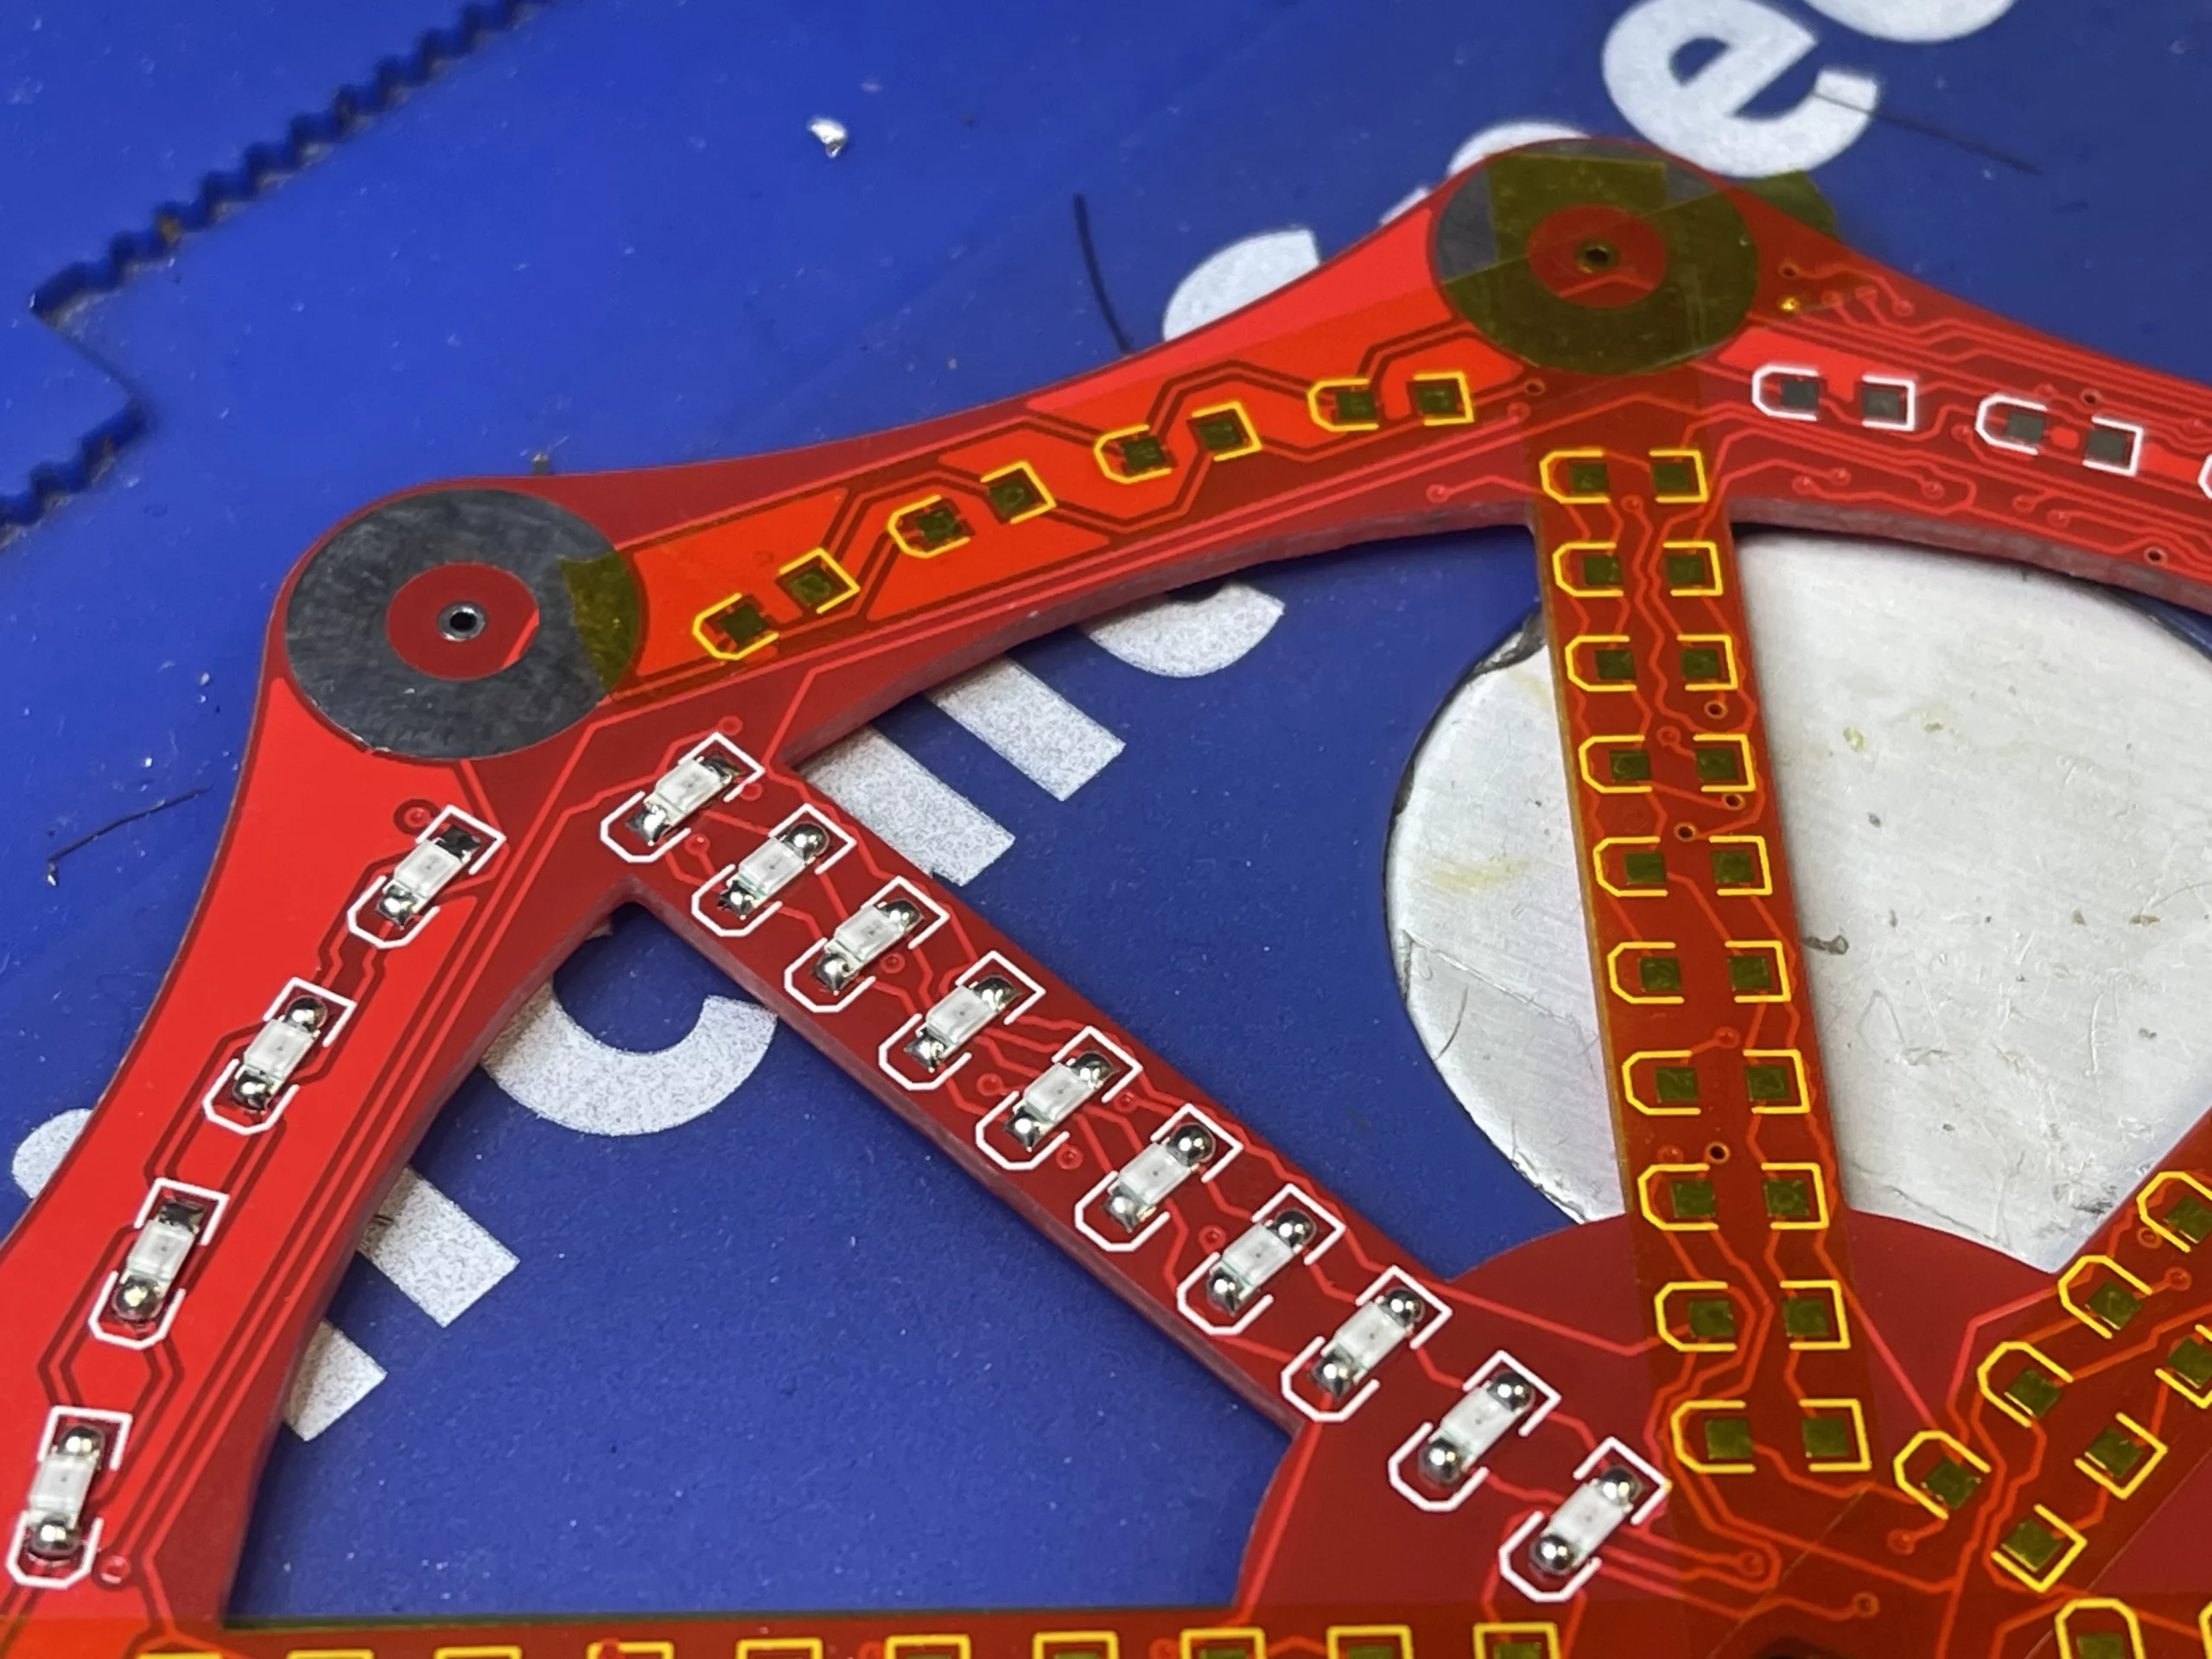
This step of the process focuses on SMD soldering, such as how to identify the item and how to place these components correctly on the PCB. For more details on the assembly step, please check the link here for steps 1 to 9.
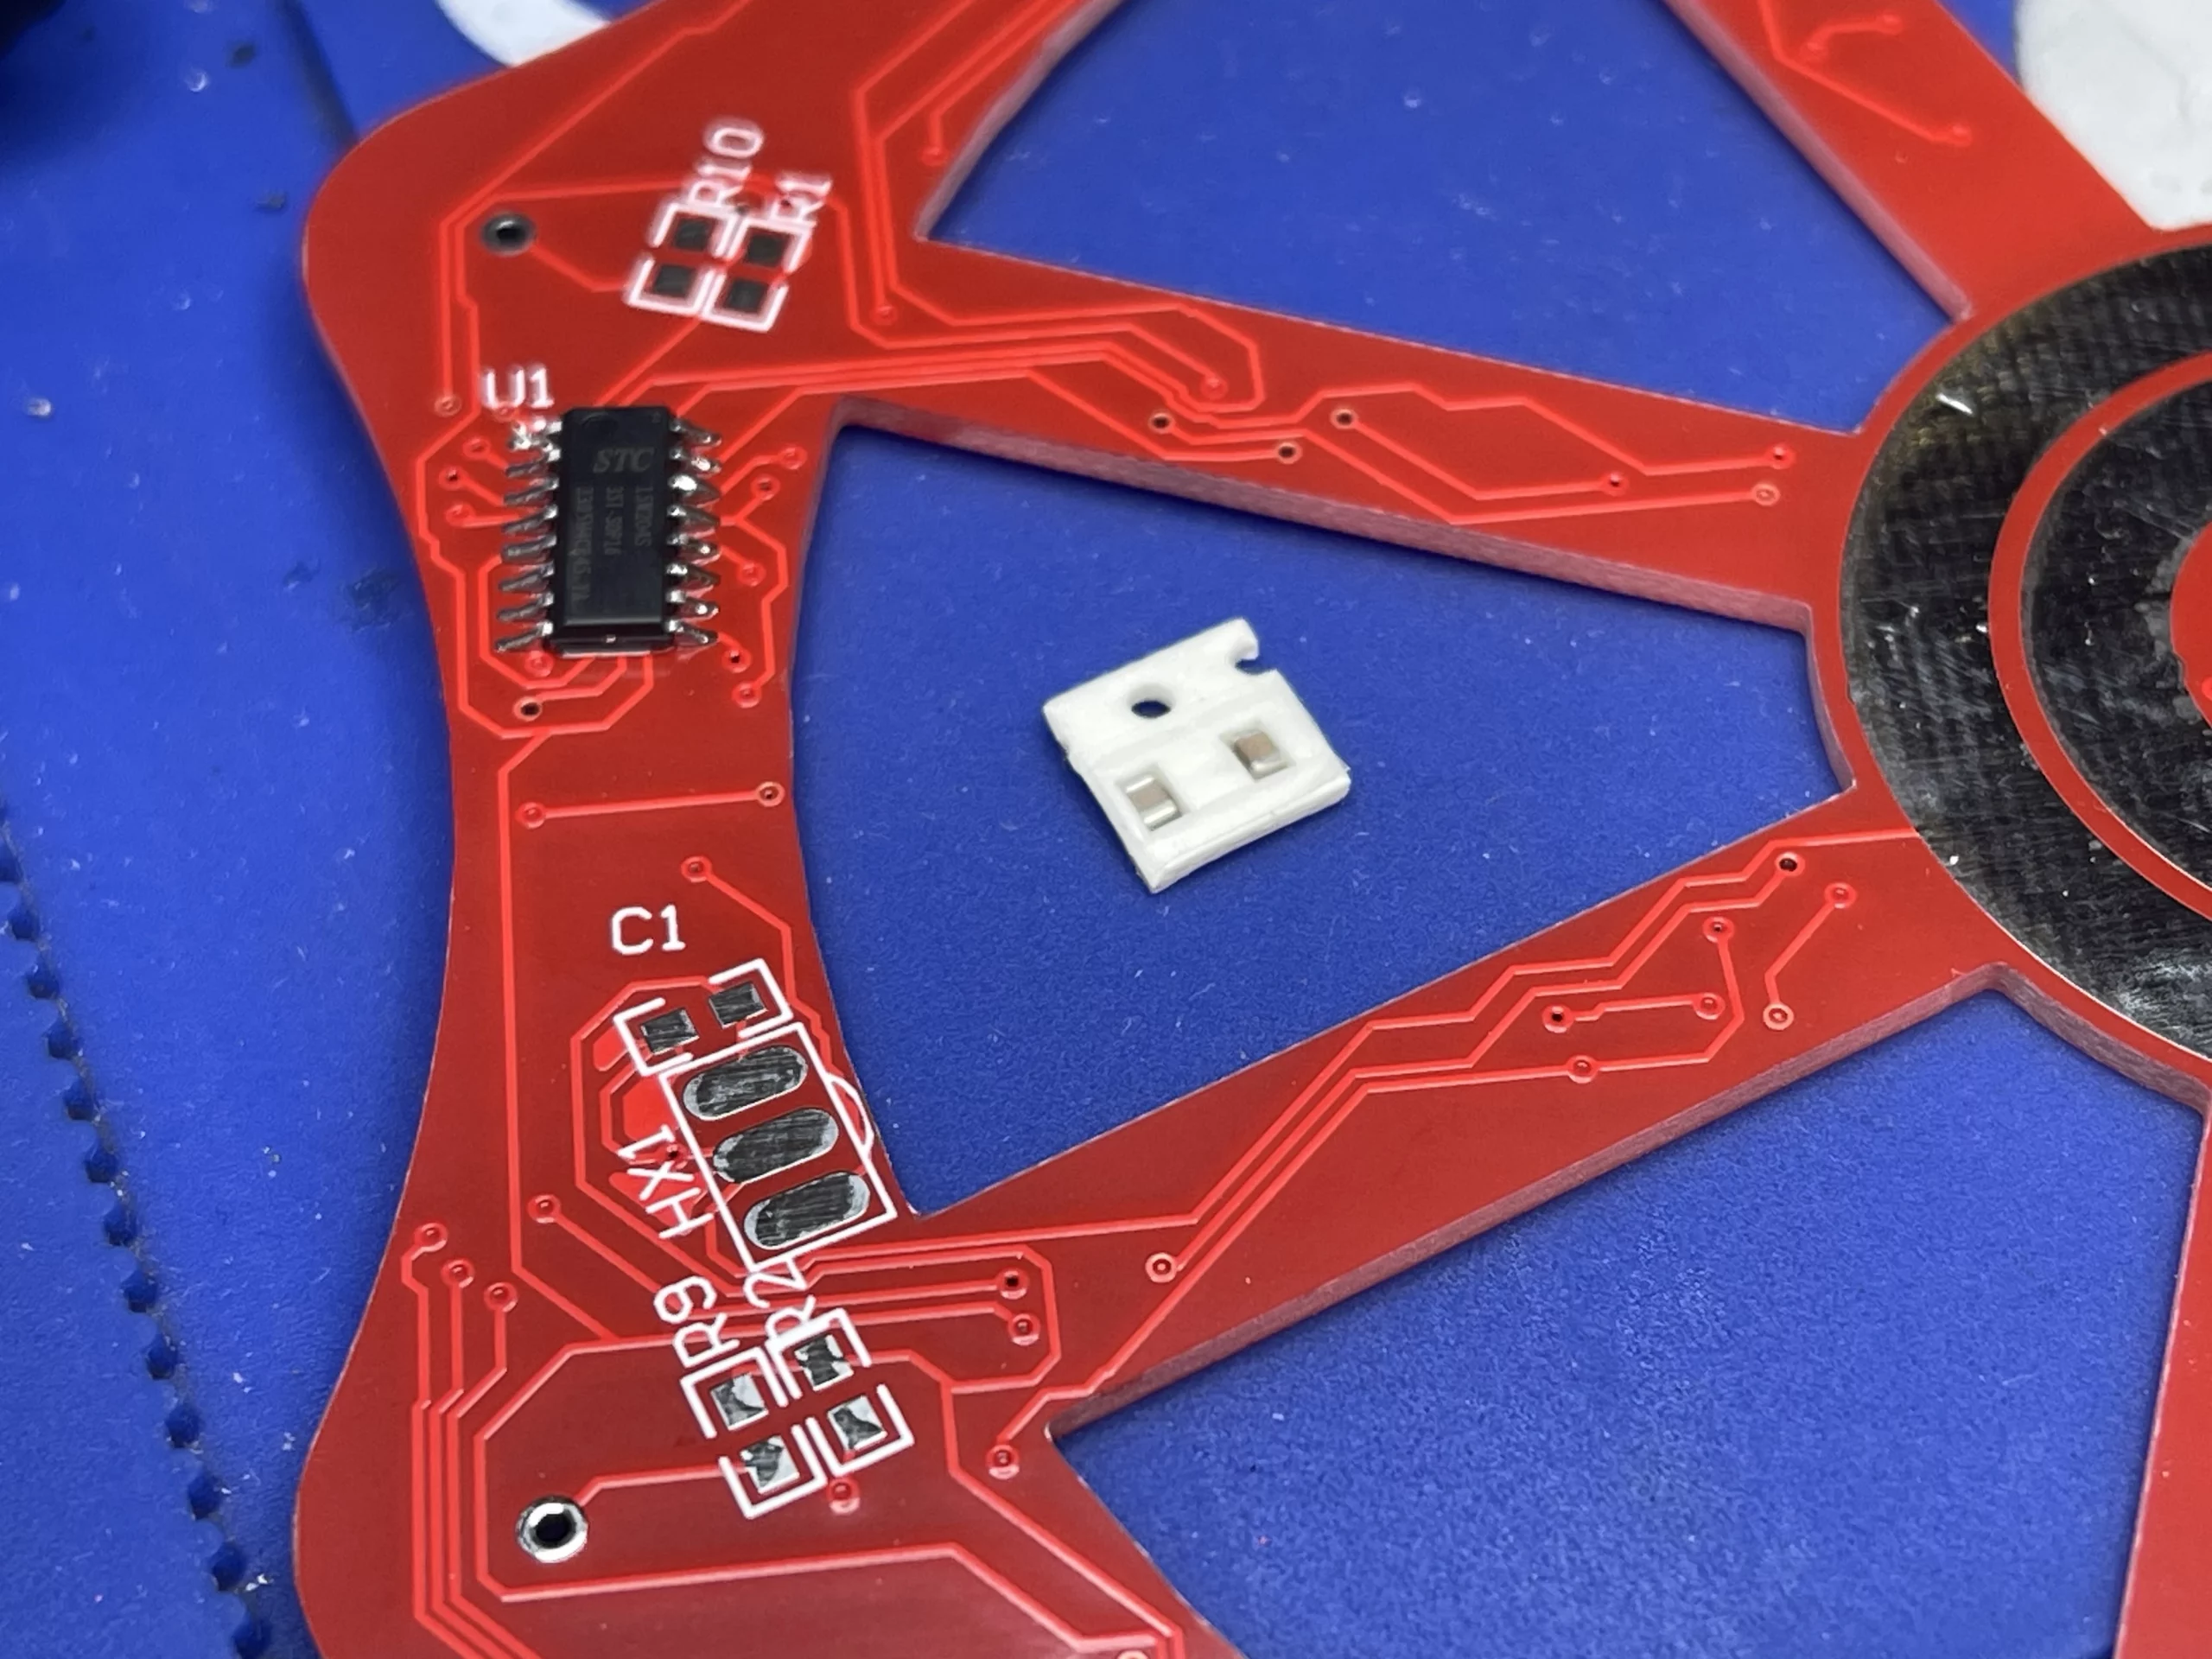
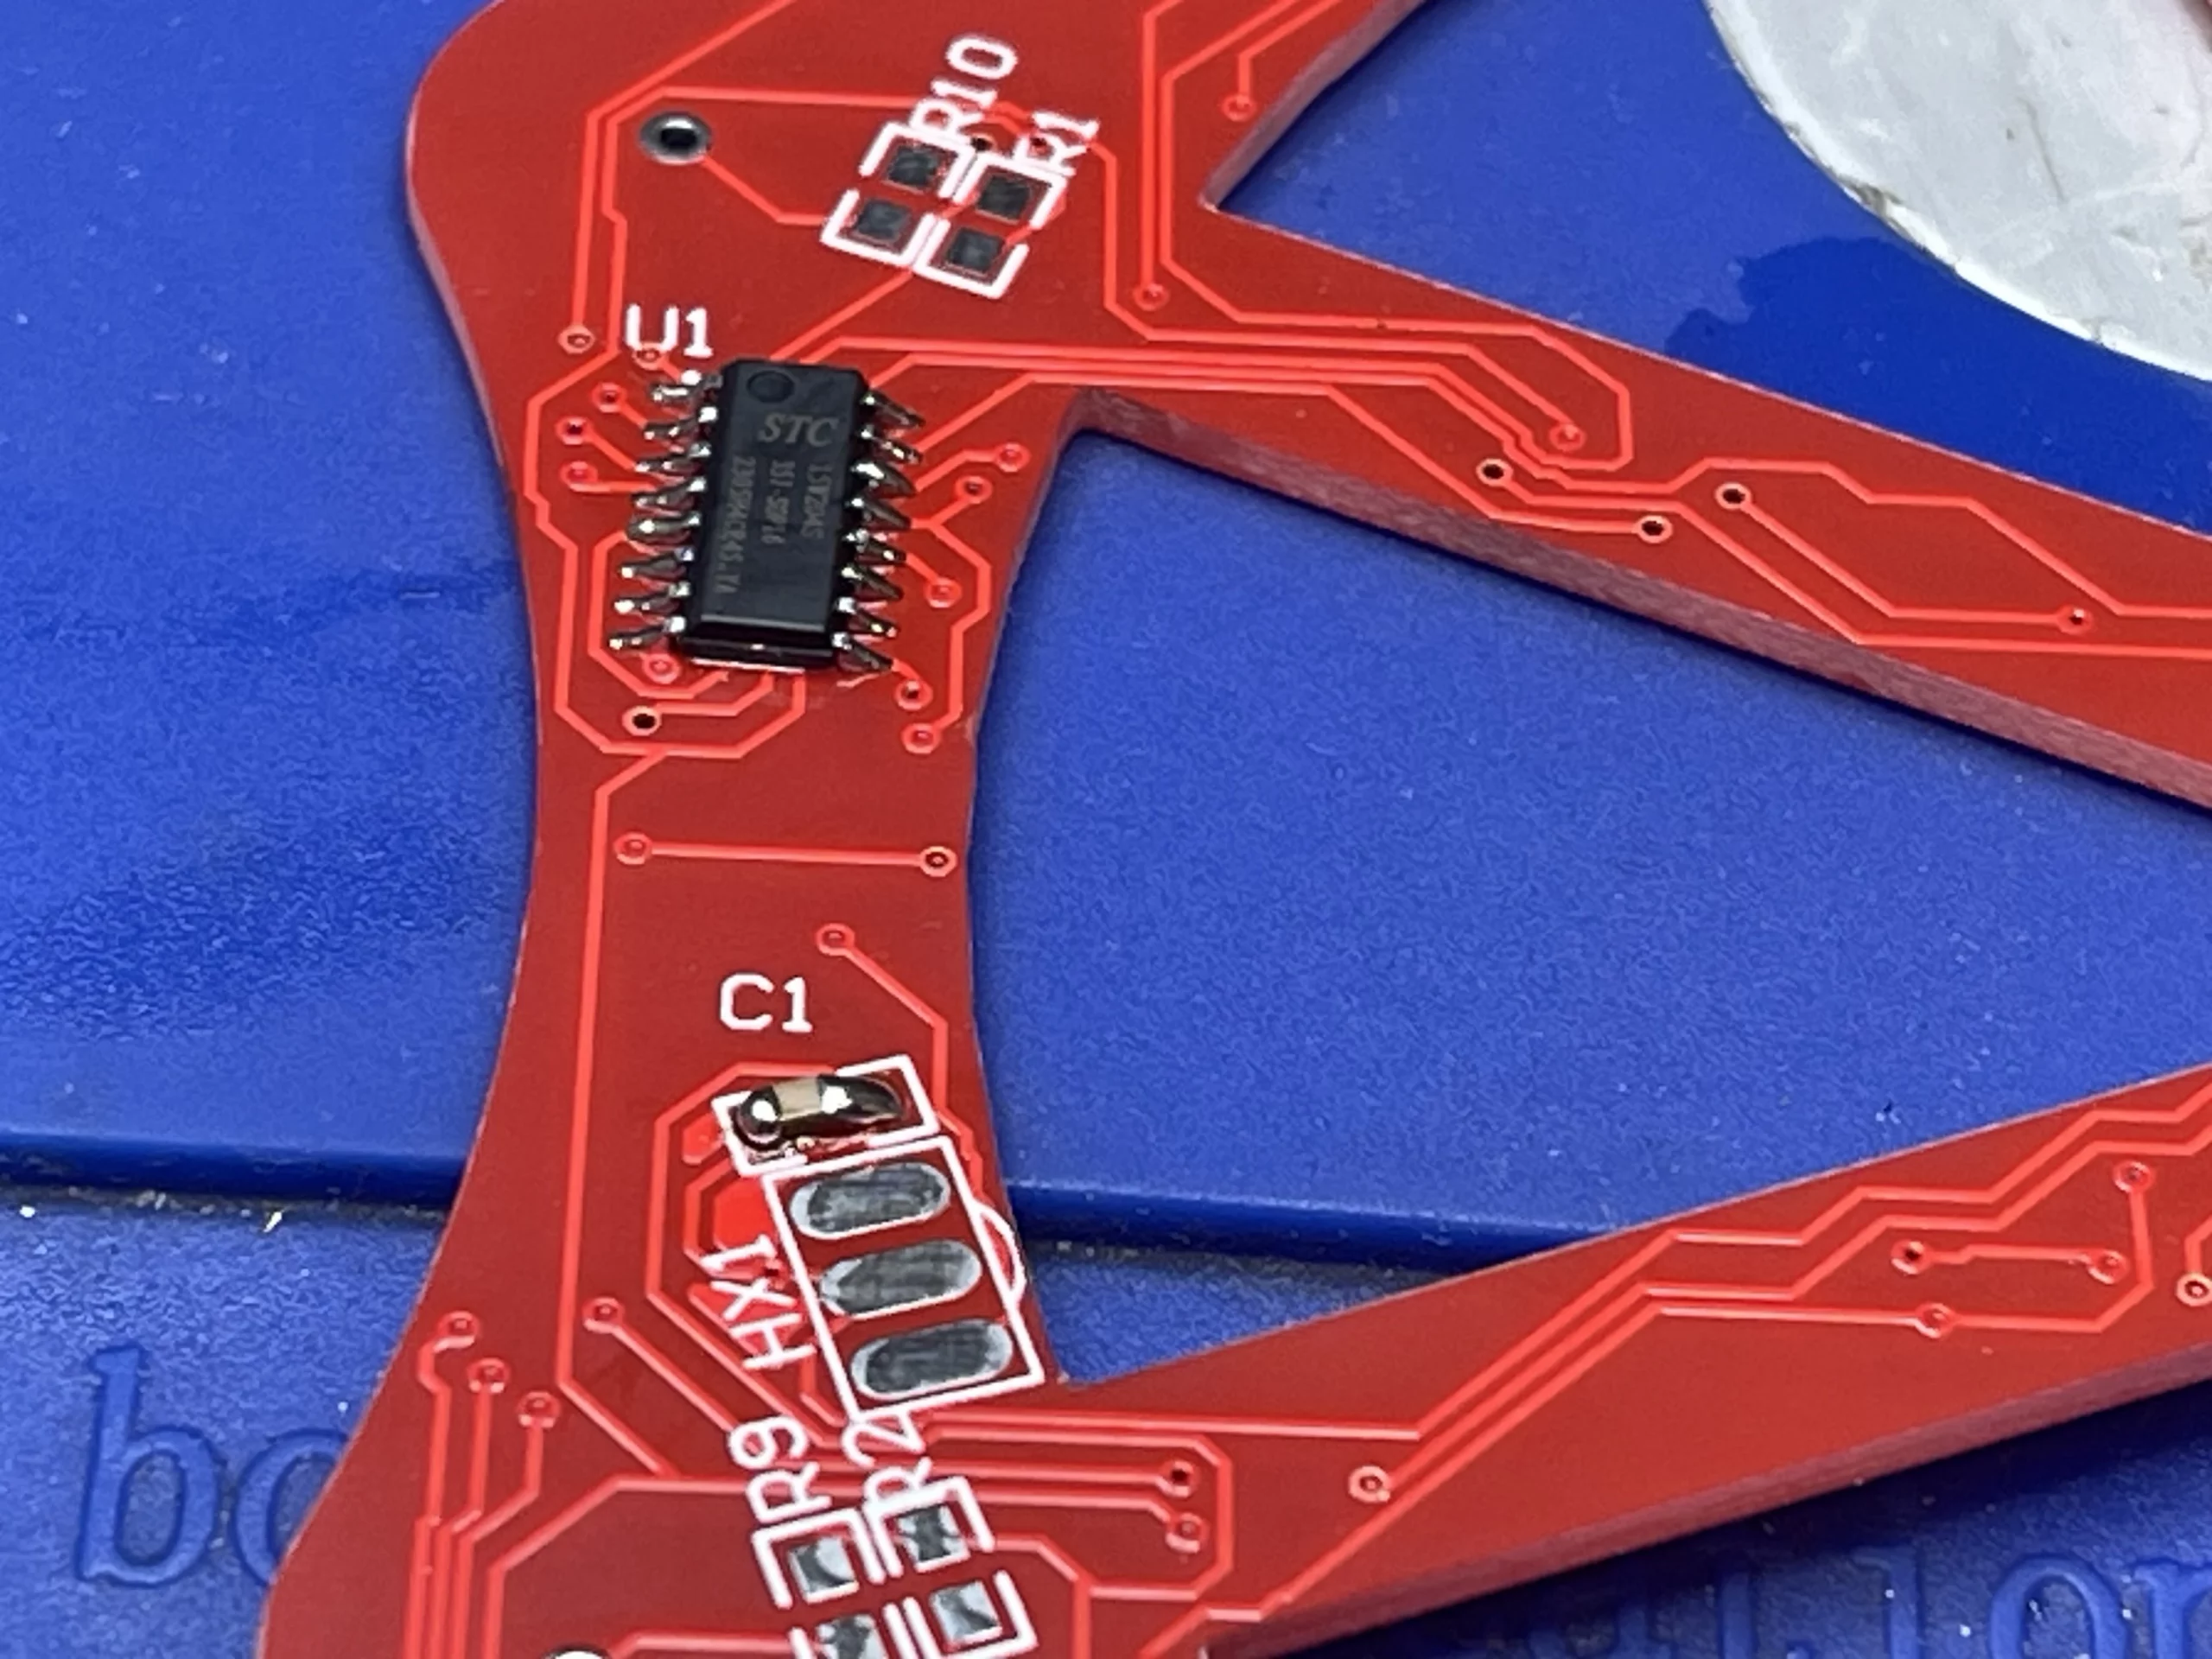
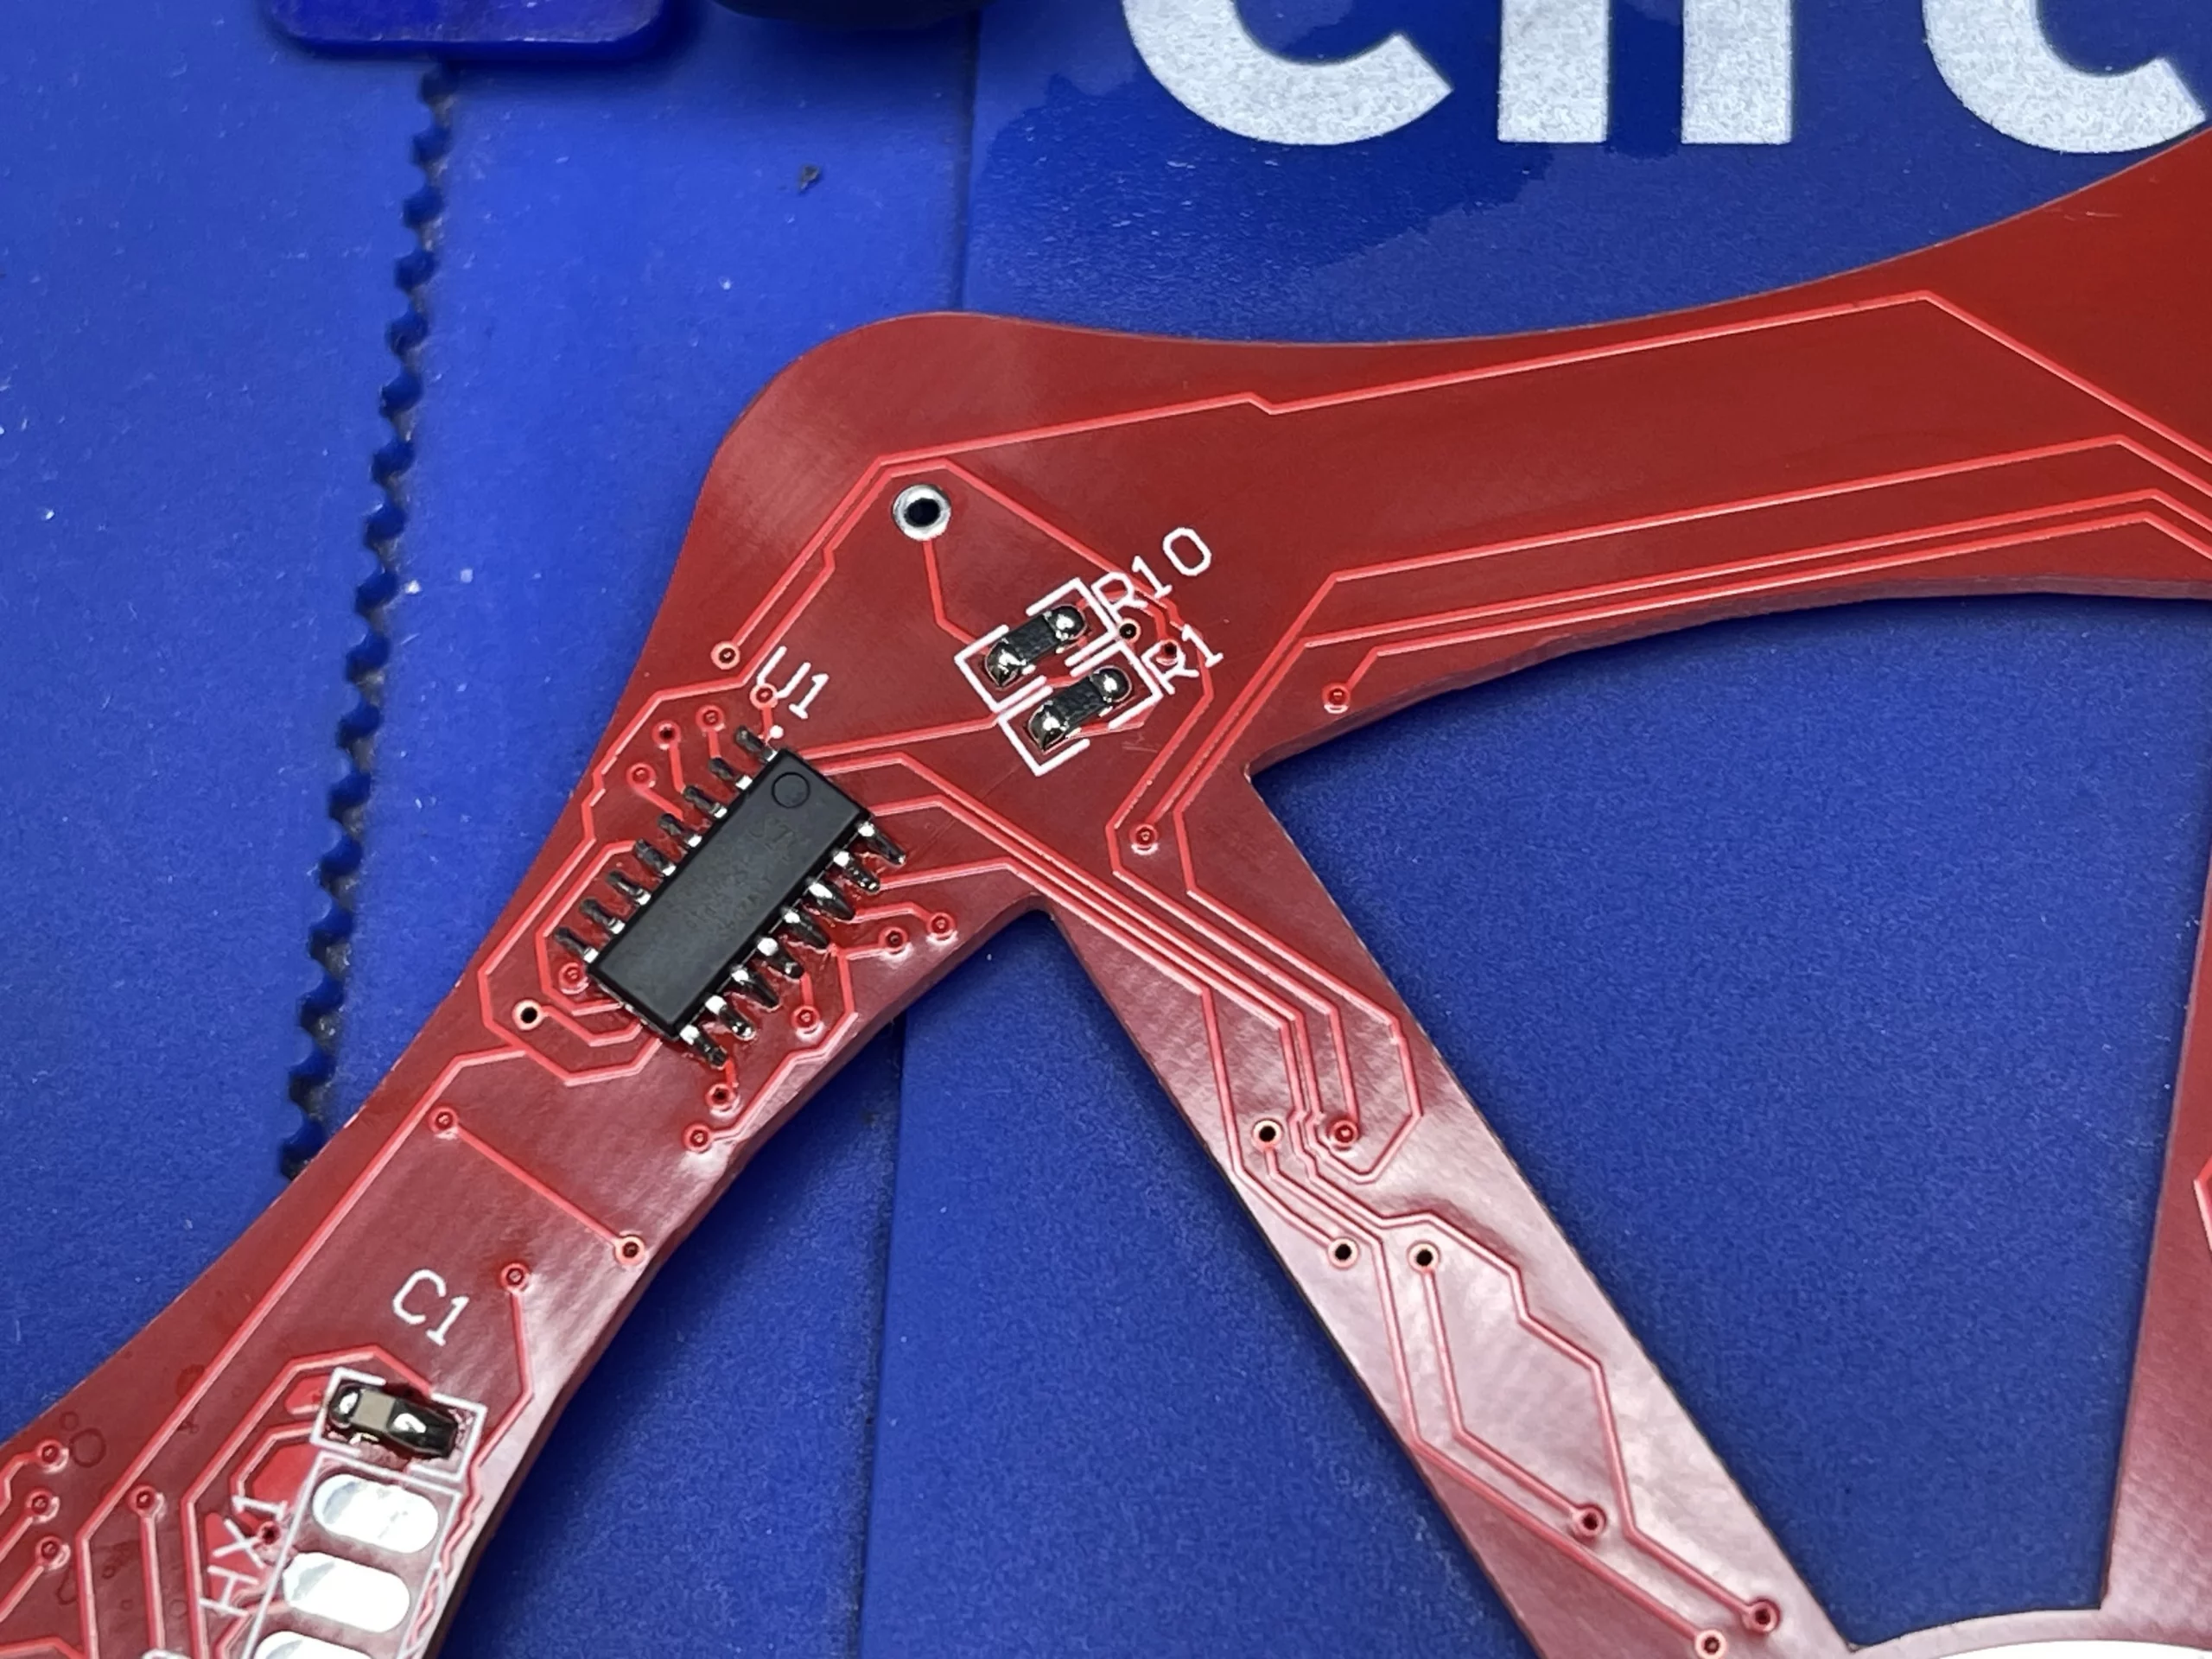
First, when installing the SOP-16 STC15W204S at U1, make sure you orientate the part correctly according to the instruction manual.
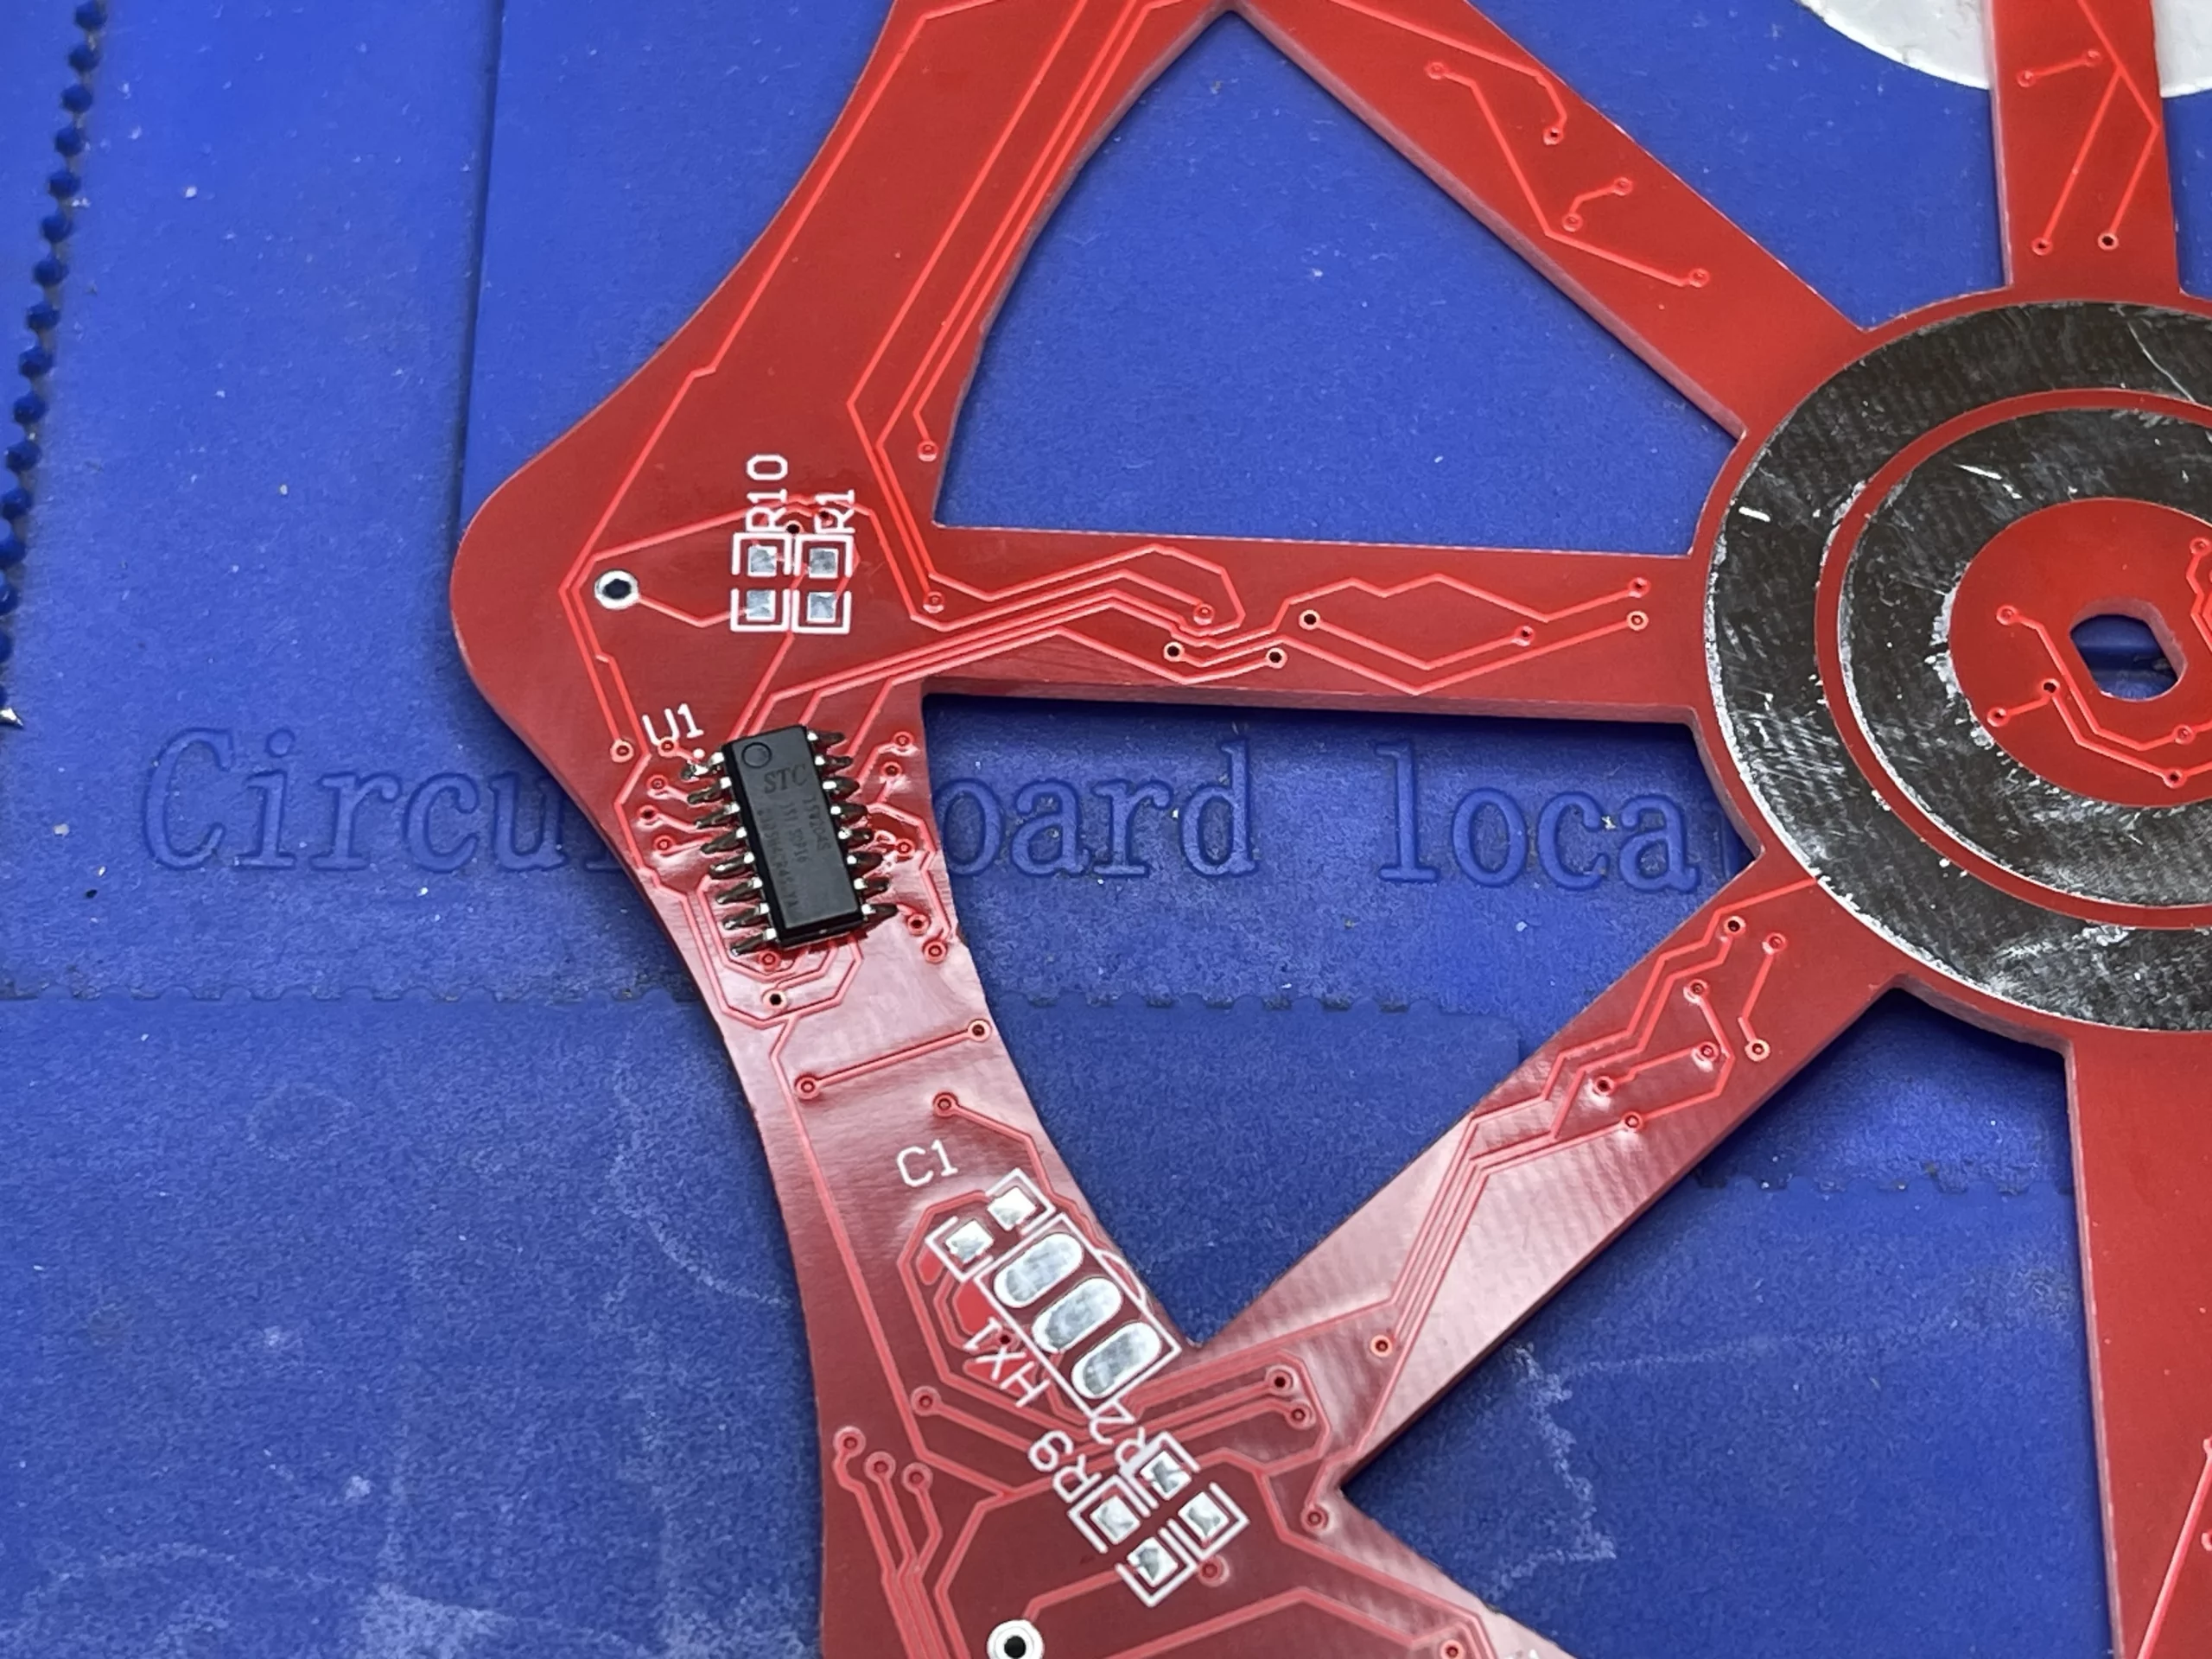
Then install the 0805 SMD Capacitor at C1.
Next installing the 16pcs 1Kohm 0805 SMD Resistor at R1-R15.
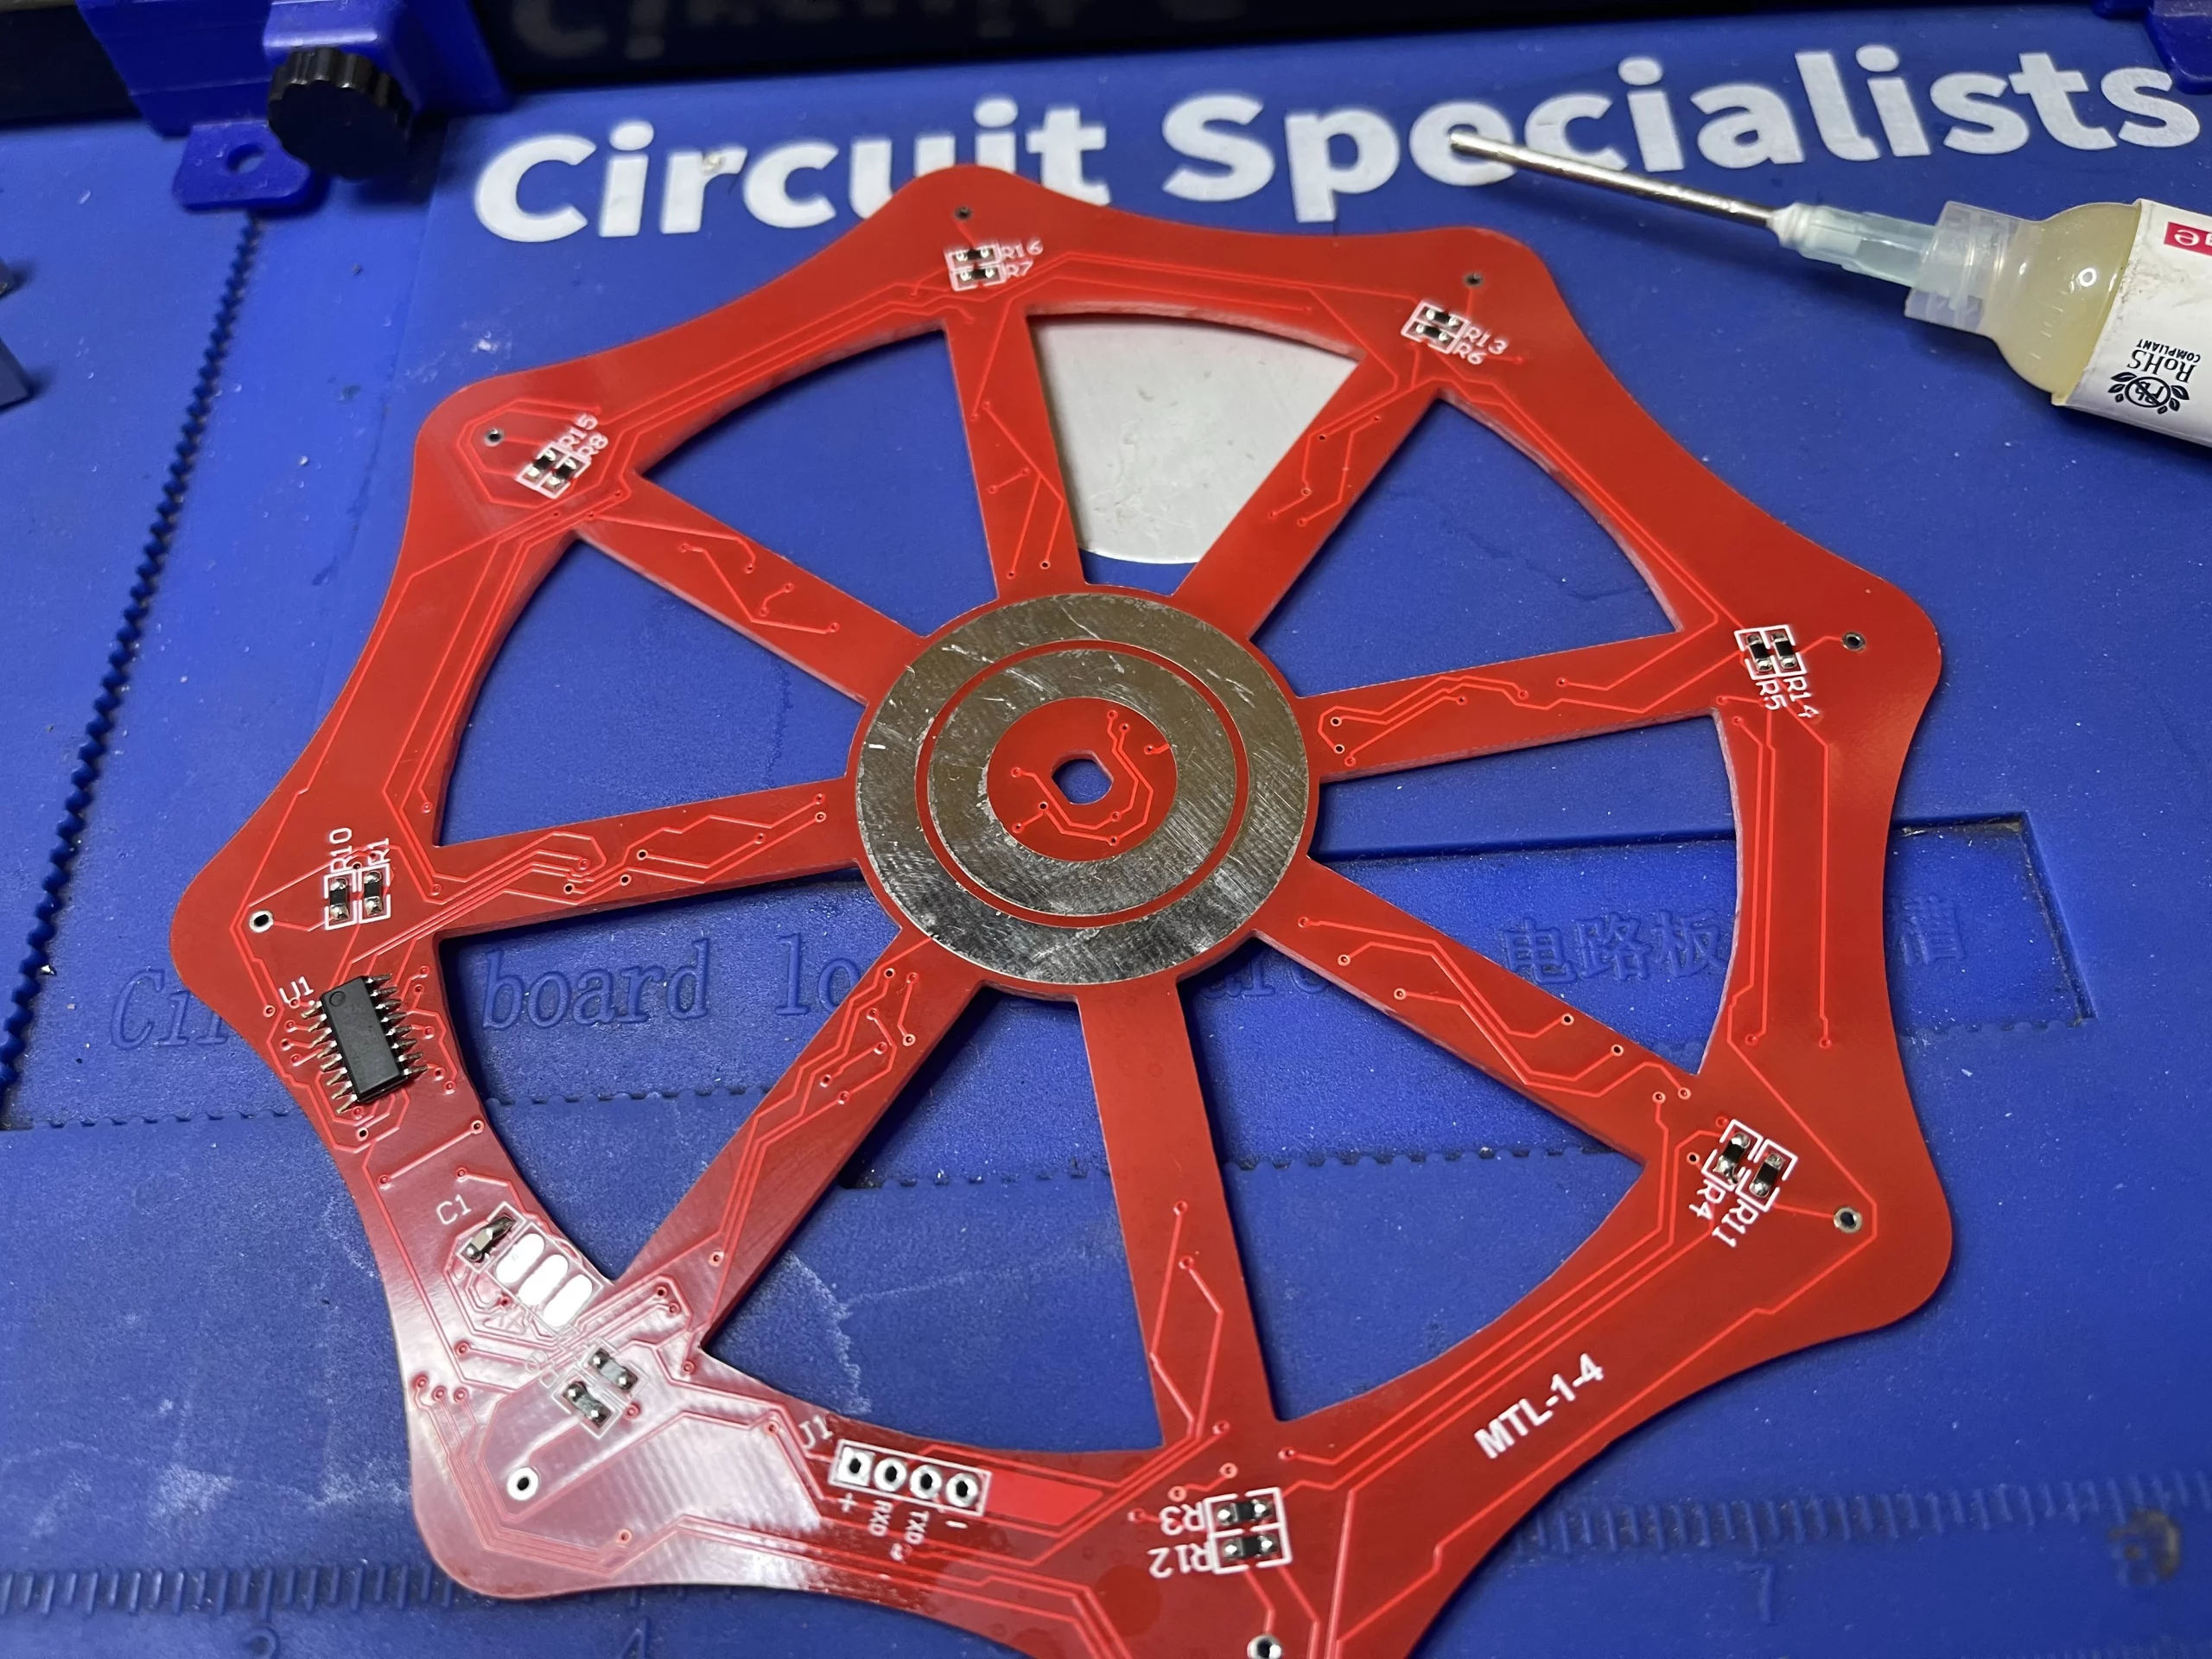
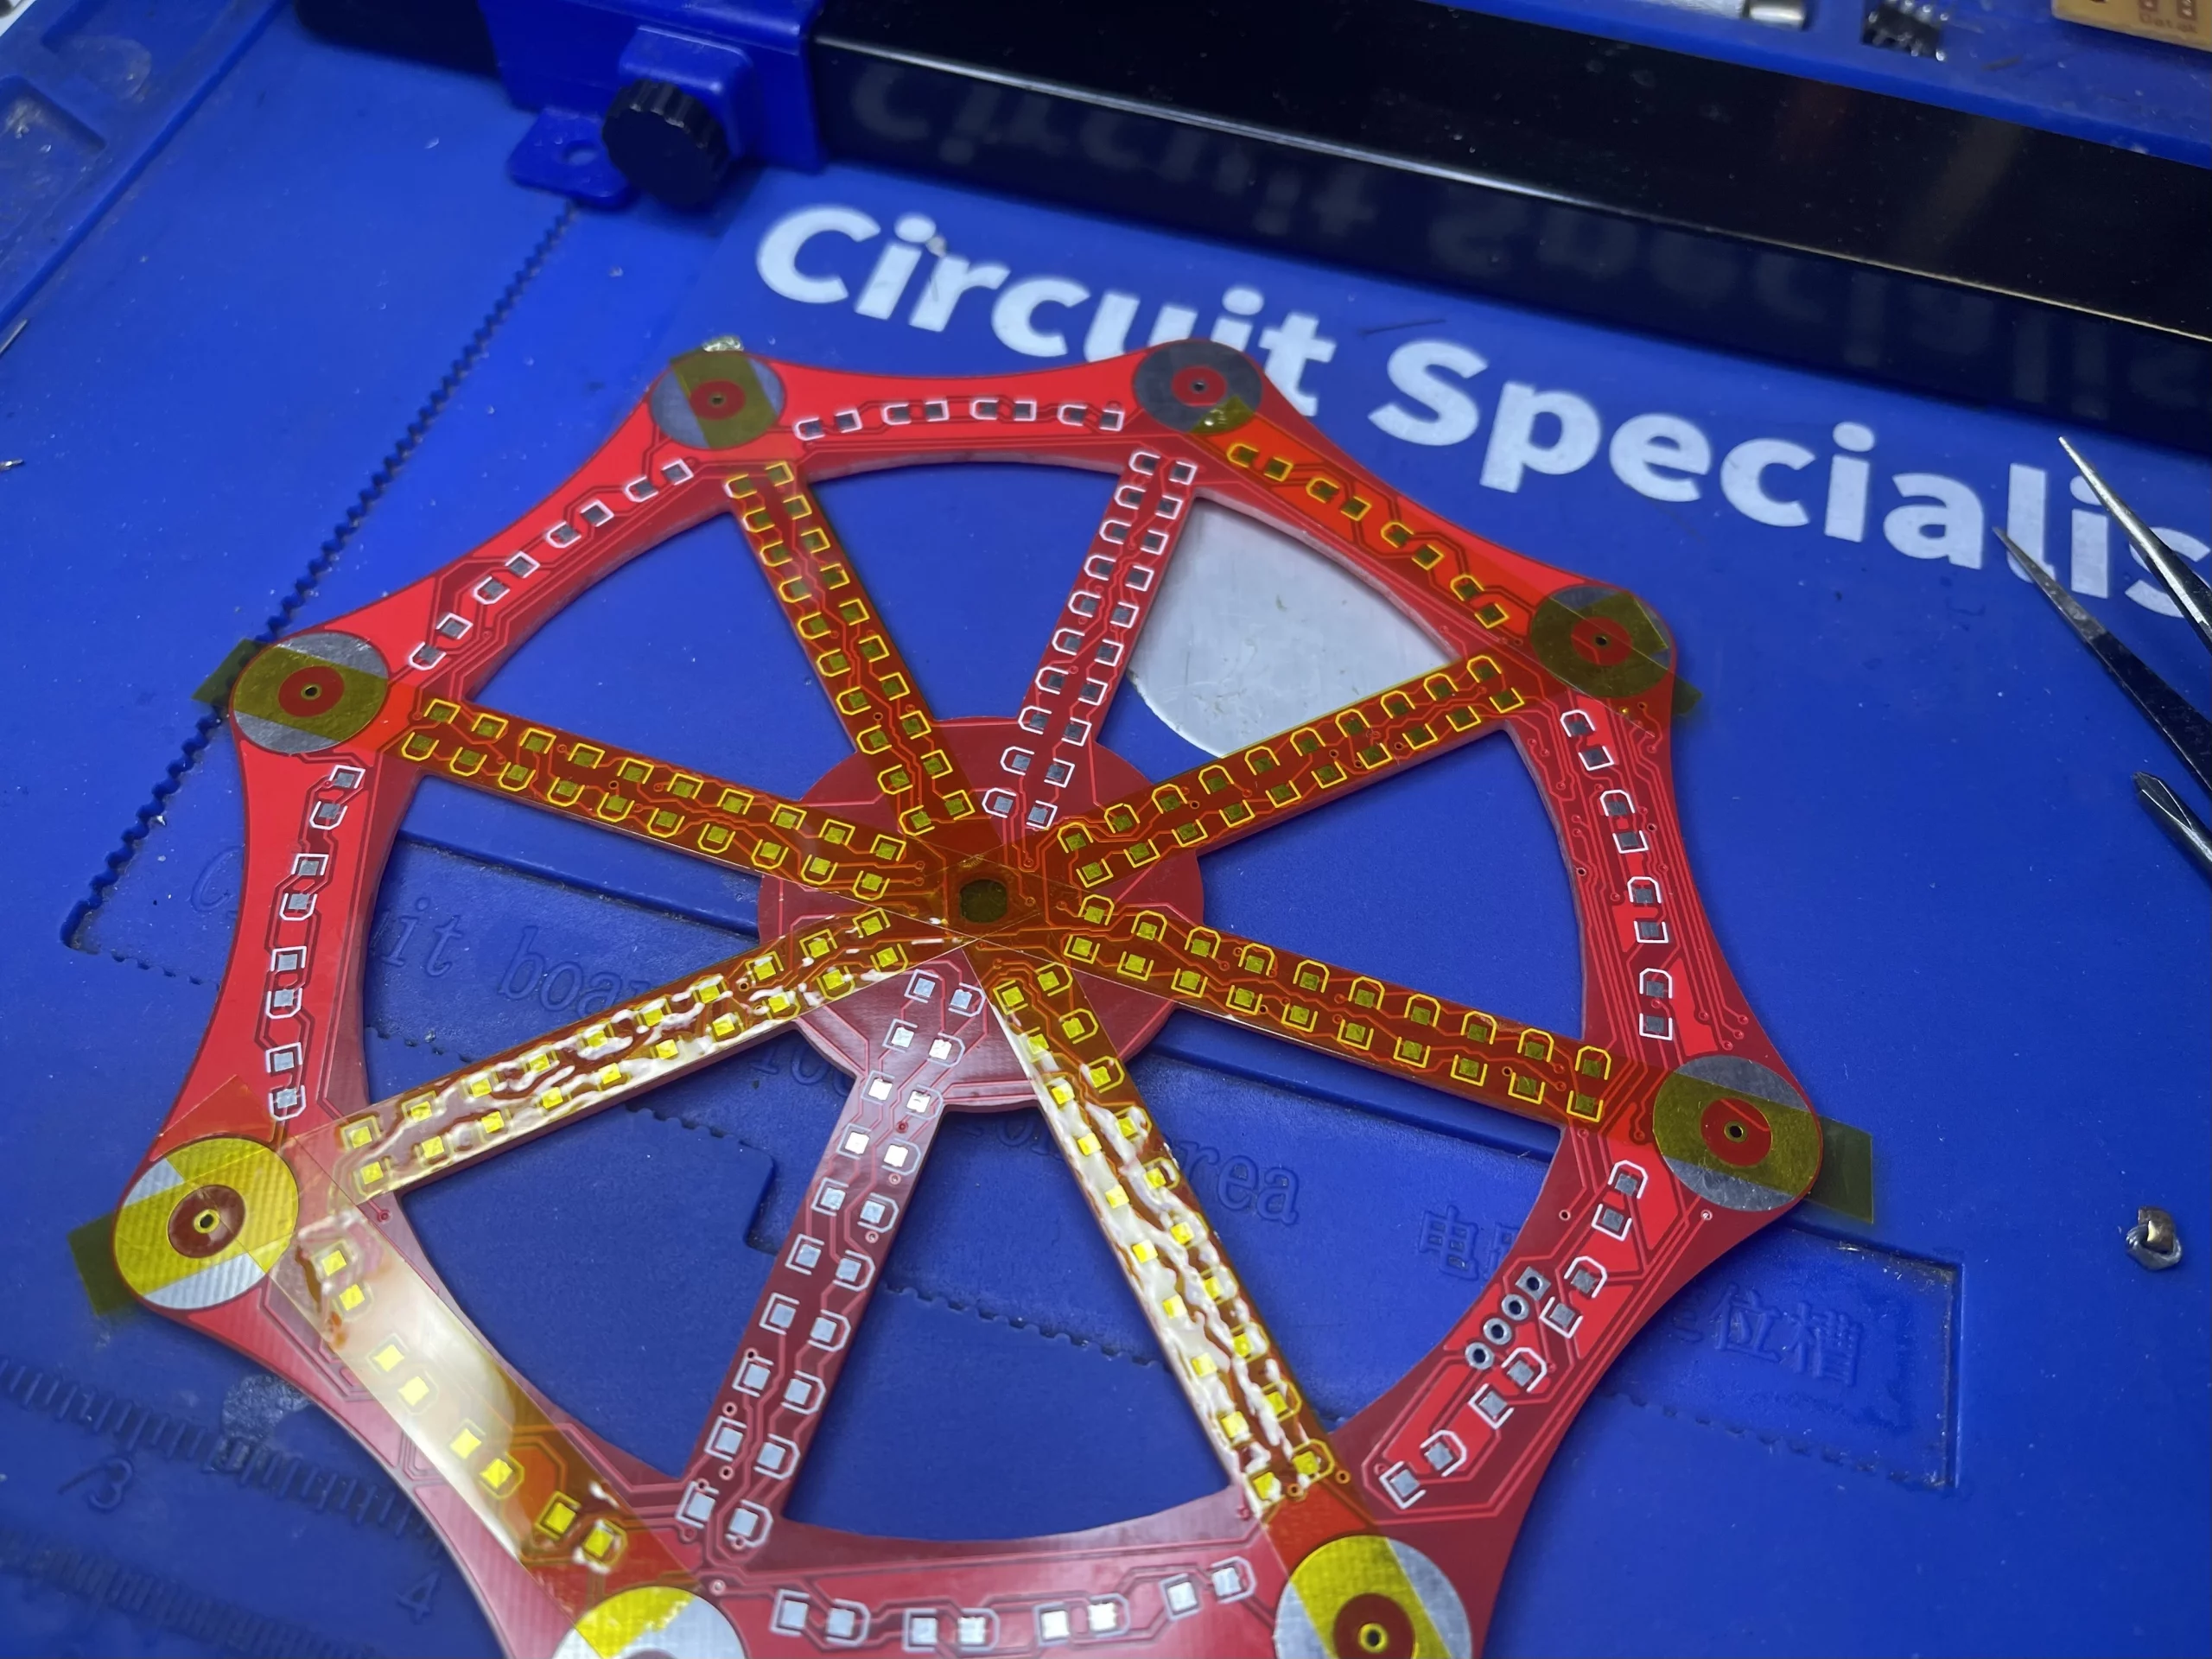
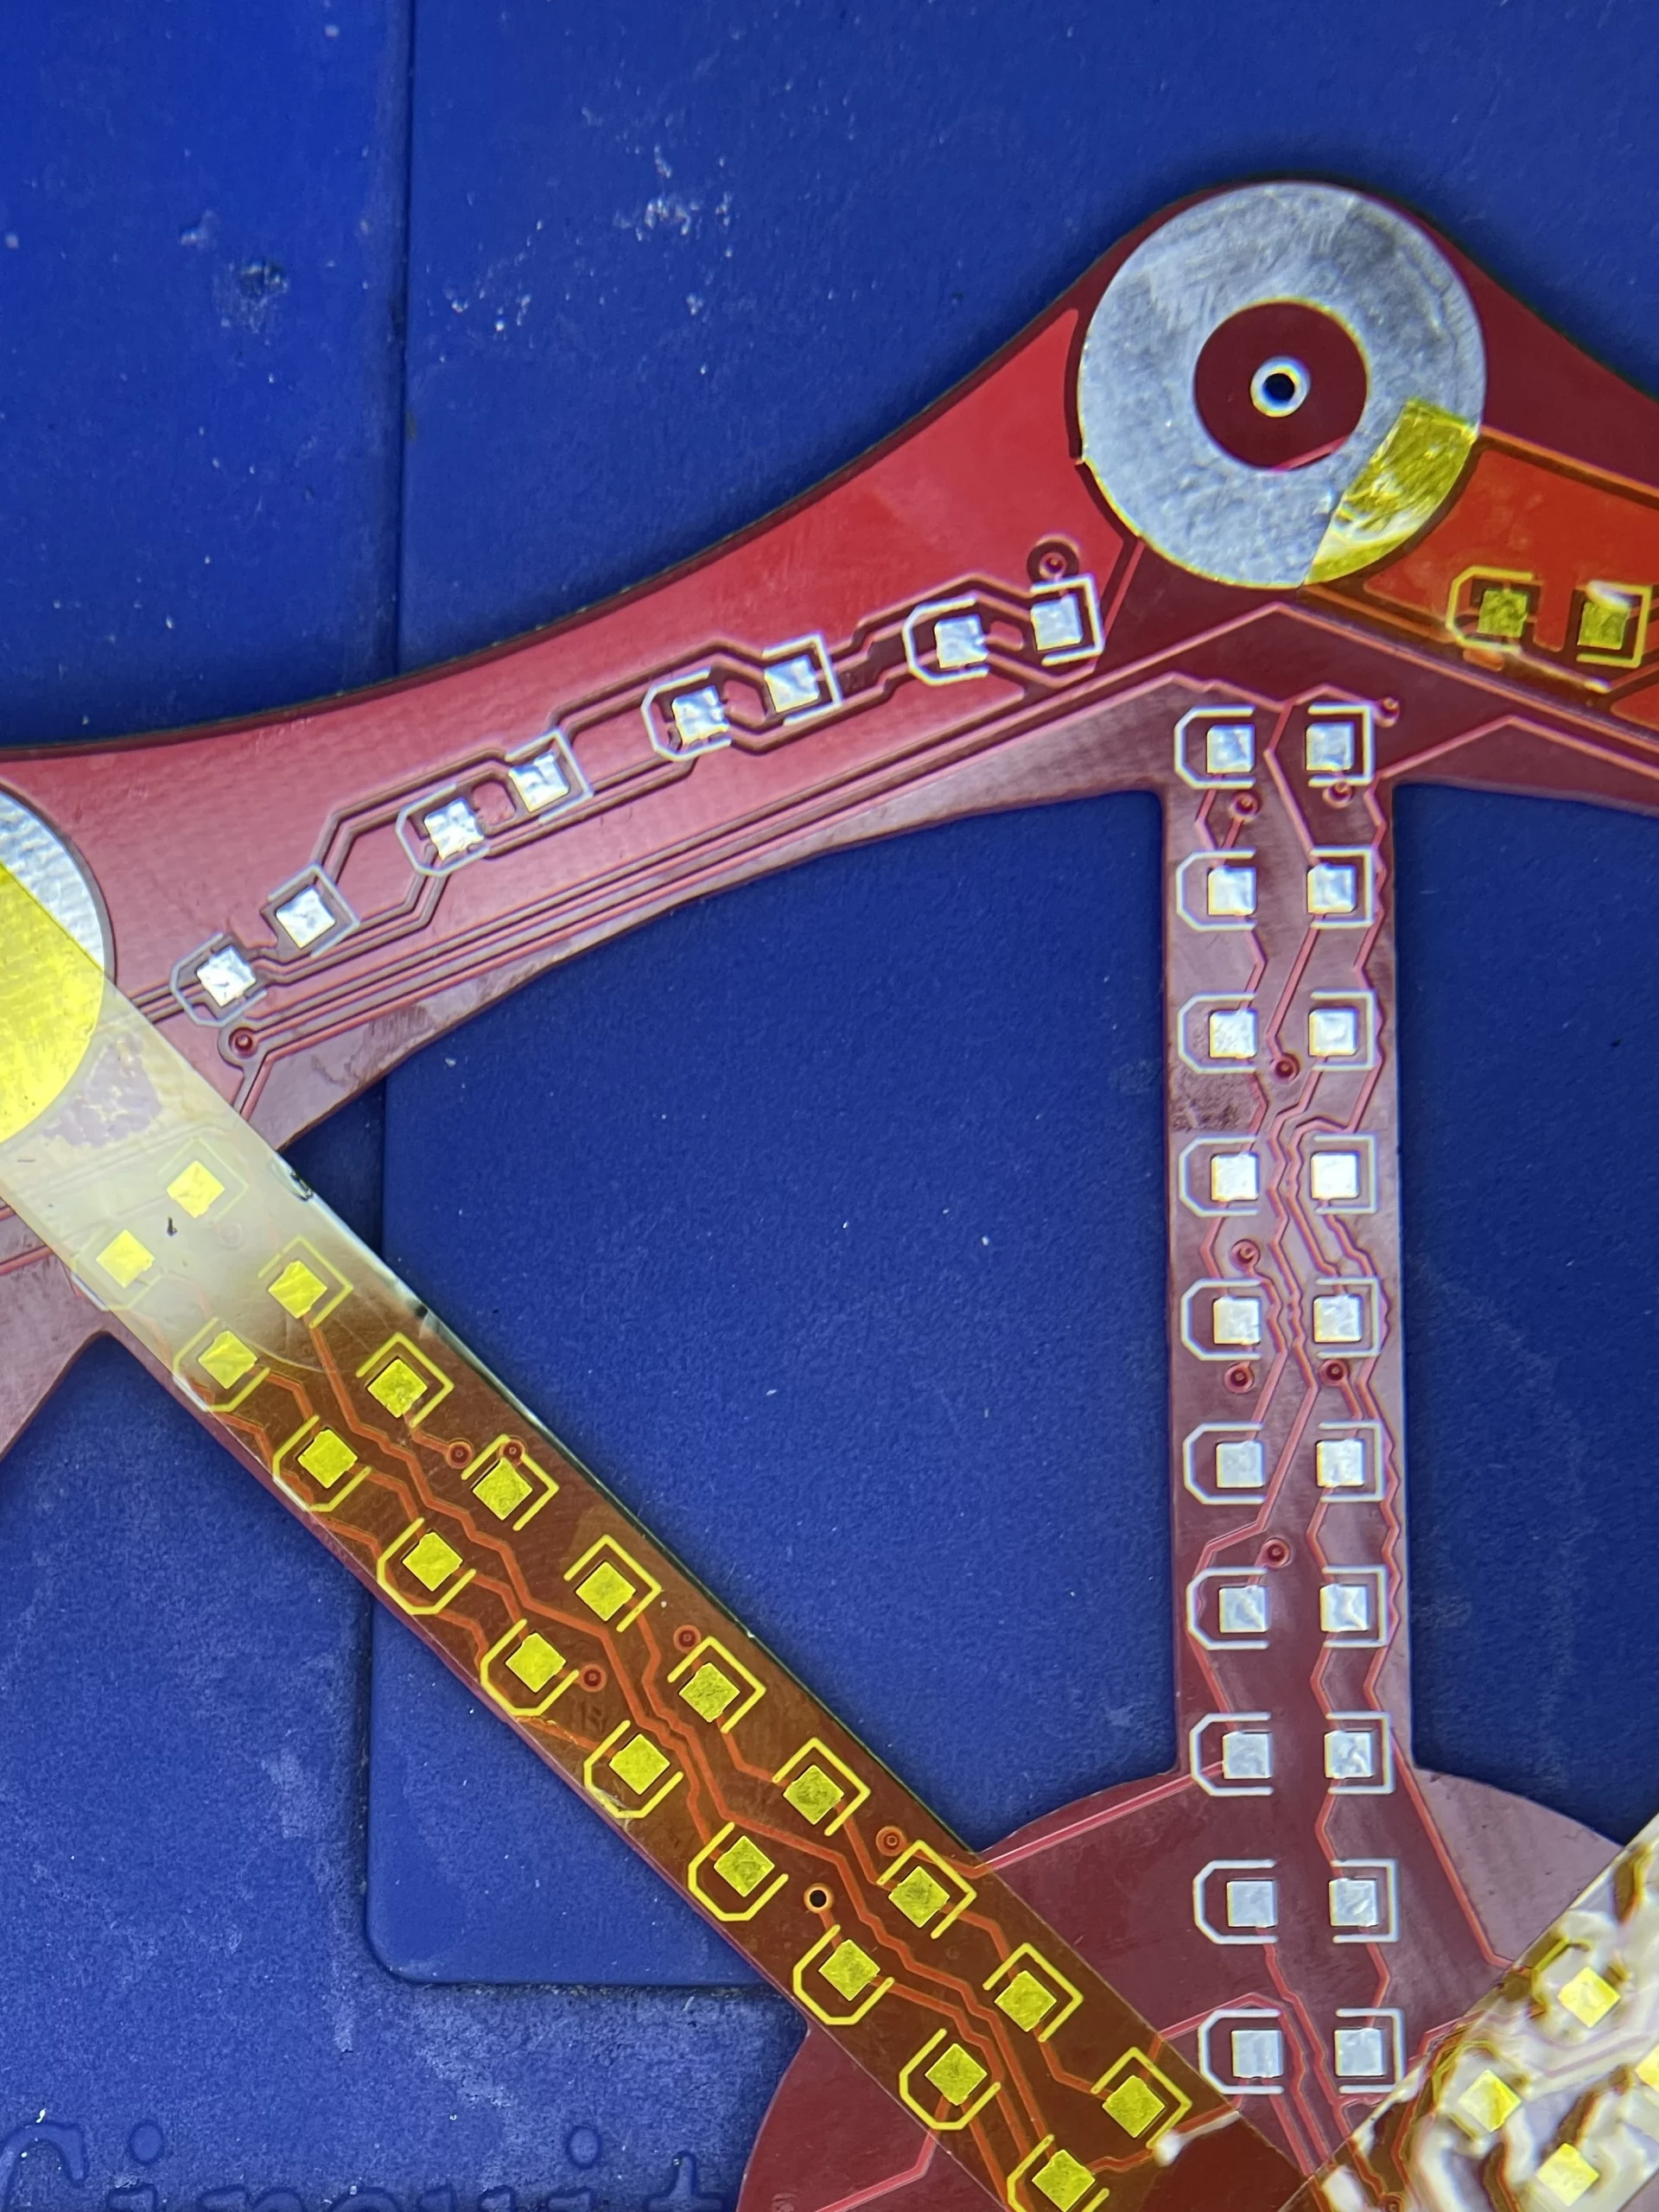
Finally identify LED polarity (positive and negative) and install the LED onto the PCB, make sure to follow the suggestive pattern in the instruction manual. I used some clear tape to make sure I didn’t mix the LED between sections.
Assembly of the base and motor attachment
These steps focus on the assembly of the Ferris wheelbase and motor installation. For more details on the assembly step, please check the link here for steps 13 to 17 to see how to assemble the motor to the structure.
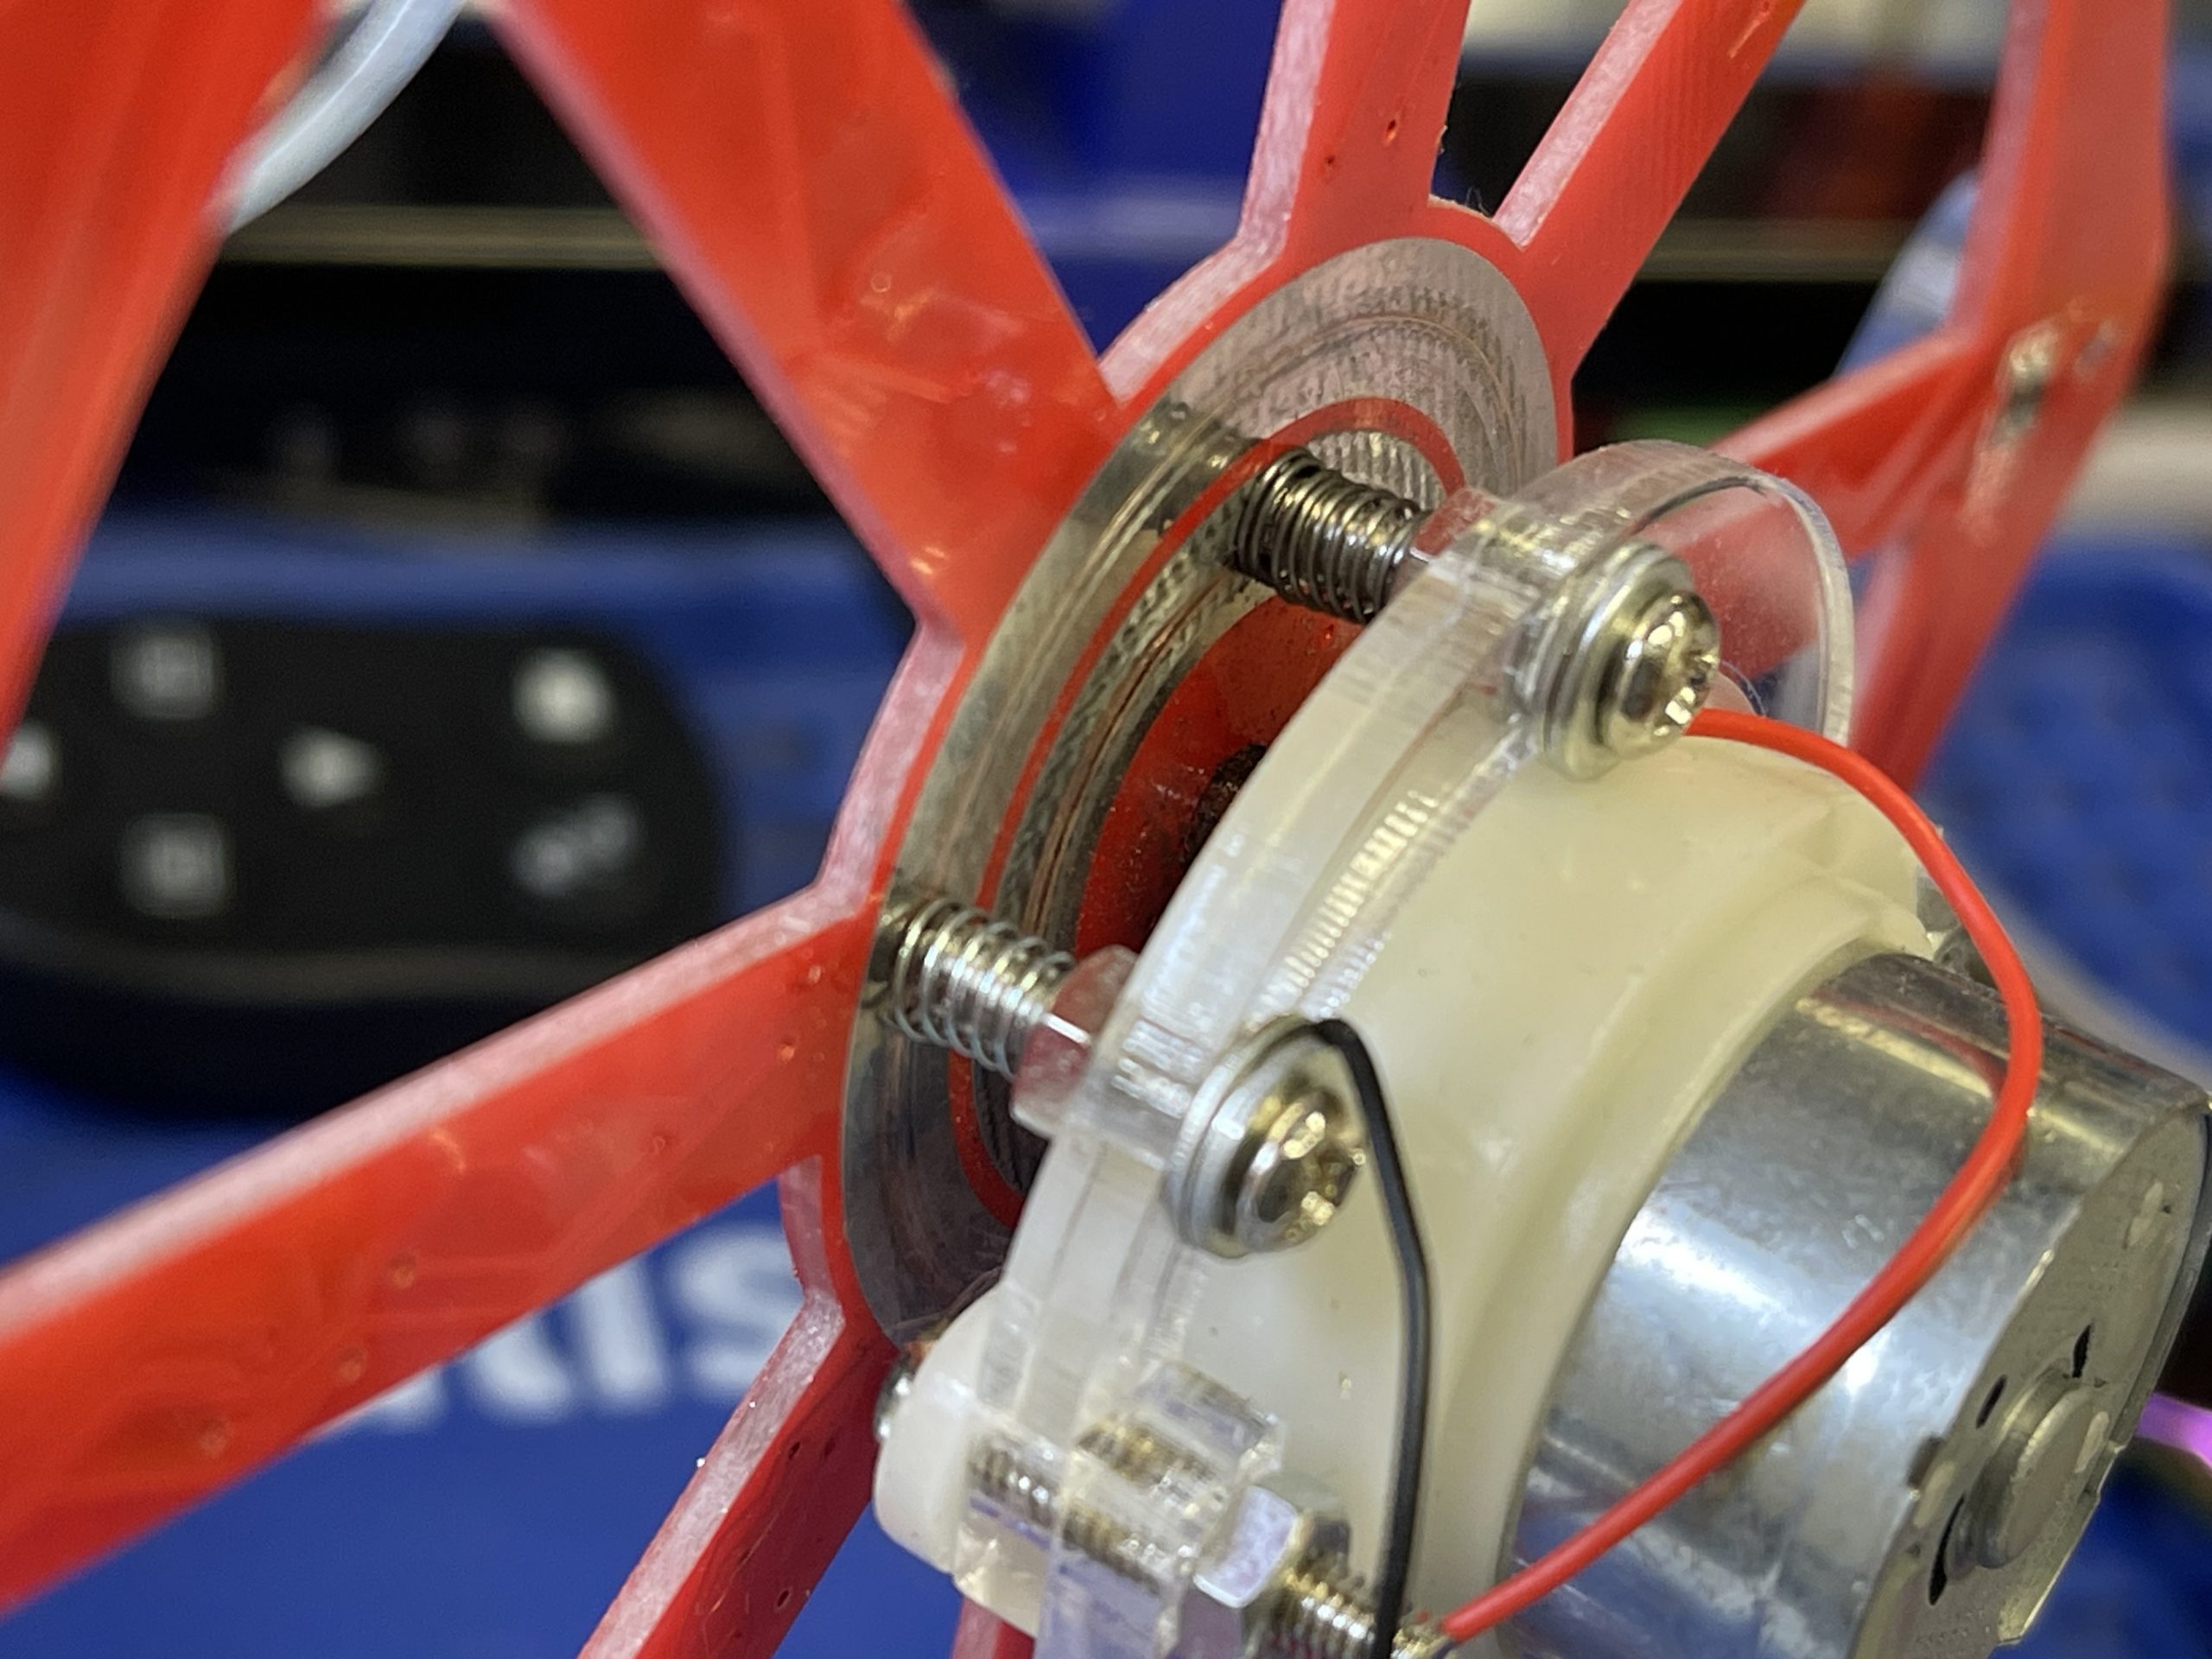
One of my favorite parts of this design is the physical contact between the spring and the PCB. This is where the Ferris wheel PCB got its power from. This design allows the wheel to spin and receive power constantly. Very clever!
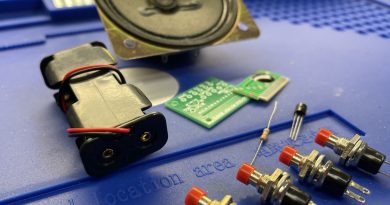
Power Switch and Port Assembly and Wiring
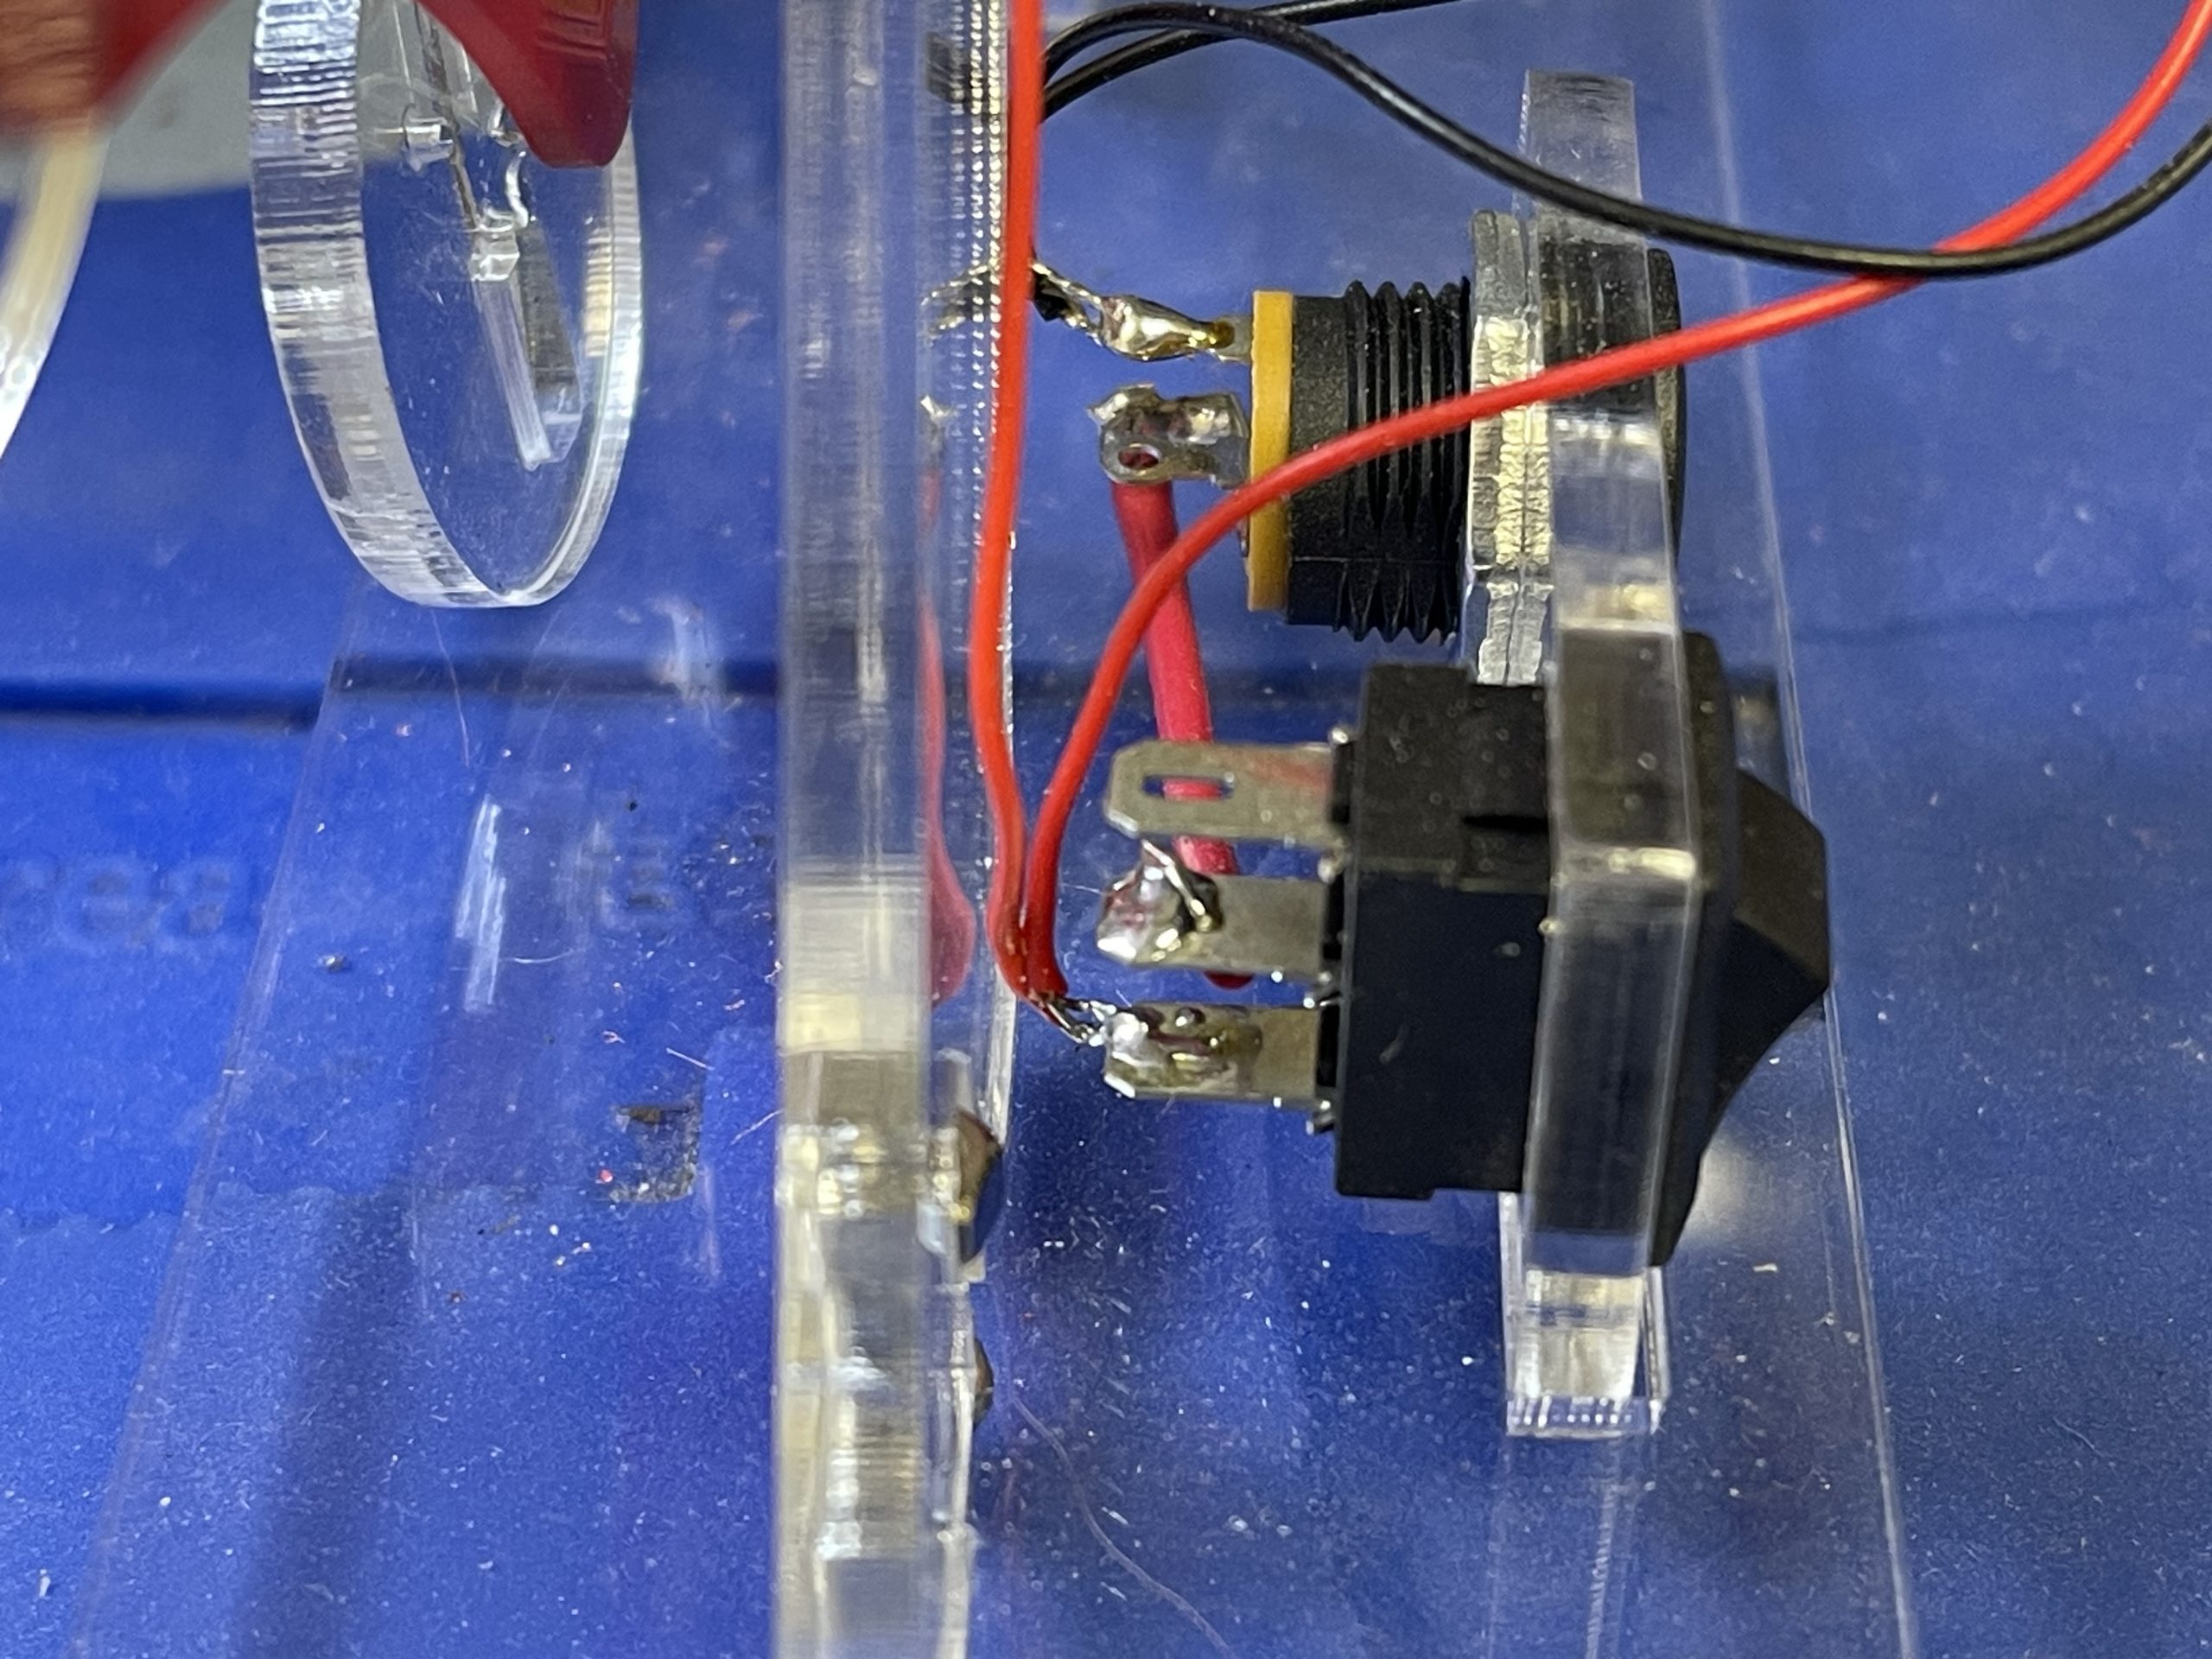
This is a fairly simple step in the process. All you need to do is to make sure soldering the correct wire onto the switch and power connector before installing it to the base of the Ferris wheel.
Assembly and Installing the Ferris Wheel Carts.
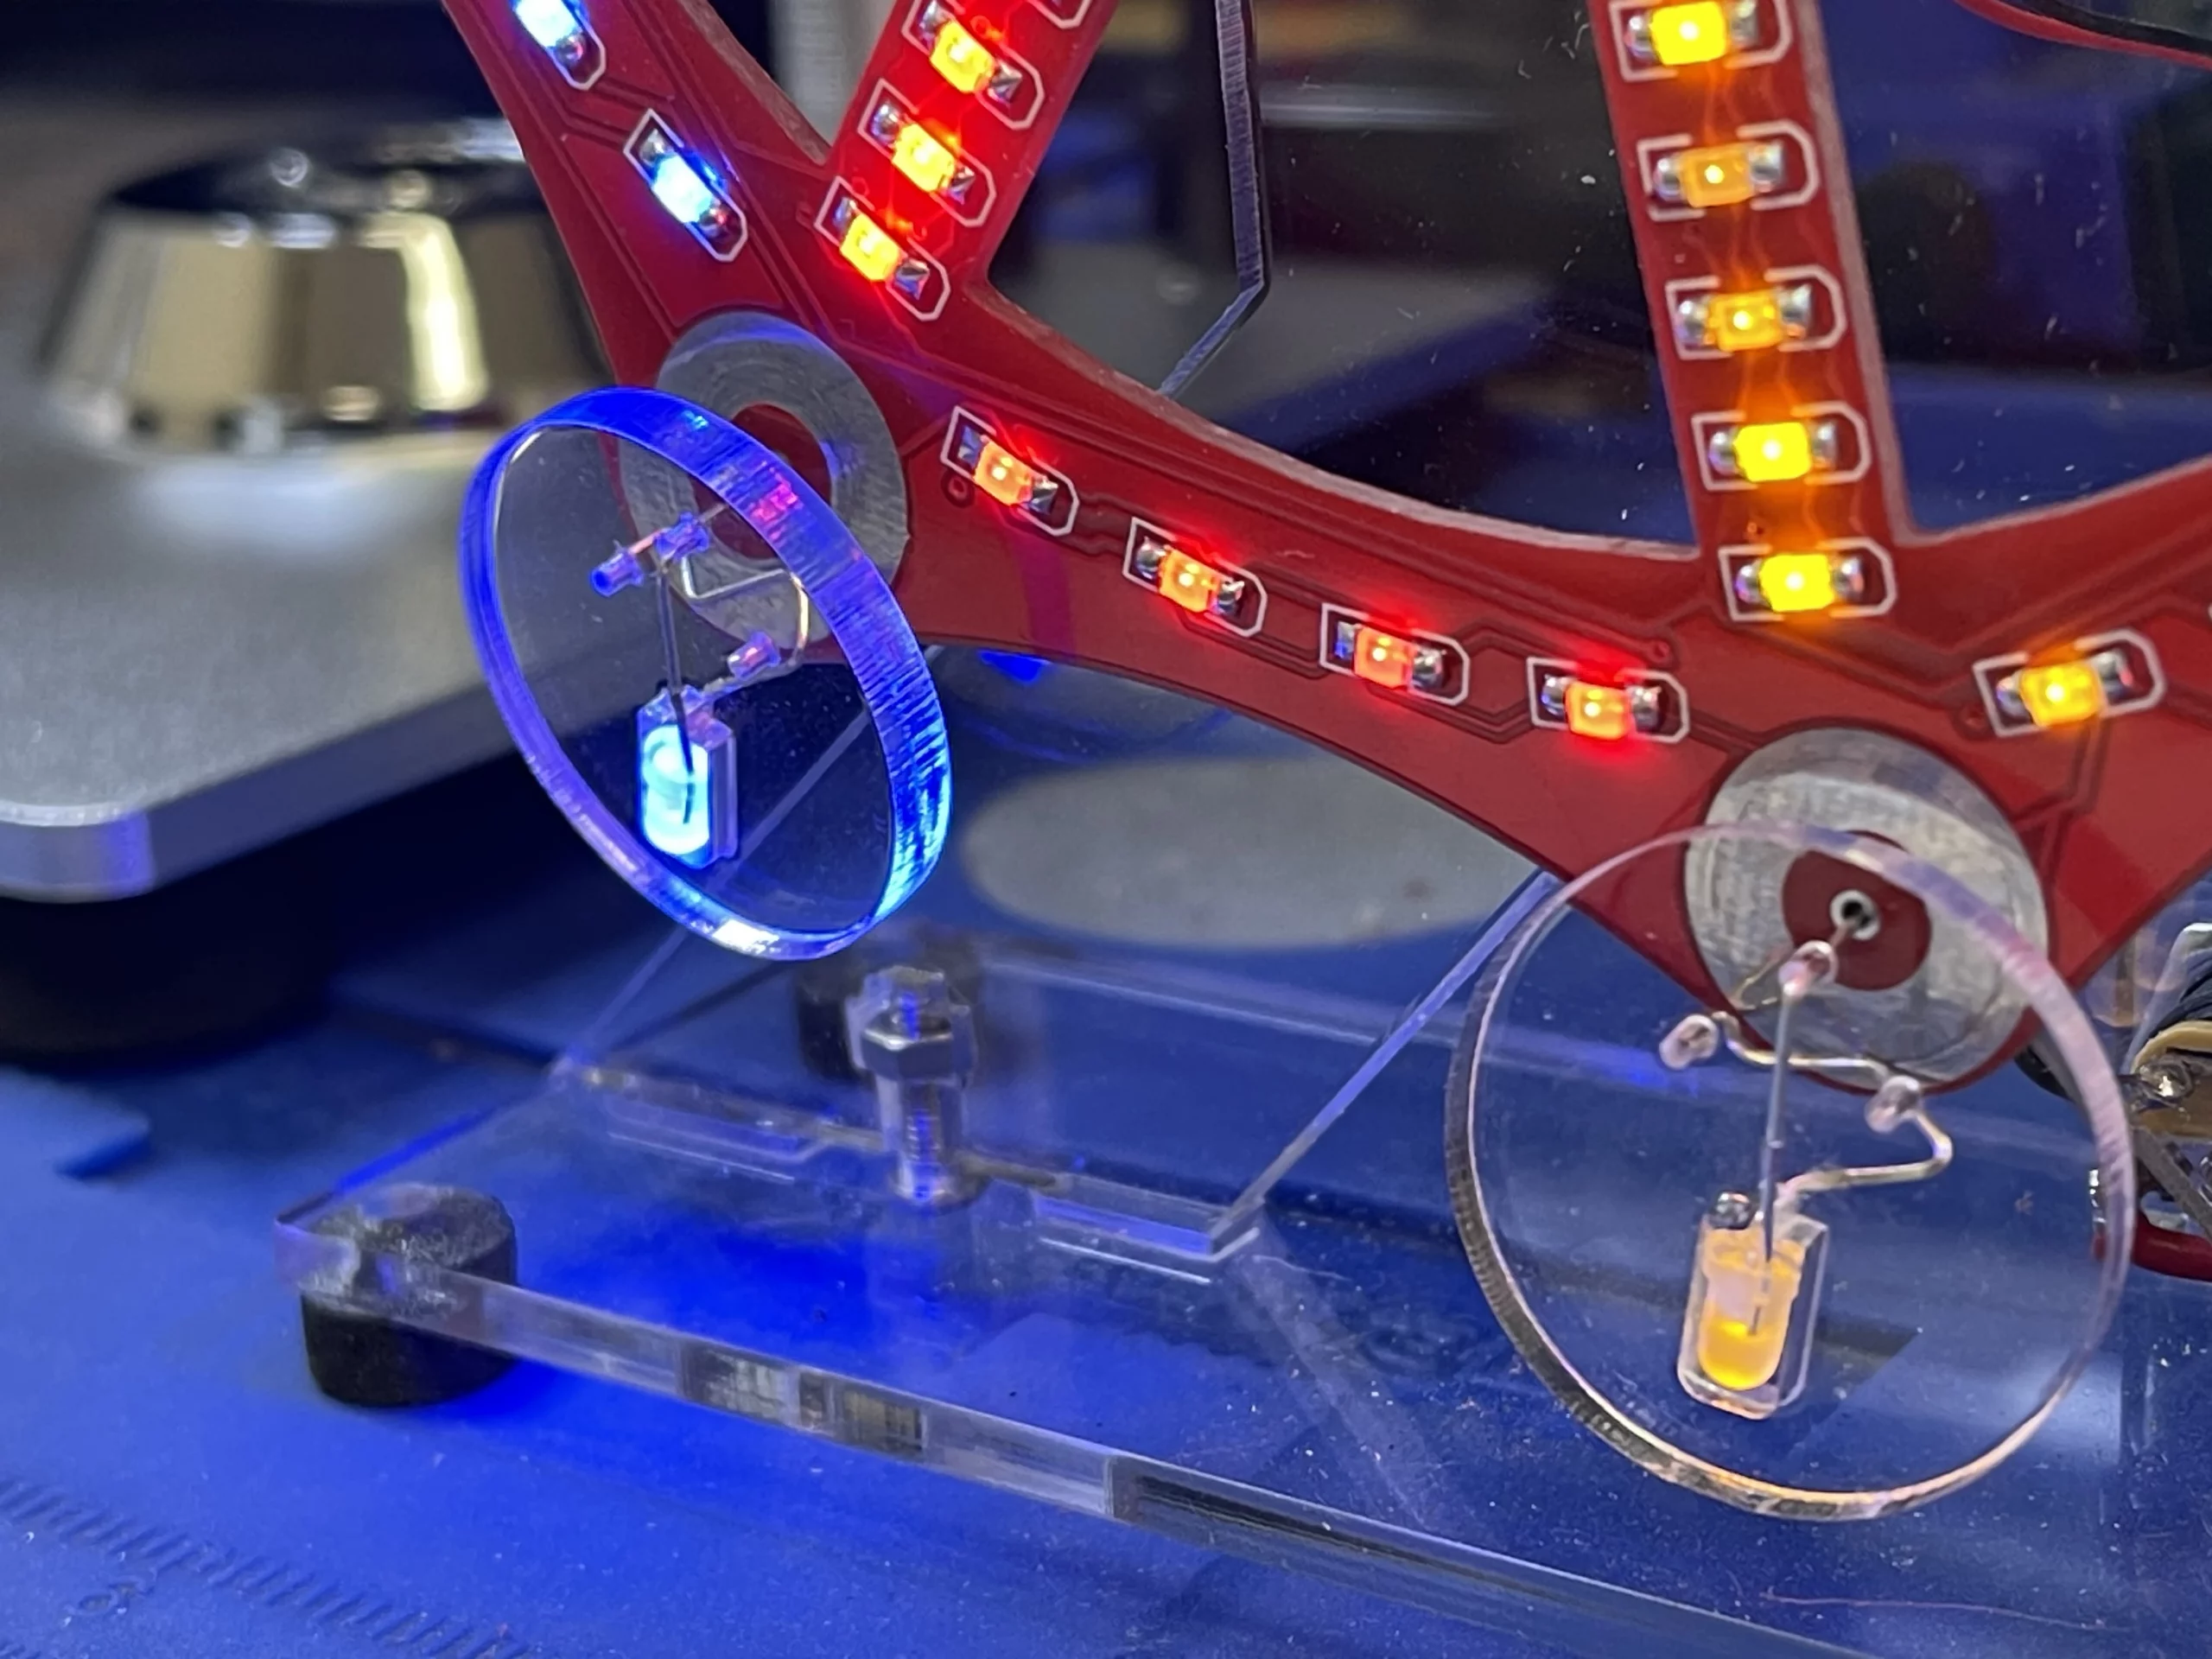
This is another super interesting design, where the LED legs bend in a way that will make contact with the path on the PCB. This way of power allows the “cart” to be lighted up while rotating around itself. When installing the Ferris wheel carts, ensure that LED legs make contact with the PCB paths. For more details on the assembly step, please check the link here for steps 23 to 29 to see how to assemble the motor to the structure.
Conclusion
By following this guide, you’ll learn SMD soldering skills and build a unique electronic display. Remember to take your time, follow safety precautions, and practice patience. In conclusion, the LED Rotating Ferris Wheel DIY Kit is an exciting project that combines fun and learning. By following this guide, you’ve not only built a stunning electronic display but also developed valuable SMD soldering skills. Be proud of your accomplishments and keep exploring the world of electronics and DIY projects. Happy building!